Aller au contenu principal

Toshiba Satellite P55W-C5316 RAM Replacement

Ce dont vous avez besoin

  1. Toshiba Satellite P55W-C5316 RAM Replacement, Back Panel: étape 1, image 1 de 2 Toshiba Satellite P55W-C5316 RAM Replacement, Back Panel: étape 1, image 2 de 2
    • To prevent injury, ensure the laptop is powered off before starting your work.

    • Unscrew the .3mm Phillips head screws on the back panel using the PH1 screwdriver.

  2. Toshiba Satellite P55W-C5316 RAM Replacement: étape 2, image 1 de 3 Toshiba Satellite P55W-C5316 RAM Replacement: étape 2, image 2 de 3 Toshiba Satellite P55W-C5316 RAM Replacement: étape 2, image 3 de 3
    • Be careful to not crack the panel where the USB and power cord ports are.

    • Insert the opening tool in between the back panel and the laptop to pry it open.

    • The back panel is magnetically attached at the front of the laptop so you may have to move the opening tool along the length of the panel.

    • Lift the panel from the front off of the laptop.

  3. Toshiba Satellite P55W-C5316 RAM Replacement, Battery: étape 3, image 1 de 3 Toshiba Satellite P55W-C5316 RAM Replacement, Battery: étape 3, image 2 de 3 Toshiba Satellite P55W-C5316 RAM Replacement, Battery: étape 3, image 3 de 3
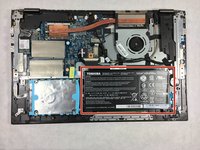
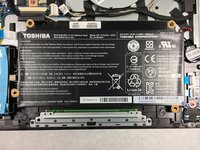
    • The battery is located in the bottom right corner of the laptop.

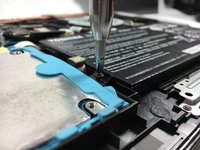
    • Remove the four .5mm Phillips head screws on the battery using the PH1 screwdriver.

  4. Toshiba Satellite P55W-C5316 RAM Replacement: étape 4, image 1 de 2 Toshiba Satellite P55W-C5316 RAM Replacement: étape 4, image 2 de 2
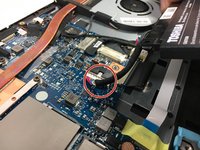
    • Do not tug on the cord or battery. Instead, pull evenly on the connector.

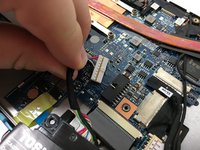
    • Lift the battery and gently pull out the bundled cable connector.

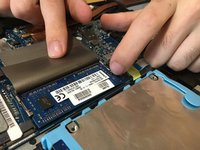
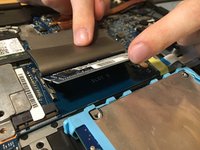
  5. Toshiba Satellite P55W-C5316 RAM Replacement, RAM: étape 5, image 1 de 3 Toshiba Satellite P55W-C5316 RAM Replacement, RAM: étape 5, image 2 de 3 Toshiba Satellite P55W-C5316 RAM Replacement, RAM: étape 5, image 3 de 3
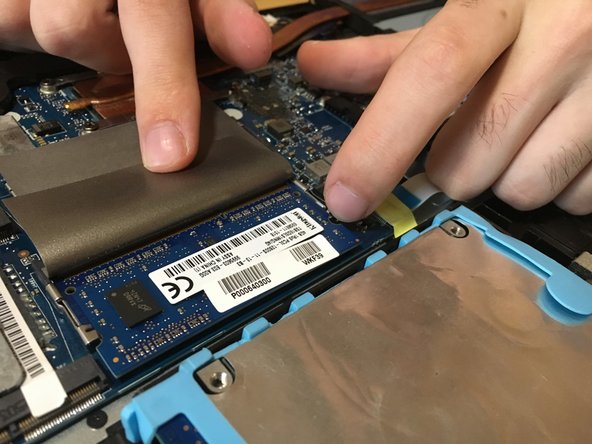
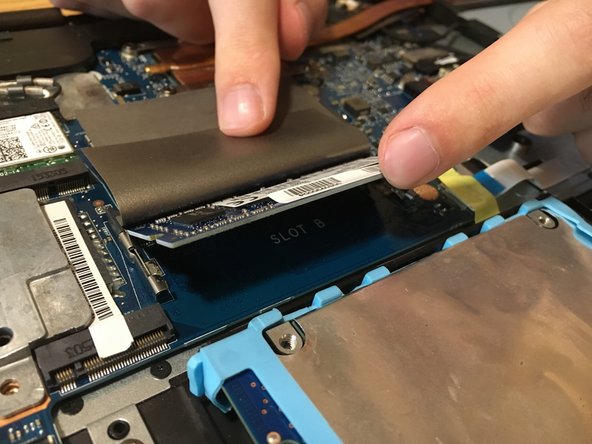
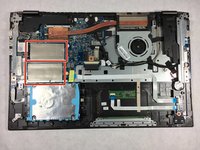
    • Lift up the flap to expose the RAM chip.

    • Un-clip the RAM by pulling the metal clips away from the chip on both sides.

    • Lift the RAM up from the laptop and pull it away from the connector.

Conclusion

To reassemble your device, follow these instructions in reverse order.

Alec Bonnell

Membre depuis le 10/18/17

497 Réputation

4 tutoriels rédigés

Équipe

UMass Dartmouth, Team S3-G2, Bailey Fall 2017 Membre de l'équipe UMass Dartmouth, Team S3-G2, Bailey Fall 2017

UMASSD-BAILEY-F17S3G2

3 membres

7 tutoriels rédigés

0 commentaires

Ajouter un commentaire

Nombre de vues :

Dernières 24 heures : 0

7 derniers jours : 0

30 derniers jours : 2

Total : 596