
Toshiba Satellite P755-EZ1511D Laptop Display Assembly Replacement

20 - 25 minutes
Modérée
Meilleure introduction
Détails manquants


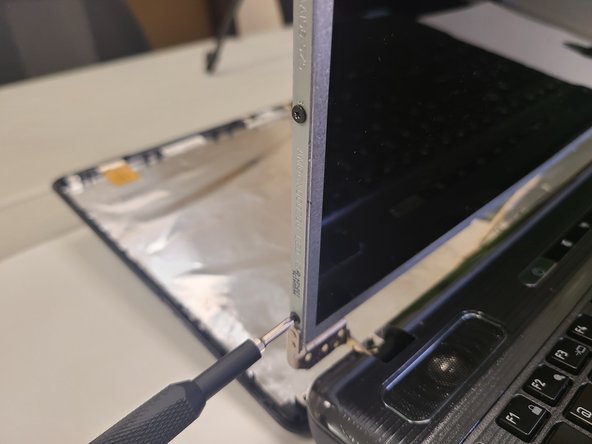

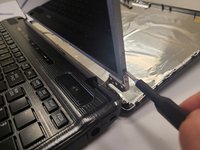
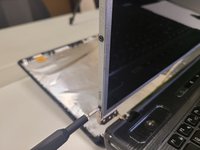
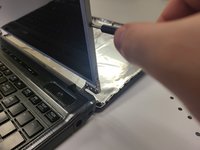
Presque terminé !
To reassemble your device, follow these instructions in reverse order.
Conclusion
To reassemble your device, follow these instructions in reverse order.

Équipe

University of North Texas, Team 4-2, Saru Jimmy Fall 2022 Membre de l'équipe University of North Texas, Team 4-2, Saru Jimmy Fall 2022
UNT-SARU JIMMY-F22S4G2
4 membres
5 tutoriels rédigés