
Toshiba Satellite P855-S5102 Laptop Screen Replacement
15 - 30 minutes
Modérée
Images incohérentes
Texte bizarre
A besoin de meilleures images
Découpez pour améliorer
Introduction
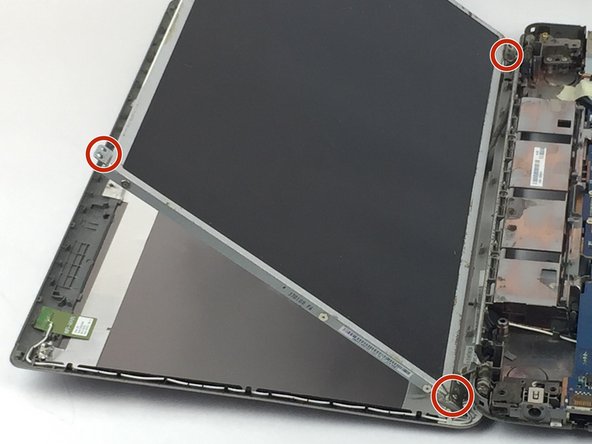
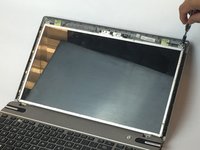
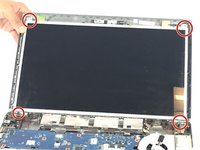
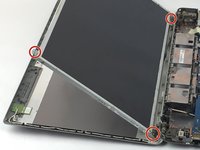
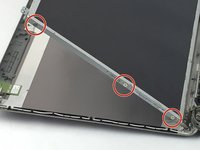
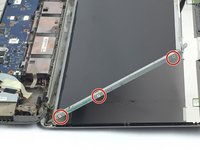
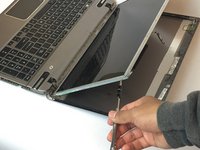
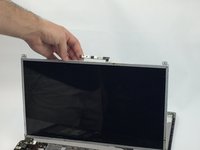
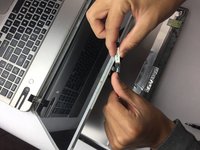
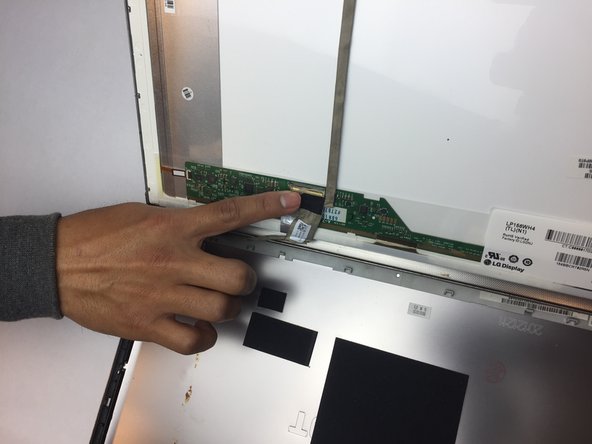
Passez à l'étape 1The laptop screen, most of which are made of glass, is the physical surface on which visual information is presented. Sometimes screens can become faulty or can become damaged from an accident. Luckily, laptop screens are replaceable and below are the instructions to replace the screen of your Toshiba Satellite P855-S5102 Laptop.
Ce dont vous avez besoin


Presque terminé !
To reassemble your device, follow these instructions in reverse order.
Conclusion
To reassemble your device, follow these instructions in reverse order.
Équipe

USF Tampa, Team S20-G3, Passmore Spring 2018 Membre de l'équipe USF Tampa, Team S20-G3, Passmore Spring 2018
USFT-PASSMORE-S18S20G3
4 membres
7 tutoriels rédigés