Aller au contenu principal

Toshiba Satellite U925T-S2120 Heat Sink Replacement

Ce dont vous avez besoin

  1. Toshiba Satellite U925T-S2120 Heat Sink Replacement, Heat Sink: étape 1, image 1 de 2 Toshiba Satellite U925T-S2120 Heat Sink Replacement, Heat Sink: étape 1, image 2 de 2
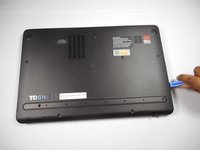
    • Use tweezers to remove the nine rubber grip pads on the back panel of the laptop.

  2. Toshiba Satellite U925T-S2120 Heat Sink Replacement: étape 2, image 1 de 3 Toshiba Satellite U925T-S2120 Heat Sink Replacement: étape 2, image 2 de 3 Toshiba Satellite U925T-S2120 Heat Sink Replacement: étape 2, image 3 de 3
    • Unscrew the nine 5.8 mm screws using a PH1 screwdriver.

    • Unscrew the two 6.8 mm screws. Set all screws aside.

  3. Toshiba Satellite U925T-S2120 Heat Sink Replacement: étape 3, image 1 de 2 Toshiba Satellite U925T-S2120 Heat Sink Replacement: étape 3, image 2 de 2
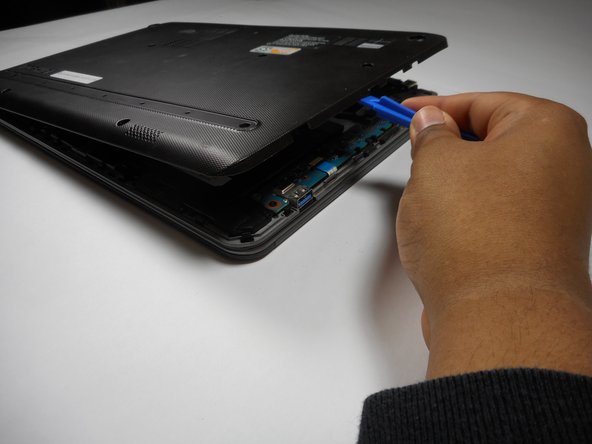
    • Remove the back panel by inserting the plastic opening tool into the seam of the laptop and pushing the opening tool downwards.

  4. Toshiba Satellite U925T-S2120 Heat Sink Replacement: étape 4, image 1 de 2 Toshiba Satellite U925T-S2120 Heat Sink Replacement: étape 4, image 2 de 2
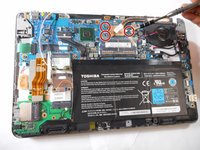
    • Unscrew the three 3.4 mm screws using a PH1 screwdriver.

  5. Toshiba Satellite U925T-S2120 Heat Sink Replacement: étape 5, image 1 de 1
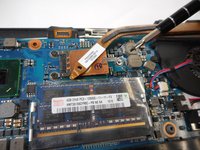
    • Gently pinch the heat sink with fingers to lift and remove it.

Conclusion

To reassemble your device, follow these instructions in reverse order.

Une autre personne a terminé cette réparation.

Andrew Honderich

Membre depuis le 03/29/17

364 Réputation

3 tutoriels rédigés

Équipe

Baylor, Team S5-G5, Williams Spring 2017 Membre de l'équipe Baylor, Team S5-G5, Williams Spring 2017

BU-WILLIAMS-S17S5G5

3 membres

5 tutoriels rédigés

0 commentaires

Ajouter un commentaire

Nombre de vues :

Dernières 24 heures : 0

7 derniers jours : 0

30 derniers jours : 0

Total : 393