
Wolf Gourmet WGTR102S Heat Dial Replacement
10 - 15 minutes
Modérée
Introduction
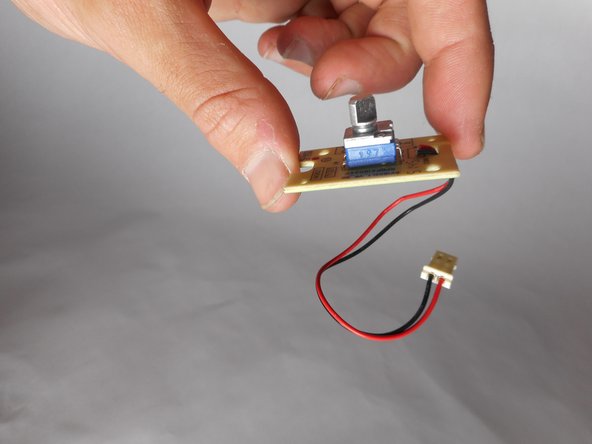
Passez à l'étape 1If the toaster is not responding to the heat dial, try replacing the circuit board with this guide.
Ce dont vous avez besoin


-
-
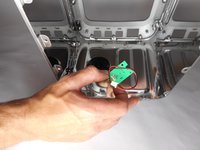
Using a wedge, pry off the rubber pieces on the bottom of each foot of the toaster.
-
-
-
-
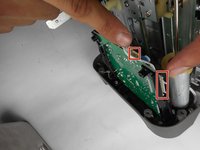
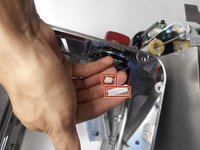
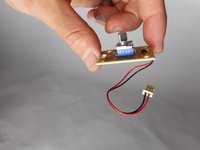
Remove the two 4mm screws found on each side of the circuit board using a Tri-point Y1 screwdriver.
-


Presque terminé !
To reassemble your device, follow these instructions in reverse order.
Conclusion
To reassemble your device, follow these instructions in reverse order.
Équipe

Cal Poly, Team S22-G5, Maness Spring 2018 Membre de l'équipe Cal Poly, Team S22-G5, Maness Spring 2018
CPSU-MANESS-S18S22G5
4 membres
5 tutoriels rédigés