Introduction
Your Xiaomi Redmi Note 8’s display can crack or break because of drops or unsuitable operation. Use this guide to replace a broken screen on a Xiaomi Redmi Note 8 Pro smartphone.
This guide involves removing the back cover of the device, so you will need a replacement adhesive to reattach the back cover to the phone.
Before disassembling your device, be sure the battery is charged below 25%. If accidentally punctured or damaged, the battery can catch fire and/or explode; if discharged below 25%, the chances of fire/explosion is decreased.
Be sure to power off the smartphone before beginning this repair process.
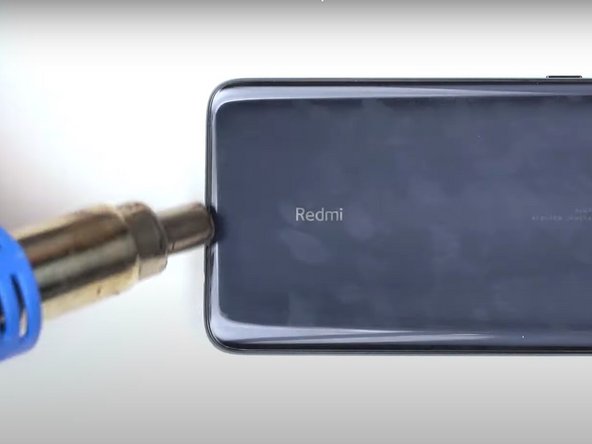
Follow the iOpener Heating guide for instructions on using the iOpener.
Ce dont vous avez besoin
Vidéo d'introduction
Xiaomi Redmi Note 8 Pro Screen Replacement
-
-
Power off the phone by pressing the "Power" button located on the right side of the device.
-
When the power options screen appears, press the "Power" option.
-
Press the "Confirm Shutdown" option.
-
-
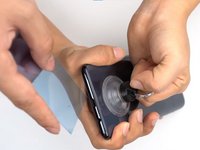
Outil utilisé dans cette étape :Plastic Cards$2.99
-
Apply a suction cup to the lower portion of the phone's backing and pull firmly to create a crack between the back cover and the rest of the phone.
-
Insert a Jimmy tool, opening pick, or plastic card under the edge of the back cover.
-
-


To reassemble your device, follow these instructions in reverse order.
To reassemble your device, follow these instructions in reverse order.
Annulation : je n'ai pas terminé ce tutoriel.
4 autres ont terminé cette réparation.