
iMac Intel 24" EMC 2111 LCD Replacement

Introduction
Passez à l'étape 1Use this guide to replace a broken LCD.
Ce dont vous avez besoin


-
-
Loosen the two Phillips screws securing the access door to your iMac.
-
Remove the access door.
-
-
-
Remove the following screws along the lower edge of your iMac:
-
Three 6 mm T8 Torx screws
-
One 8 mm T8 Torx screw
-
-
-
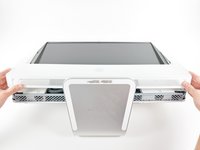
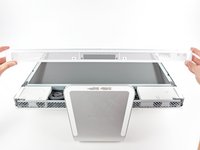
To lift the front bezel off the iMac, simultaneously:
-
Use your thumbs to press in the RAM arms and hold the iMac down.
-
Use your index fingers to pull the small bridge of material on the front bezel toward yourself.
-
Pull the front bezel up with your index fingers.
-
Once the small bridge of material has cleared the RAM arms, lift the front bezel by its lower edge just enough to clear the bottom edge of the rear case.
-
-
-
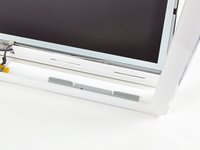
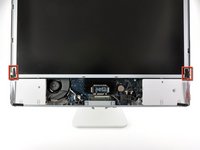
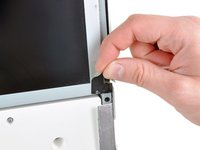
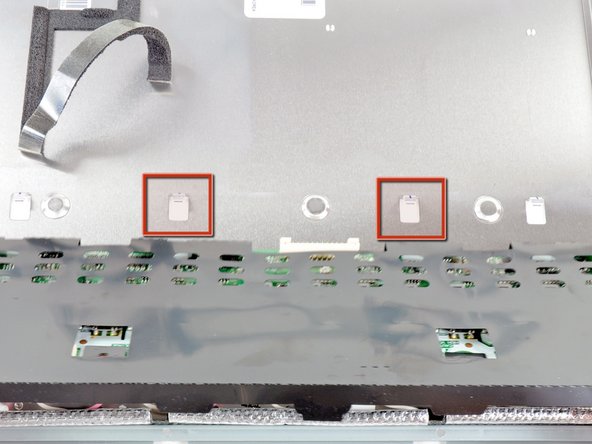
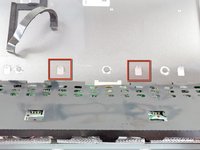
Peel the two highlighted EMI shield tabs off the frame of the LCD.
-
-
-
-
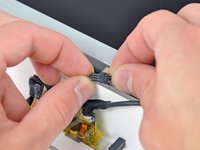
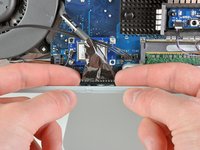
Remove the two pieces of tape securing the display data cable to the back of the display.
-
-
-
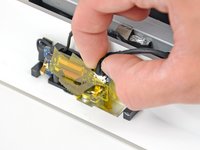
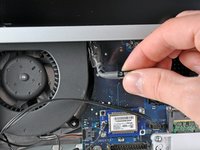
Remove the large piece of tape covering the inverter cable connector and any tape securing the cable to the inverter board.
-


To reassemble your device, follow these instructions in reverse order.
To reassemble your device, follow these instructions in reverse order.
Annulation : je n'ai pas terminé ce tutoriel.
4 autres ont terminé cette réparation.
