
iPod Touch 6th Generation Logic Board Assembly Replacement

Introduction
Passez à l'étape 1In the iPod Touch 6th Generation, the logic board, battery, front-facing camera, Lightning connector, speaker, headphone jack, and home button are soldered together into a single unit. Use this guide to remove the entire assembly.
Ce dont vous avez besoin


-
-
If your display glass is cracked, keep further breakage contained and prevent bodily harm during your repair by taping the glass.
-
Lay overlapping strips of clear packing tape over the iPod's display until the whole face is covered.
-
-
-
Use a hair dryer or prepare an iOpener and apply it to the lower edge of the iPod for about a minute in order to soften up the adhesive underneath.
-
The bottom of the screen (near the home button) is held in place with strong adhesive.
-
As you start prying the screen off in the next stages, you may need to apply more heat to keep the glue warm and flexible.
-
-
-
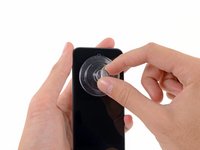
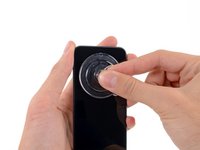
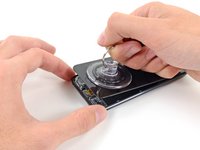
Hold the iPod firmly against a table or bench.
-
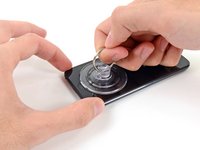
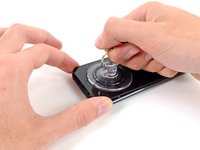
Lift the suction cup up and back toward the top of the iPod. Be patient, and pull with firm, constant force until the adhesive breaks and the display comes up from the rear case.
-
It may be necessary to use a heat gun to soften the adhesive (especially in cooler climates). If you can pry the screen apart, and the adhesive is still sticking and pulling apart like cheese topping on a pizza, you can slide a thin razor blade in and gently cut the adhesive.
-
-
-
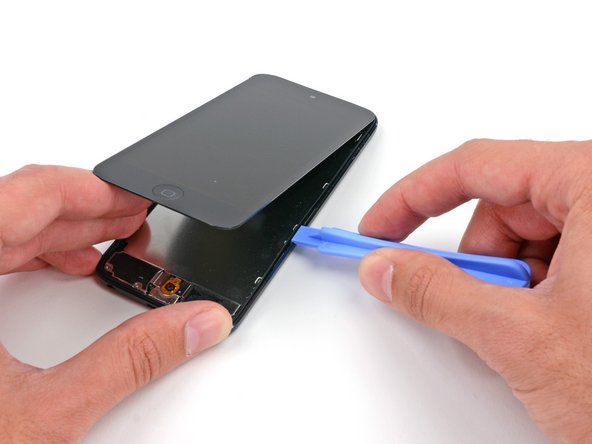
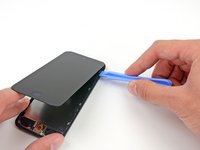
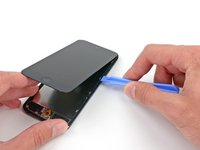
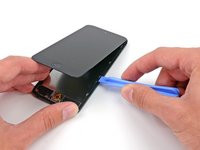
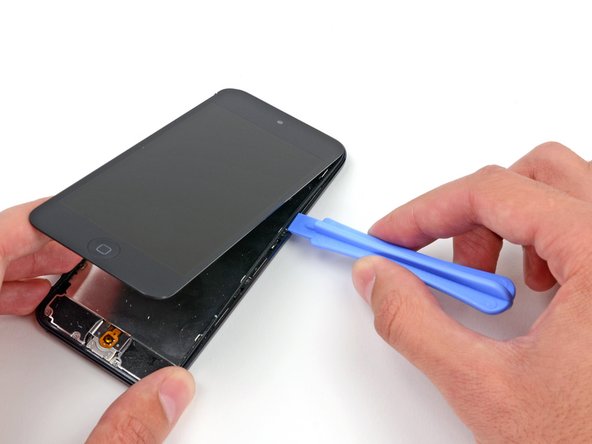
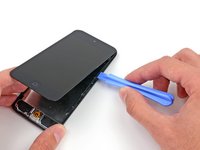
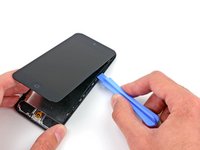
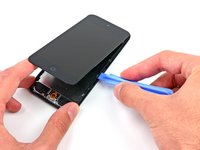
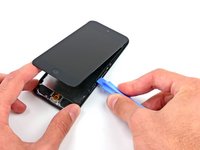
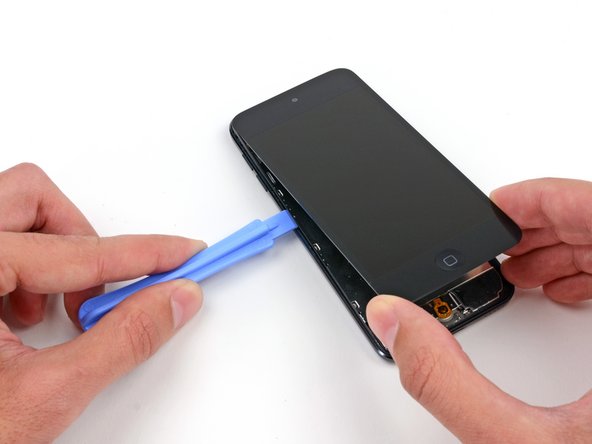
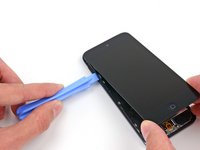
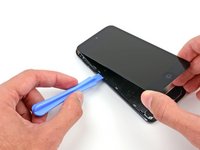
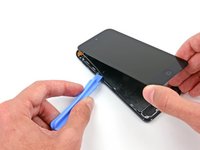
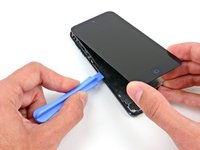
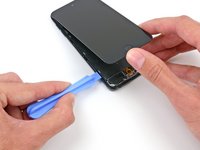
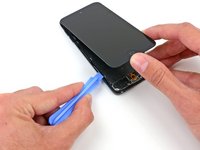
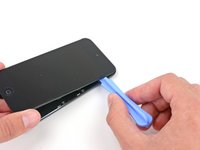
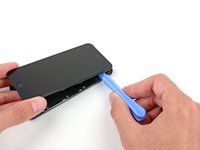
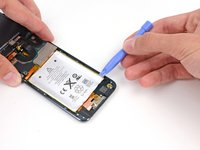
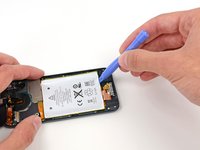
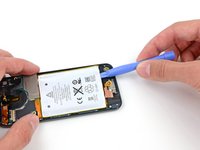
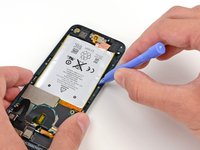
Insert the plastic opening tool between the frame and the rear case behind the first clip.
-
Rock the tool sideways, to spread the gap behind the clip and separate it from the rear case.
-
This may not free the clip initially, but repeating the procedure for each clip will begin to loosen the piece.
-
-
-
-
If your iPod has a black home button assembly rather than the orange one shown here, you can skip this step. The button is not attached to the LCD plate and does not need to be removed to complete the repair.
-
Use a plastic opening tool to pry the home button switch up from the LCD plate.
-
It may be necessary to use a heat gun or hair dryer to soften the adhesive on the back of the home button. Always use a low heat setting.
-
-
-
Remove three 1.6 mm #000 Phillips screws securing the logic board to the rear case.
-
-
-
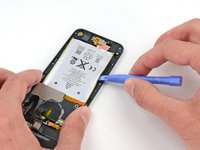
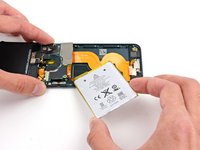
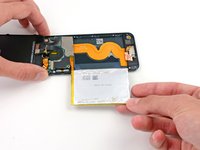
There are two strips of adhesive keeping the battery in place.
-
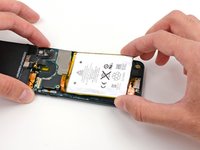
Turn the iPod over and heat the BACK of the aluminium iPod case. Do not heat the battery.
-
The aluminium case does not have to be hot; you should always be able to touch heated parts with your fingers at all times without it being uncomfortable.
-
-
-
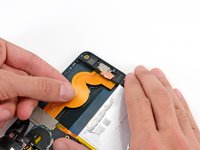
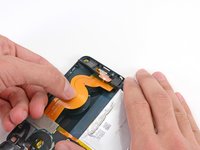
Use the flat end of a spudger to flip the front-facing camera out of its socket in the display assembly.
-
-
-
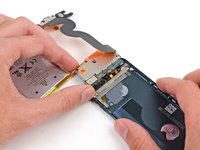
Use the tip of a spudger to peel back a small piece of tape covering a screw on the left side of the headphone jack.
-
-
-
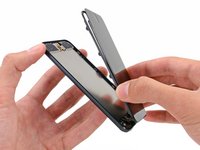
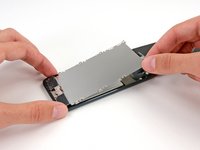
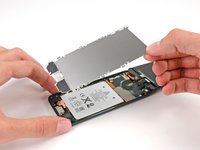
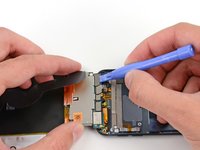
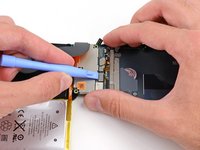
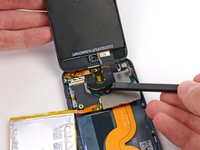
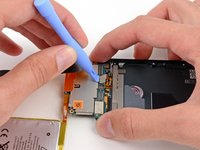
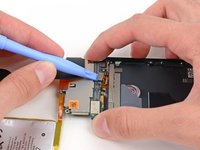
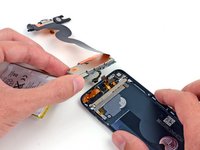
Flip the entire assembly over, exposing the back of the logic board.
-
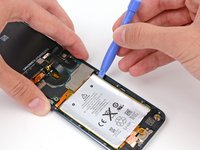
Use a plastic opening tool to disconnect the digitizer cable from the logic board.
-
-
-
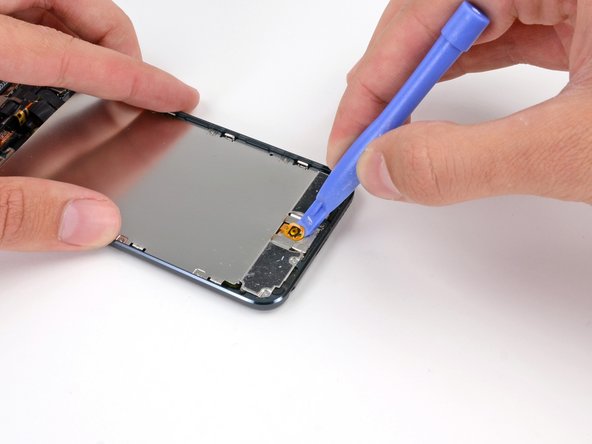
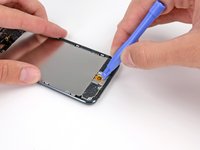
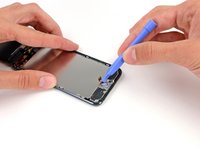
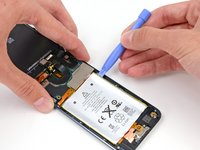
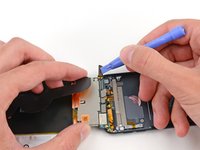
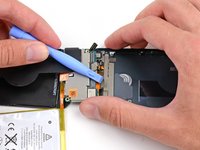
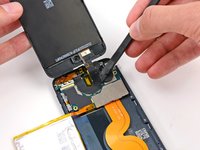
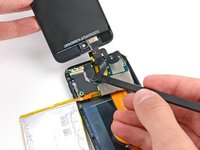
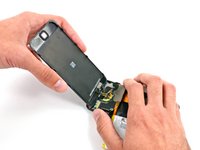
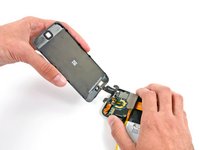
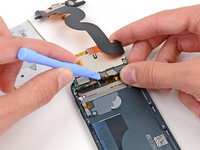
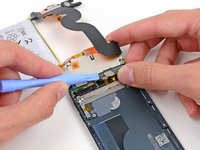
Flip the logic board assembly back over to expose the connectors on the back.
-
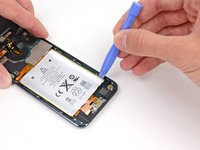
Use the edge of a plastic opening tool to gently pry the antenna connector off the back of the logic board.
-


To reassemble your device, follow these instructions in reverse order.
To reassemble your device, follow these instructions in reverse order.
Annulation : je n'ai pas terminé ce tutoriel.
9 autres ont terminé cette réparation.

3 commentaires de tutoriel
Wouldn't this be a 5th generation touch since it has the wiggle yellow flex cable while the 6th generation has a straight ribbon cable as seen on the teardown?
yes and also the home button switch is different and the battery has pull tabs. its mostly the same process but omit the ones for the home button and add steps for the battery with pull tabs
Well I have been working on my friends ipod 5th. I got a new screen but it would not go back to gether. I thank it need a battery it was puffy in the middle. I did get a new battery but some how the new screen messed up. But I'm free brave now I'm going to fix it