Traduction de l’étape 21
Étape 21

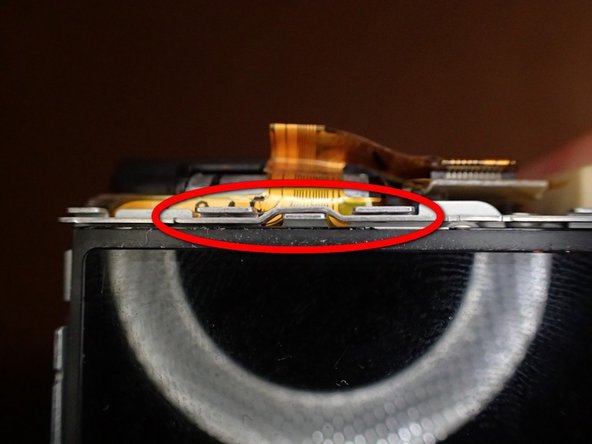


Reassembly Tips: LCD & Rear Control Panel
-
Display slides in from the right, with tabs on left end that hook into metal camera chassis.
-
Lower/right end of lens bracket hooks in first.
-
Upper/left end of lens bracket weaves between projections on metal camera chassis.
-
Rear control panel screws go on the outer edge - easy to accidentally put upper one into hole where display bracket screw goes.
Vos contributions sont faites dans le cadre de la licence open source Creative Commons.