Traduction de l’étape 6
Étape 6


-
So far disassembly has been relatively straightforward. As we hone in on the flexible display, we hope we don't screw it up—but for now, we're breezily unscrewing some Torx screws with our handy Mako kit!
-
With a bit of alcoholic coercion, the first battery of two comes free (weighing in at 4.7 Wh and just 2.6 mm thin)—but more on those later, we're on the fast track to silicon town now!
-
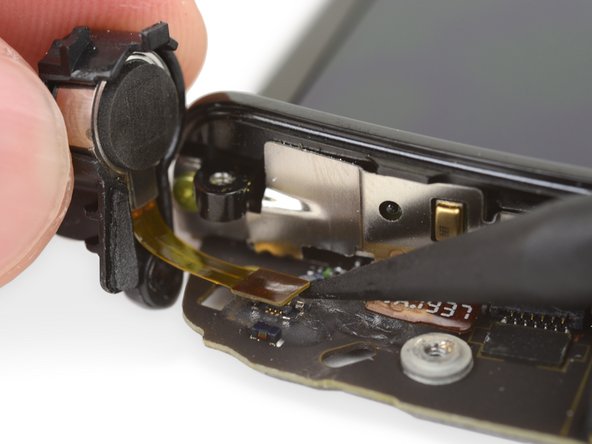
One brief pit stop on our race to motherboard glory: in removing the vibration motor (a pretty boring coin-style one) we spot some curious slime!
Vos contributions sont faites dans le cadre de la licence open source Creative Commons.