Aller au contenu principal

The aim is simple, to teardown the Xperia U to allow you to see the internals to find out the issue and resolve it or to full your curiosity. And only containing 9 screws.

You will need a T5 Screw head and a small + screw

Ce dont vous avez besoin

Outils

Cette vue éclatée n'est pas un tutoriel de réparation. Pour réparer votre Sony Xperia U, utilisez notre manuel de réparation.

  1. Sony Xperia U Teardown, Sony Xperia U Teardown: étape 1, image 1 de 1
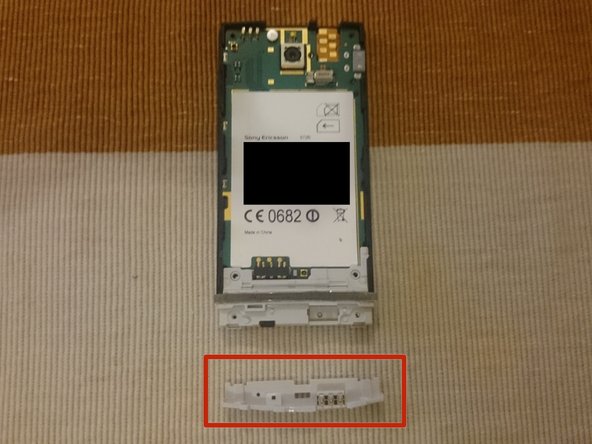
    • Remove the back cover and the bottom clip. And also remove the sim card and battery.

  2. Sony Xperia U Teardown: étape 2, image 1 de 1
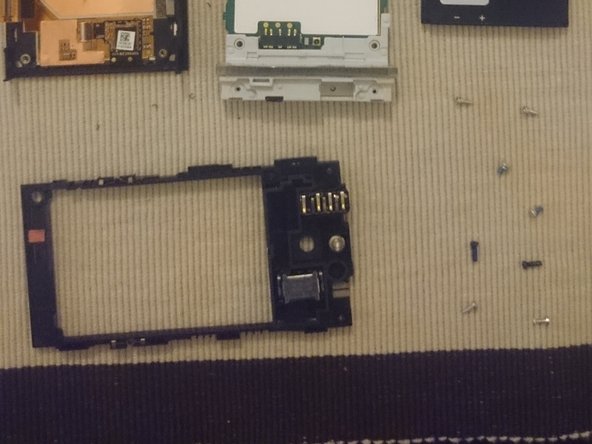
    • Remove the 6 T5 screws

  3. Sony Xperia U Teardown: étape 3, image 1 de 1
    • Remove the back piece, reveiling the headphone jack, speaker and the Liquid contact indicator.

    • Camera and flash

    • Vibrating motor

    • Headphone jack

    • Speaker

    • Liquid contact indicator

  4. Sony Xperia U Teardown: étape 4, image 1 de 2 Sony Xperia U Teardown: étape 4, image 2 de 2
    • Remove the 2 T5 screws.

    • Remove the lower antenna.

  5. Sony Xperia U Teardown: étape 5, image 1 de 2 Sony Xperia U Teardown: étape 5, image 2 de 2
    • Carefully remove the motherboard being aware on the lower left edge, there is the display connector.

    • Be aware of the display connector on the lower left.

  6. Sony Xperia U Teardown: étape 6, image 1 de 3 Sony Xperia U Teardown: étape 6, image 2 de 3 Sony Xperia U Teardown: étape 6, image 3 de 3
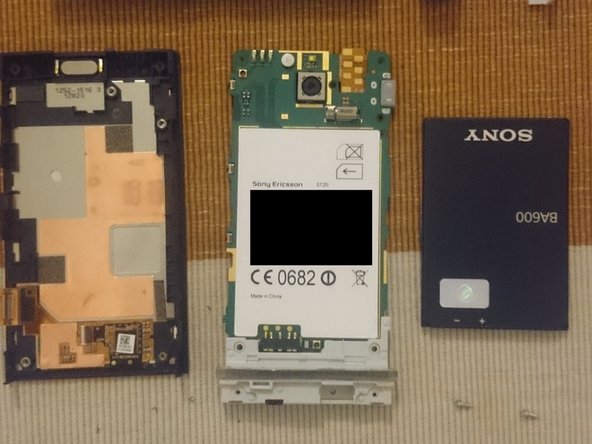
    • Removal back and bottom cap

    • Screen + main case, motherboard + antenna, battery

    • Back casing holding the headphone jack, speaker and liquid contact indicator.

Anthony

Membre depuis le 07/29/14

201 Réputation

1 tutoriel rédigé

0Commentaires sur le guide

Ajouter un commentaire

Nombre de vues :

Dernières 24 heures : 0

7 derniers jours : 0

30 derniers jours : 2

Total : 3,139