
ASUS K50IJ Screen replacement 15.6" Replacement

Introduction
Passez à l'étape 1Sometimes screens stop working. This guide will show you how to replace your screen and get back to browsing.
Ce dont vous avez besoin
Outils

-
-
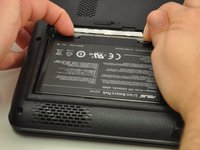
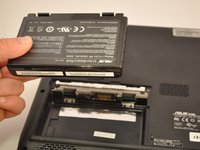
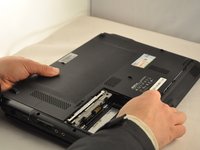
Slide the tab over to unlock the battery cover located on the bottom-left corner of the laptop.
-
-
-
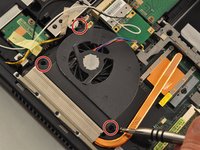
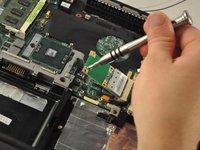
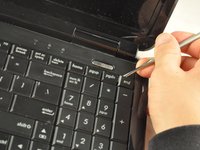
Using the PH1 screwdriver, remove the four 4 .75 mm screws that are located on the vent panel.
-
-
-
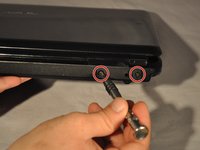
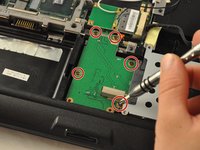
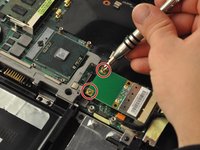
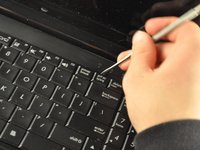
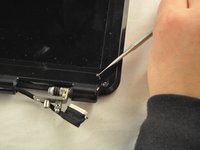
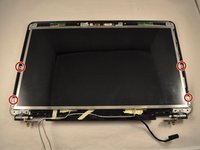
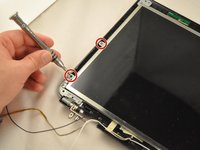
Using the PH1 screwdriver remove the two .75 mm screws from the hinge side of the laptop.
-
-
-
-
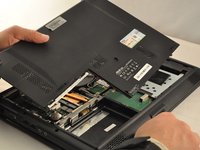
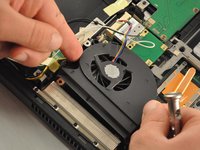
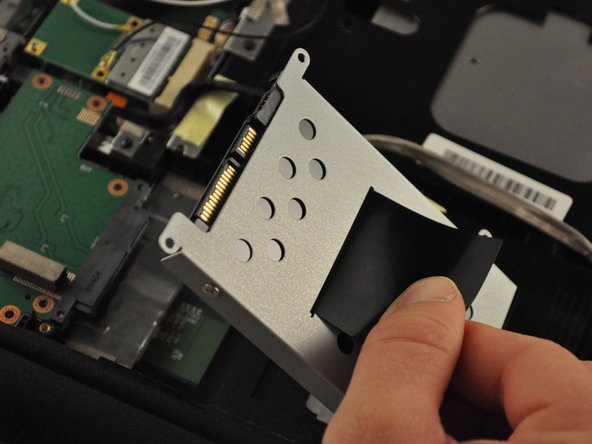
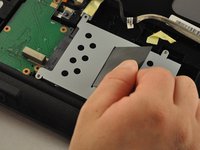
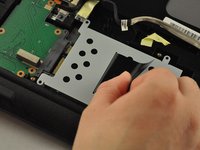
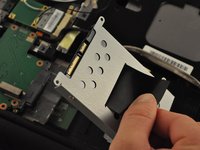
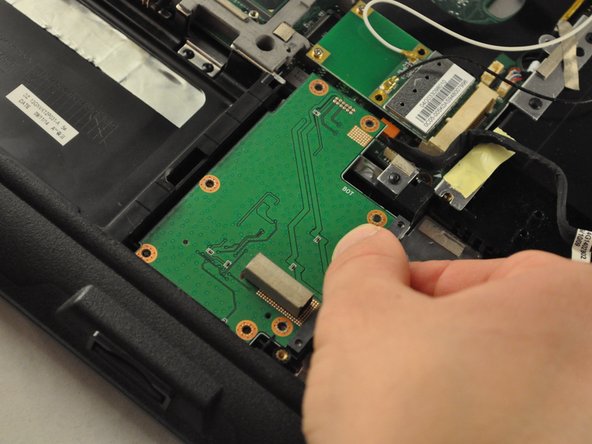
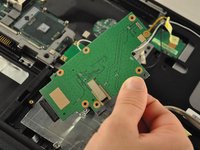
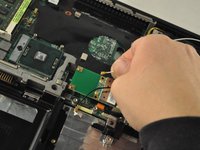
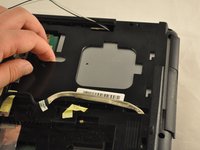
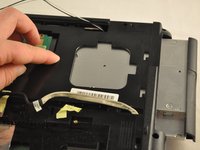
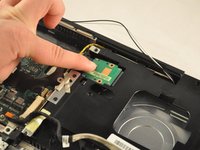
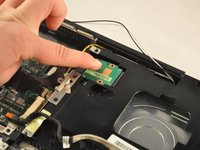
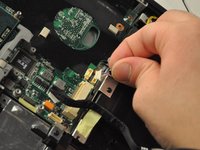
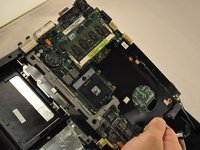
Slide the motherboard to the right and lift it up, but do not pull it completely out.
-
-
-
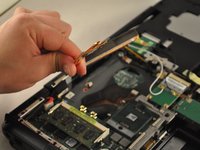
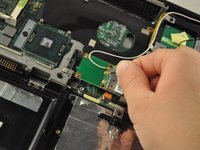
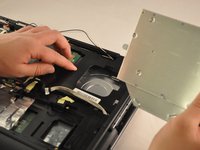
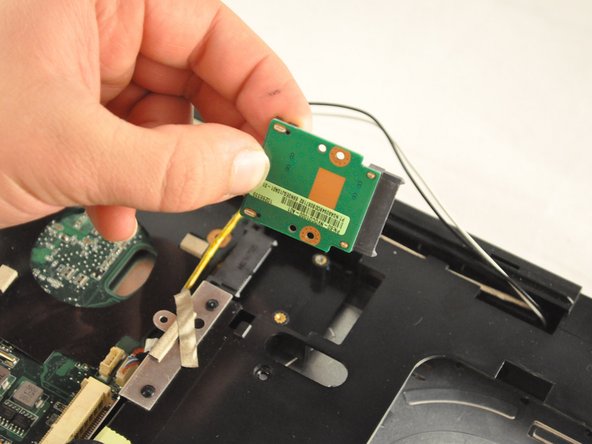
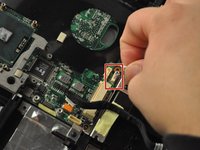
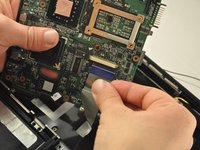
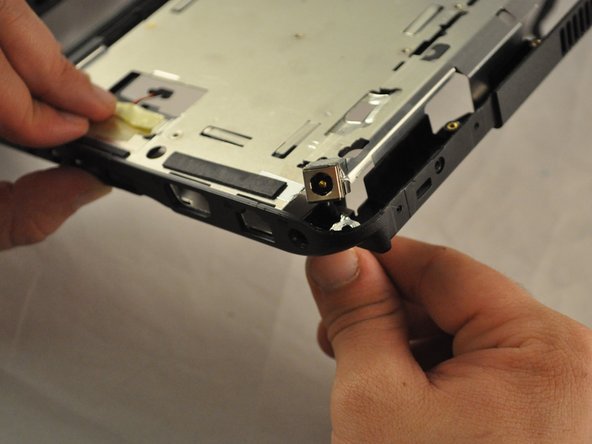
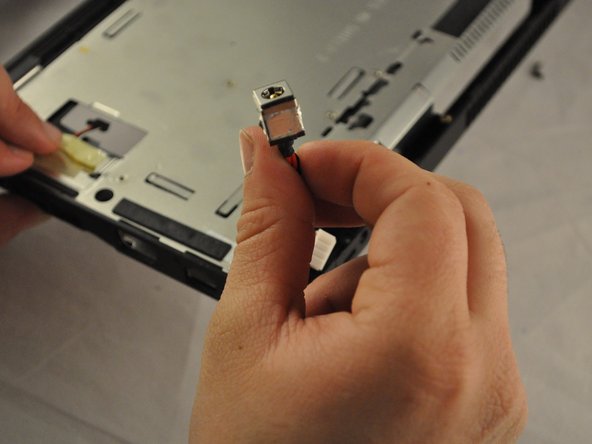
Flip the laptop back over. The charging port will be located in the top-right corner.
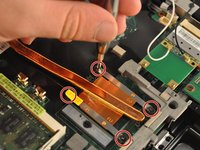
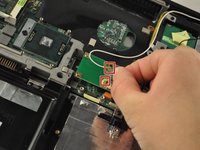
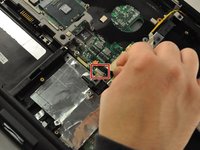
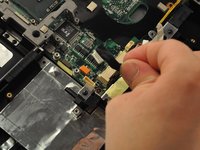
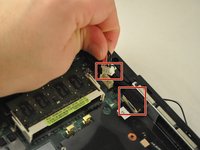
Step 30 — there are THREE cables (2 ribbon and 1 modular) attached to the face of the motherboard that you cannot see until it’s been removed.
Yes indeed, thanks Scot.
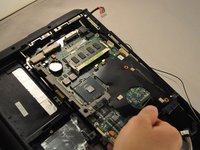
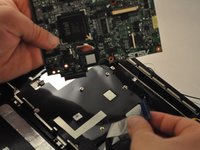
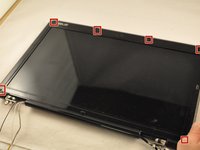
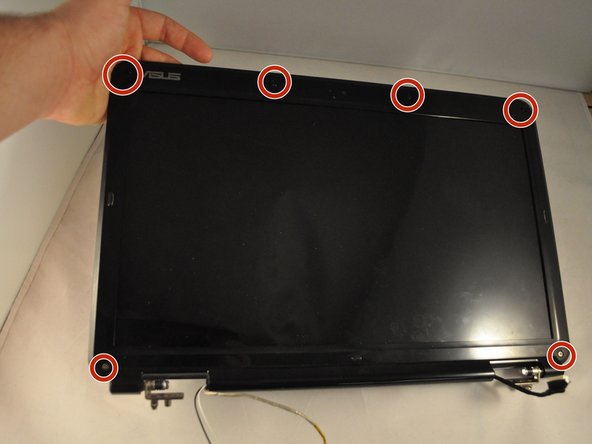
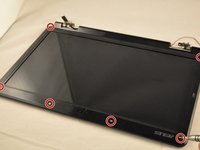
Also this guide forgets to remove all the screws around the outside edge, to remove the top cover Step 37. 7 screws by my count. 4 on I/O side, 3 on DVD side
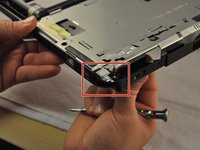
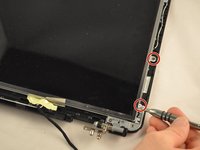
Also Step 33 removing hinges, requires the pictured screw on top of each, as well as 2 underneath each hinge
-
-
-
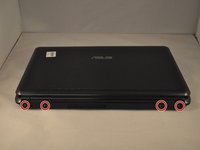
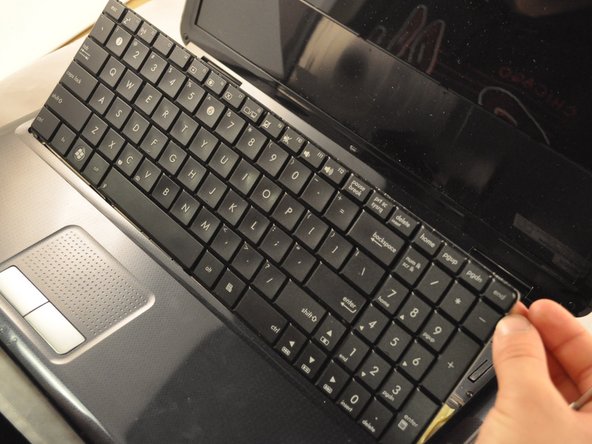
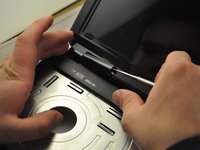
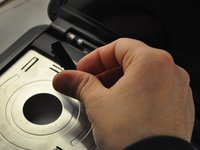
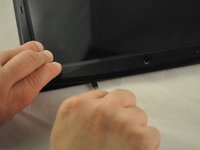
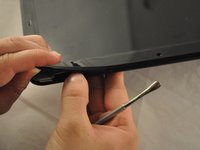
Using a metal spudger, pop off the six rubber screw covers.
-


To reassemble your device, follow these instructions in reverse order.
To reassemble your device, follow these instructions in reverse order.
Annulation : je n'ai pas terminé ce tutoriel.
Une autre personne a terminé cette réparation.

Équipe

Eastern Washington University, Team S1-G3, Carnegie Fall 2017 Membre de l'équipe Eastern Washington University, Team S1-G3, Carnegie Fall 2017
EWU-CARNEGIE-F17S1G3
4 membres
5 tutoriels rédigés
3 commentaires de tutoriel
Thank you for your time!
Now, I don´t know how to connect the cables to the motherboard because they are too short.