Aller au contenu principal
Acer Aspire ES1-512-C80E Disk Drive Replacement

Acer Aspire ES1-512-C80E Disk Drive Replacement

Peter Bulman

Peter Bulman et 3 autres contributeurs

Dernière mise à jour le January 6, 2020

15 minutes
Facile
A besoin de meilleures images

You may need to replace the disk drive in your Acer Aspire ES1-512-C80E if it does not function properly. To access the disk drive, the back cover of the device will need to be removed. The process of replacing the disk drive should take between 10-20 minutes.

Ce dont vous avez besoin

Pièces

Outils

Afficher plus…

  1. Acer Aspire ES1-512-C80E Disk Drive Replacement, Back Cover: étape 1, image 1 de 1
    • Place the device upside down on a flat surface.

    • Using a Phillips #00 screwdriver, remove all nineteen 1.2mm screws that secure the bottom cover of the device.

  2. Acer Aspire ES1-512-C80E Disk Drive Replacement: étape 2, image 1 de 3 Acer Aspire ES1-512-C80E Disk Drive Replacement: étape 2, image 2 de 3 Acer Aspire ES1-512-C80E Disk Drive Replacement: étape 2, image 3 de 3
    • Pry around the edges with a spudger to remove the back cover.

    • The two hinges on the back require additional force to be popped open.

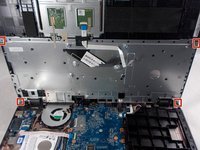
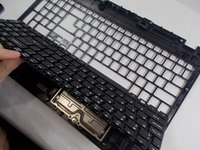
  3. Acer Aspire ES1-512-C80E Disk Drive Replacement, Keyboard: étape 3, image 1 de 3 Acer Aspire ES1-512-C80E Disk Drive Replacement, Keyboard: étape 3, image 2 de 3 Acer Aspire ES1-512-C80E Disk Drive Replacement, Keyboard: étape 3, image 3 de 3
    • The keyboard is the silver piece located by itself on the upper half of the laptop.

    • Using a Phillips #00 screwdriver, remove the four 1.2mm screws from the keyboard.

    • Using a spudger, go around the edges and pry off the keyboard.

    • All black clips will have to be removed before the keyboard can be removed.

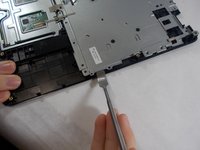
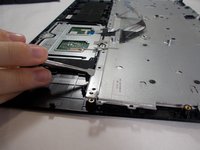
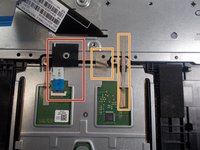
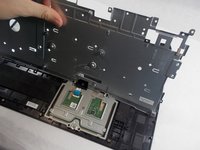
  4. Acer Aspire ES1-512-C80E Disk Drive Replacement: étape 4, image 1 de 3 Acer Aspire ES1-512-C80E Disk Drive Replacement: étape 4, image 2 de 3 Acer Aspire ES1-512-C80E Disk Drive Replacement: étape 4, image 3 de 3
    • Remove the ribbon cable connection from the keyboard.

    • Peel back the two pieces of tape to separate the keyboard.

    • Remove the keyboard from under the plastic covering.

    • Remove the silver plate back cover of the keyboard from the bottom base.

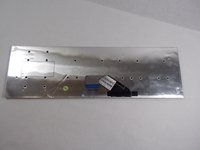
  5. Acer Aspire ES1-512-C80E Disk Drive Replacement: étape 5, image 1 de 2 Acer Aspire ES1-512-C80E Disk Drive Replacement: étape 5, image 2 de 2
    • Remove the large silver plate from the keyboard.

    • You can not remove the silver backing with the attached wire from the back of the keyboard.

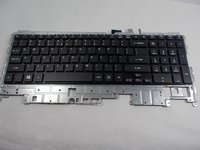
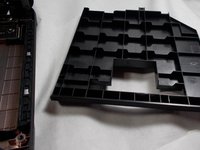
  6. Acer Aspire ES1-512-C80E Disk Drive Replacement: étape 6, image 1 de 1
    • The keyboard is removed and ready to be replaced.

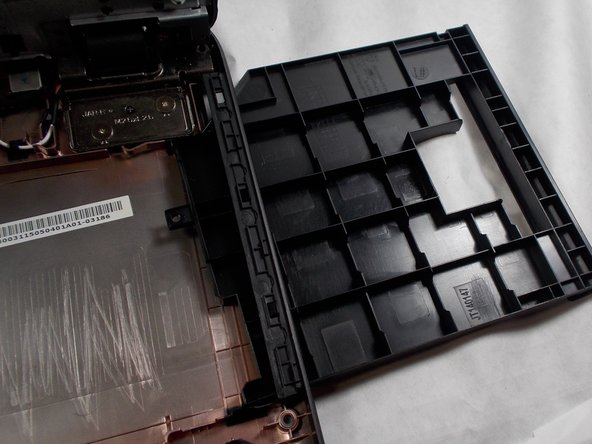
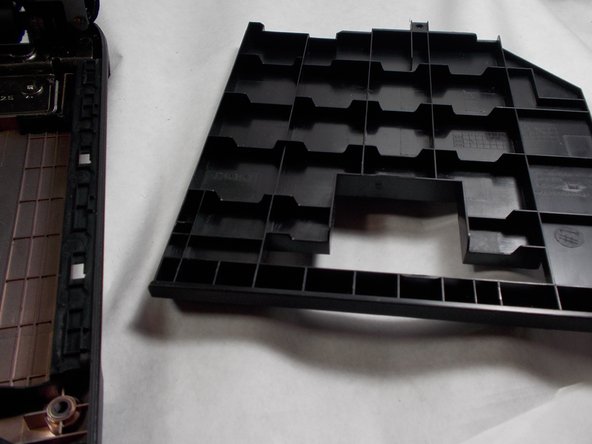
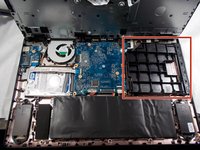
  7. Acer Aspire ES1-512-C80E Disk Drive Replacement, Disk Drive: étape 7, image 1 de 3 Acer Aspire ES1-512-C80E Disk Drive Replacement, Disk Drive: étape 7, image 2 de 3 Acer Aspire ES1-512-C80E Disk Drive Replacement, Disk Drive: étape 7, image 3 de 3
    • Push the disk drive out of the side slot.

Conclusion

To reassemble your device, follow the steps in reverse order.

Une autre personne a terminé cette réparation.

Peter Bulman

Membre depuis le 10/31/19

231 Réputation

1 tutoriel rédigé

Équipe

UMass Dartmouth, Team S2-G8, Barthe Fall 2019 Membre de l'équipe UMass Dartmouth, Team S2-G8, Barthe Fall 2019

UMASSD-BARTHE-F19S2G8

3 membres

7 tutoriels rédigés

0 commentaires

Ajouter un commentaire

Nombre de vues :

Dernières 24 heures : 0

7 derniers jours : 0

30 derniers jours : 3

Total : 498