
Acer Aspire ES1-512-C80E RAM Replacement
Introduction
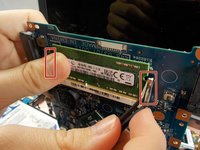
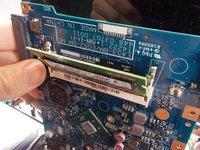
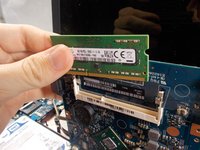
Passez à l'étape 1You may need to replace the RAM on your Acer Aspire ES1-512-C80E if you experience problems regarding the device’s power. To do this, you will need Phillip’s #00/#000 screwdrivers, and a spudger. Additionally, you will need a replacement RAM. To access the RAM, the back cover of the device will need to be removed. The process of replacing the RAM should take between 10-20 minutes.
Ce dont vous avez besoin


-
-
Place the device upside down on a flat surface.
-
Using a Phillips #00 screwdriver, remove all nineteen 1.2mm screws that secure the bottom cover of the device.
-
-
-
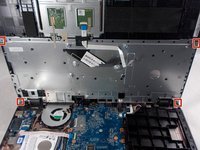
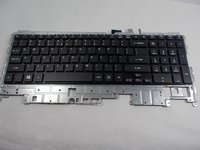
Using a Phillips #00 screwdriver, remove the four 1.2mm screws from the keyboard.
-
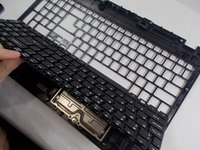
Using a spudger, go around the edges and pry off the keyboard.
-
-
-
-
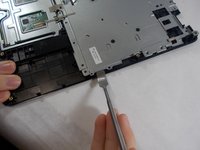
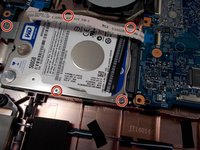
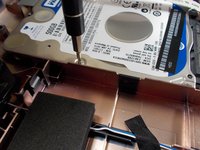
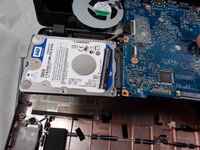
Using a Phillips #000 screwdriver, remove the five 1.2mm screws that hold the hard drive in place.
-
-
-
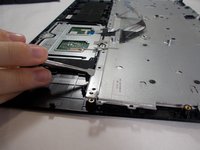
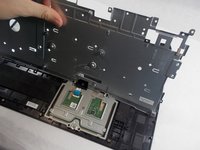
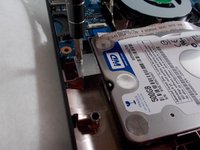
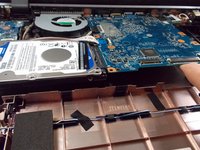
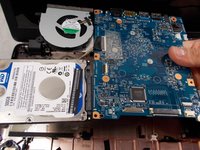
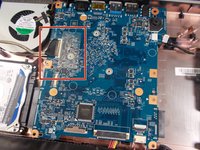
Once the four components are out of the device, the hard drive is ready to be removed.
-
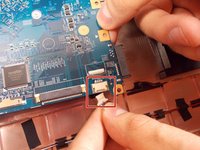
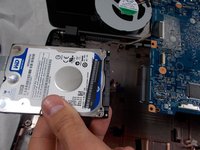
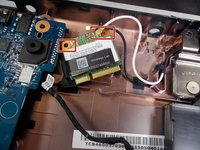
To remove the hard drive, unplug it from the motherboard.
-
-
-
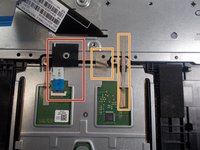
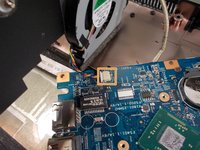
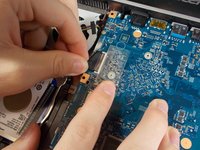
Flip over the motherboard.
-
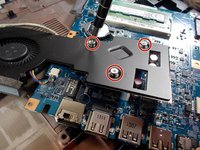
Remove all three 1.2mm screws that attach the fan to the motherboard using a Phillips #00 screwdriver.
-
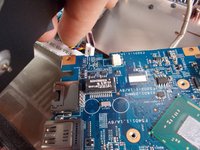
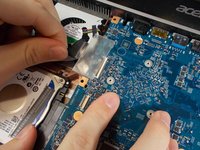
Lift the fan off of the motherboard.
-
The fan and the motherboard are still connected with wires. Remove any plugs that may be attaching the components.
-


To reassemble your device, follow these instructions in reverse order.
To reassemble your device, follow these instructions in reverse order.
Annulation : je n'ai pas terminé ce tutoriel.
Une autre personne a terminé cette réparation.
Équipe

UMass Dartmouth, Team S2-G8, Barthe Fall 2019 Membre de l'équipe UMass Dartmouth, Team S2-G8, Barthe Fall 2019
UMASSD-BARTHE-F19S2G8
3 membres
7 tutoriels rédigés