
Acer Aspire V5-571 CMOS / Bios Battery Replacement
Introduction
Passez à l'étape 1How to replace the CMOS / BIOS Battery
____________________________________________________________________
Ce dont vous avez besoin
Vidéo d'introduction
-
-
Turn off the laptop and remove the battery.
-
Remove two screws securing the Keyboard.
-
The Keyboard is held by two locking clips, under the battery. Use the sharp tip of a plastic tool to release the keyboard.
-
-
-
Remove the Keyboard and disconnect the two flex cables:
-
Keyboard flex cable
-
Keyboard Light flex cable
-
-
-
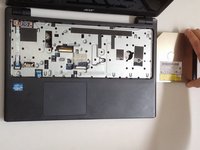
Remove the screw securing the Optical drive and gently press the drive to show slightly as at the second pic.
-
Slide the drive to the left and remove it.
-
-
-
Remove 4x phillips screws and disconnect:
-
Power On button flex cable
-
Touch pad flex cable
-
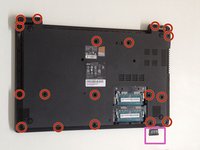
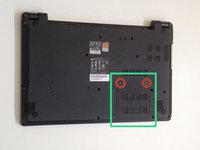
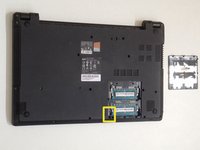
Remove 18x Phillips screws from the bottom cover.
-
Remove any memory SD Card from the Card reader.
-
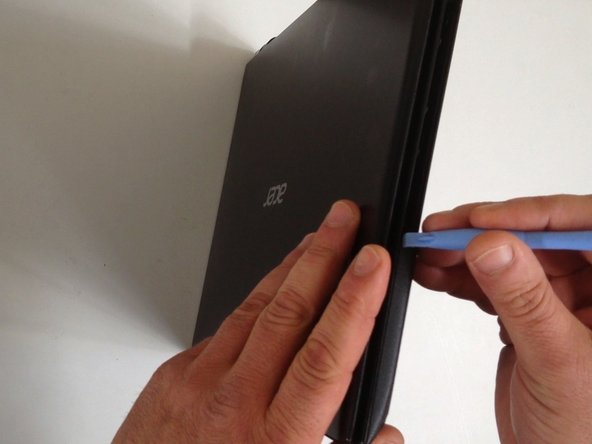
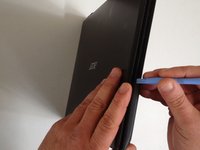
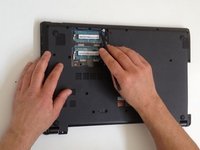
Start opening with a plastic opening tool.
After removing the 18x Phillips screws, the laptop is VERY fragile in the hinge area. The bottom cover will easily crack or break in the hinge area when opening the laptop with no screws, particularly the left side near the power button. Possibly this step should be revised to recommend opening the laptop 90 degrees before removing the 18x screws. Or, advise extreme caution when opening the laptop with no screws.
Hi, do you know where buy screws that you mention in step 4? “Remove 18x Phillips screws from the bottom cover.”
I am italian. Thank you anyway.
The laptop I have included 6x screws from inside and 16x screws from the bottom. This seems to be a minor variation from model to model.
-
-
-
-
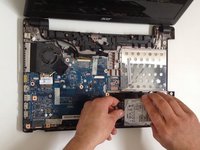
Gently remove the HDD and disconnect the SATA cable from it.
-
-
-
Remove one Phillips screw, securing th WLan card and disconnect the two coaxial antenna cables.
-
Remove the Wi-Fi card.
-
-
-
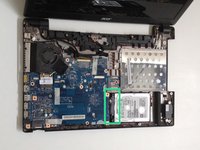
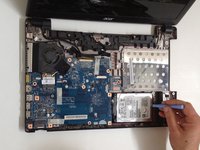
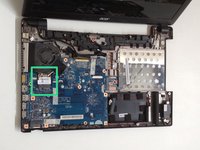
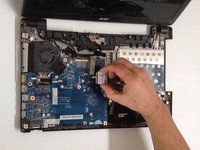
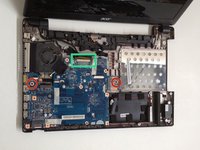
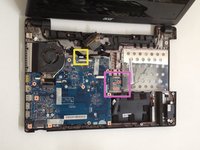
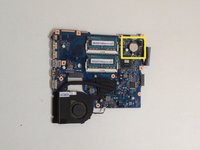
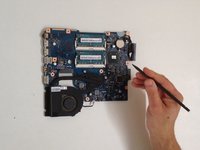
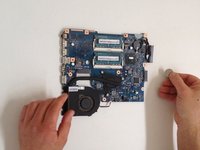
Use sharp plastic tool and remove the CMOS Battery.
-
CR2032 - button cell lithium battery rated at 3.0 volts.
-
.
-
.
-
.
-
.
-
.
-
Did you do it successfully?
-
To reassemble your device, follow these instructions in reverse order.
To reassemble your device, follow these instructions in reverse order.
Annulation : je n'ai pas terminé ce tutoriel.
7 autres ont terminé cette réparation.
7 commentaires de tutoriel
I need assistance with the G2201 Hardware Gap, Im attempting to remove a HHD password for a customers machine on this same model
I have same problem with same mother board please help me
I need assistance with the G2201 Hardware Gap, please help me
I want to solve bios password
It the message: system locked


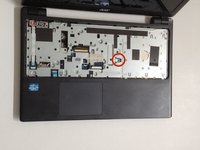
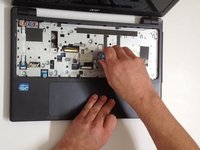


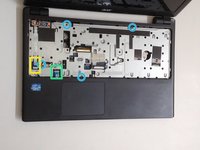


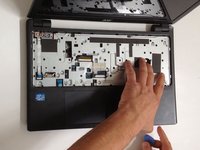
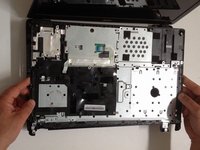
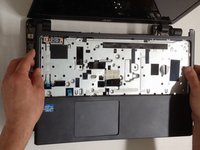








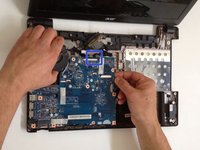


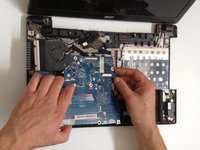
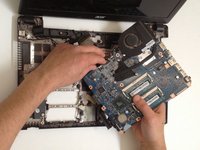
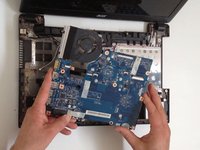




The two clips push toward the space-bar part of the keyboard. There are further clips around the edge of the keyboard, but it can be removed by careful prying with a thin blade screwdriver.
ENT - Réponse