
Amazon Kindle DX Battery Replacement
Introduction
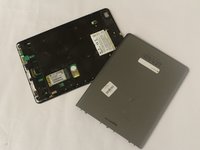
Passez à l'étape 1This guide will show you how to replace the battery in an Amazon Kindle DX. Kindle batteries can last many years, but it may be necessary to replace a battery if its performance is at an unbearable level. Rechargeable batteries of any kind can be tricky, and there can be many causes to the worsening of a battery’s health.
Some of these causes could be overcharging or undercharging. Overcharging may result from frequent usage of a device and undercharging may result from an extended period of time without access to a charger. Other possible issues may result from charging the battery to full capacity too often and also using the battery until it dies on a regular basis. Batteries are still not perfectly understood, however, so it is not often easy to pinpoint causes for deterioration of battery health.
Ce dont vous avez besoin
Pièces
Outils


Afficher plus…
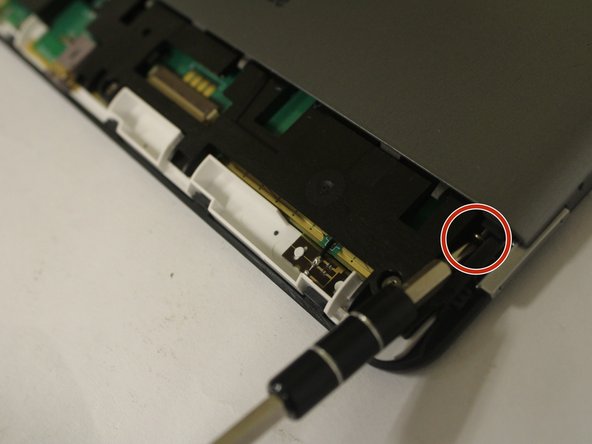
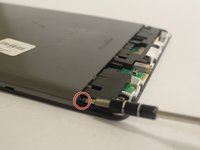
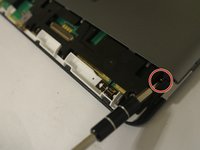
-
-
-
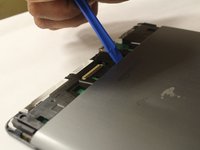
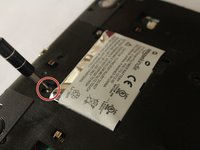
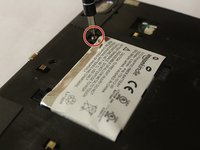
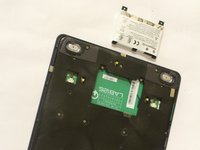
Remove the battery from the device.
-


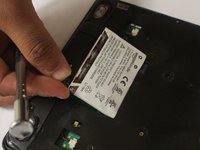
To reassemble your device, follow these instructions in reverse order.
To reassemble your device, follow these instructions in reverse order.
Annulation : je n'ai pas terminé ce tutoriel.
13 autres ont terminé cette réparation.
Équipe

USF Tampa, Team 1-5, Cagle Fall 2016 Membre de l'équipe USF Tampa, Team 1-5, Cagle Fall 2016
USFT-CAGLE-F16S1G5
3 membres
10 tutoriels rédigés
2 commentaires de tutoriel
Thank you very much for a comprehensive guide. Especially the measurements for where to insert the screwdrivers were very helpful! Kind regards - Jakob