Aller au contenu principal
Canon Powershot SD550 LCD Screen Replacement

Canon Powershot SD550 LCD Screen Replacement

Vivian Su

Vivian Su et 5 autres contributeurs

Dernière mise à jour le June 10, 2022

20 - 30 minutes
Facile
Tutoriel vedette

A cracked LCD screen is a prevalent problem in digital cameras. But, before you spend money on a new LCD screen, make sure the camera still works by taking a few pictures and uploading them to your computer. A cracked LCD will not affect the quality of the pictures. You do not want to try to replace the LCD if something else is broken.

Ce dont vous avez besoin

Outils

  • Phillips #00 Screwdriver
    Phillips #00 Screwdriver
  • Spudger
    Spudger

Afficher plus…

  1. Canon Powershot SD550 LCD Screen Replacement, Outer Case: étape 1, image 1 de 1
    • Remove the battery and SD card from the camera.

  2. Canon Powershot SD550 LCD Screen Replacement: étape 2, image 1 de 1
    • Remove the three 3.8 mm screws from the underside of the camera.

    • Each of the screws is slightly different, so it is important that you note the original location of each screw.

  3. Canon Powershot SD550 LCD Screen Replacement: étape 3, image 1 de 3 Canon Powershot SD550 LCD Screen Replacement: étape 3, image 2 de 3 Canon Powershot SD550 LCD Screen Replacement: étape 3, image 3 de 3
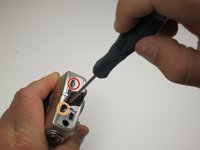
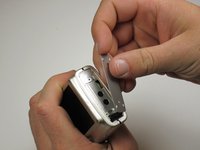
    • Remove the 3.2 mm screw from the right side of the camera.

    • Remove the 2.2 mm screw from the right side of the camera.

    • One of these screws is hidden under the USB port cover.

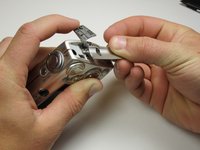
    • Lift the side panel off.

    • Remove the 1.8 mm screw from underneath the side panel.

  4. Canon Powershot SD550 LCD Screen Replacement: étape 4, image 1 de 3 Canon Powershot SD550 LCD Screen Replacement: étape 4, image 2 de 3 Canon Powershot SD550 LCD Screen Replacement: étape 4, image 3 de 3
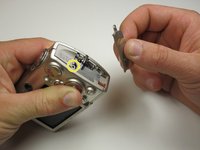
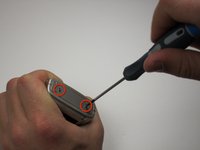
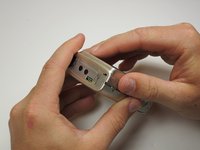
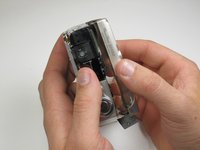
    • Remove the two 2.2 mm screws from the left side of the camera.

    • Lift the plate from the camera.

  5. Canon Powershot SD550 LCD Screen Replacement: étape 5, image 1 de 3 Canon Powershot SD550 LCD Screen Replacement: étape 5, image 2 de 3 Canon Powershot SD550 LCD Screen Replacement: étape 5, image 3 de 3
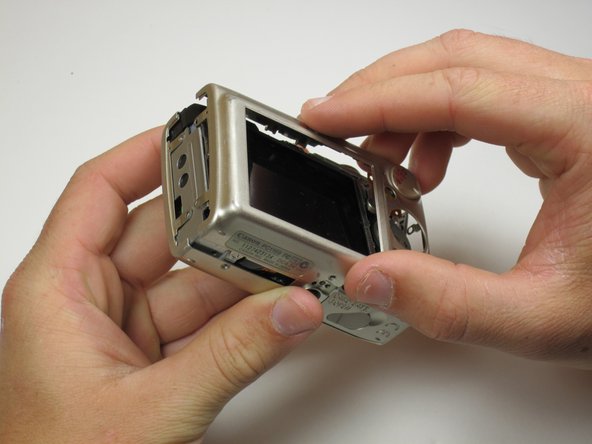
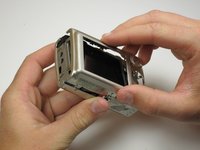
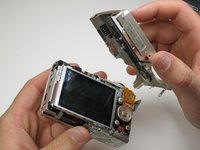
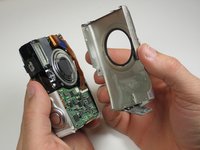
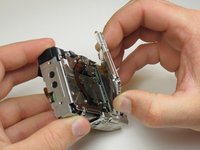
    • Gently lift the rear of the case to remove it from the camera.

  6. Canon Powershot SD550 LCD Screen Replacement: étape 6, image 1 de 3 Canon Powershot SD550 LCD Screen Replacement: étape 6, image 2 de 3 Canon Powershot SD550 LCD Screen Replacement: étape 6, image 3 de 3
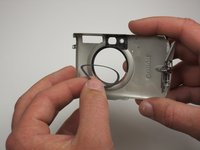
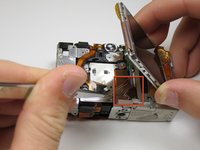
    • Remove the front of the camera body.

    • Be sure to keep track of the rubber ring.

  7. Canon Powershot SD550 LCD Screen Replacement, LCD Screen: étape 7, image 1 de 3 Canon Powershot SD550 LCD Screen Replacement, LCD Screen: étape 7, image 2 de 3 Canon Powershot SD550 LCD Screen Replacement, LCD Screen: étape 7, image 3 de 3
    • Peel the navigation buttons from the button panel and set them aside.

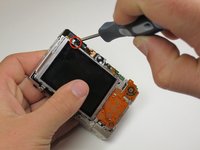
    • To free the LCD display, remove the 2.9 mm screw in the top left corner.

    • Rotate the screen clockwise until it lifts away from the camera.

    • There are two ribbon cables attached to the rear of the screen. Do not try to pull the screen off at this point.

  8. Canon Powershot SD550 LCD Screen Replacement: étape 8, image 1 de 2 Canon Powershot SD550 LCD Screen Replacement: étape 8, image 2 de 2
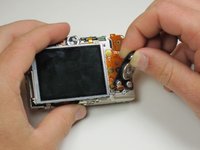
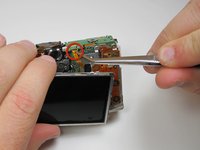
    • To unplug the ribbon cables, pull them straight out of their plugs. Do this gently to avoid damaging the connections.

    • After disconnecting both cables, pull the screen away from the camera to remove it.

Conclusion

To reassemble your device, follow these instructions in reverse order.

2 autres ont terminé cette réparation.

Vivian Su

Membre depuis le 04/17/11

31 Réputation

1 tutoriel rédigé

Équipe

Cal Poly, Team 18-23, Garner Spring 2011 Membre de l'équipe Cal Poly, Team 18-23, Garner Spring 2011

CPSU-GARNER-S11S18G23

5 membres

7 tutoriels rédigés

0 commentaires de tutoriel

Ajouter un commentaire

Nombre de vues :

Dernières 24 heures : 0

7 derniers jours : 3

30 derniers jours : 35

Total : 3,414