
Canon Powershot SD550 Zoom Lens Assembly Replacement
Introduction
Passez à l'étape 1The lens is the device that focuses the image seen by a camera. Because it is the only moving part, it can easily malfunction, causing blurry pictures or even a camera error.
Ce dont vous avez besoin


-
-
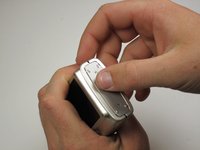
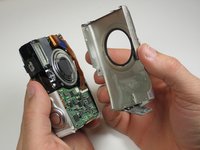
Remove the front of the camera body.
-
-
-
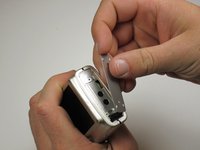
Peel the navigation buttons from the button panel and set them aside.
-
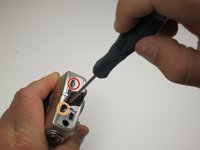
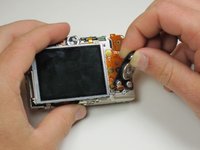
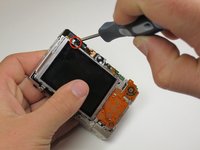
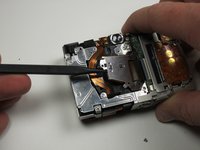
To free the LCD display, remove the 2.9 mm screw in the top left corner.
-
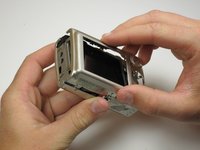
Rotate the screen clockwise until it lifts away from the camera.
After removing the screw, there are two metal hooks overlapping. Once those are separated, it was easy to lift the display. Also, this metal bracket kept falling off.
im a bit confused, what does it mean to rotate the screen clockwise? mine isnt budging, and im too afraid to force it. (ive tried doing all previous instructions)
-
-
-
-
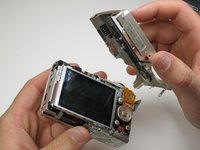
To unplug the ribbon cables, pull them straight out of their plugs. Do this gently to avoid damaging the connections.
-
After disconnecting both cables, pull the screen away from the camera to remove it.
During reassembly, I had to remove the button assembly to attach the large ribbon cable. I had to remove these two screws (there is a hidden ribbon cable under the button assembly, be careful)
-
-
-
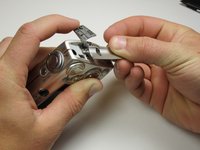
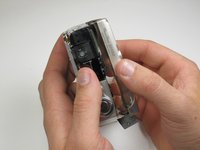
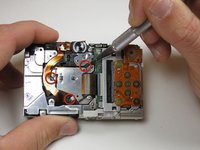
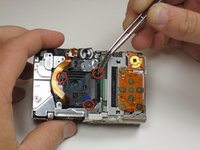
Now the photo sensor is exposed. In order to remove the ribbon cable from its port, first flip up the blue locking mechanism.
-
After the cable is unlocked, it easily pulls free.
-
-
-
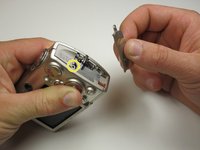
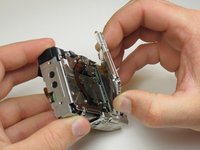
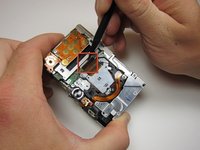
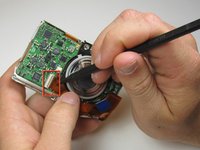
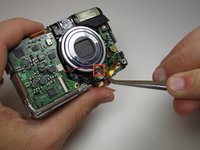
In order to remove the photo sensor, you will have to cut through glue and remove screws.
-
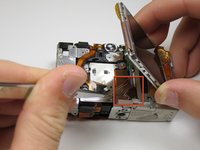
Use a knife to carefully slice through the glue at the tree points indicated. Try not to cut through anything but the glue to avoid damage.
-
Now remove the three .15 inch screws holding the photo sensor to the camera frame.
-
-
-
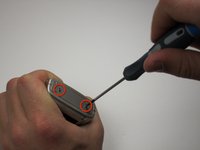
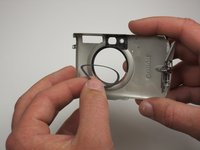
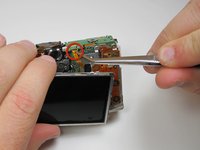
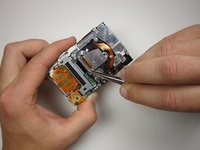
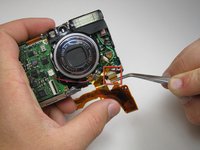
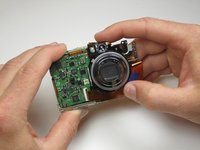
Once the image sensor is removed, turn the camera over and find the screw in the bottom right corner.
-
Remove this .01 inch screw to free the ribbon cables.
-
-
-
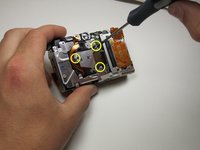
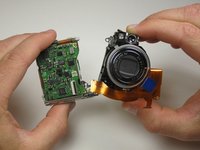
Next, remove the three .12 inch screws that hold the lens assembly to the camera.
-


To reassemble your device, follow these instructions in reverse order.
To reassemble your device, follow these instructions in reverse order.
Annulation : je n'ai pas terminé ce tutoriel.
2 autres ont terminé cette réparation.
Équipe

Cal Poly, Team 18-23, Garner Spring 2011 Membre de l'équipe Cal Poly, Team 18-23, Garner Spring 2011
CPSU-GARNER-S11S18G23
5 membres
7 tutoriels rédigés