Aller au contenu principal
Ceiling Fan Pull Chain Switch Replacement

Ceiling Fan Pull Chain Switch Replacement

Berkeli Alashov

Berkeli Alashov et 3 autres contributeurs

Dernière mise à jour le June 23, 2022

10 - 20 minutes
Modérée
Photos d’action

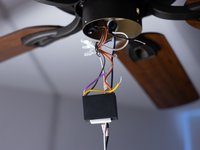
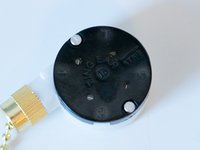
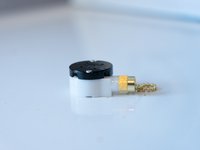
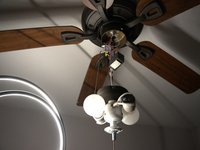
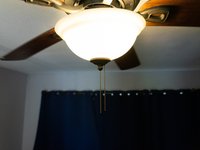
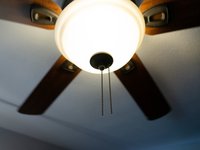
This guide will show you how to replace a ceiling fan pull chain switch.

Ceiling fan pull chains can break in two different ways:

  1. Chain breaks somewhere in the middle, outside the fan housing
    • In this case, the chain can be fixed by adding an extension chain.
  2. Chain breaks inside the fan housing
    • The chain will not be visible from the outside, so the fan housing must be opened to replace the chain or the pull chain switch itself.

This is a guide for replacing the pull chain switch.

Warning: Following this guide may expose you to voltage. Turn off the power from the circuit breaker and turn off any light switches that provide power to the ceiling fan to prevent injury.

Ce dont vous avez besoin

Pièces

Outils

Afficher plus…

iFixit touche une commission lorsque vous achetez par l'intermédiaire de ces liens.
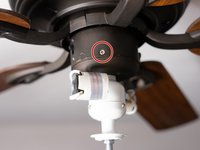
  1. Ceiling Fan Pull Chain Switch Replacement, Pull Chain Switch: étape 1, image 1 de 2 Ceiling Fan Pull Chain Switch Replacement, Pull Chain Switch: étape 1, image 2 de 2
    • Caution: Turn off the power from the circuit breaker and turn off any light switches that provide power to the ceiling fan.

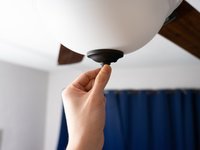
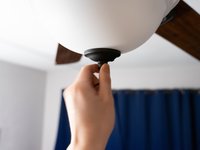
    • Remove the white cover by unscrewing the nut on the bottom from where the chain is hanging.

  2. Ceiling Fan Pull Chain Switch Replacement: étape 2, image 1 de 3 Ceiling Fan Pull Chain Switch Replacement: étape 2, image 2 de 3 Ceiling Fan Pull Chain Switch Replacement: étape 2, image 3 de 3
    • Caution: Let the bulbs cool off before you remove them.

    • Remove the bulbs from their sockets.

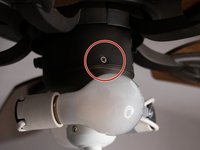
  3. Ceiling Fan Pull Chain Switch Replacement: étape 3, image 1 de 2 Ceiling Fan Pull Chain Switch Replacement: étape 3, image 2 de 2
    • Remove the screws around the base.

    • Remove the fan housing.

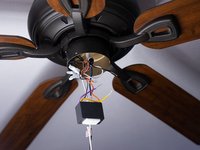
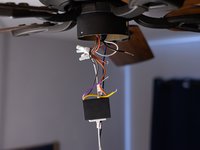
  4. Ceiling Fan Pull Chain Switch Replacement: étape 4, image 1 de 1
    • Pull the switch out of the fan housing, leaving the wires attached.

  5. Ceiling Fan Pull Chain Switch Replacement: étape 5, image 1 de 3 Ceiling Fan Pull Chain Switch Replacement: étape 5, image 2 de 3 Ceiling Fan Pull Chain Switch Replacement: étape 5, image 3 de 3
    • Cut the colored wires from the switch using a pair of wire cutters.

    • On some switch models, the wires can be detached by pulling.

  6. Ceiling Fan Pull Chain Switch Replacement: étape 6, image 1 de 3 Ceiling Fan Pull Chain Switch Replacement: étape 6, image 2 de 3 Ceiling Fan Pull Chain Switch Replacement: étape 6, image 3 de 3
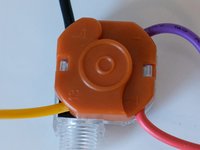
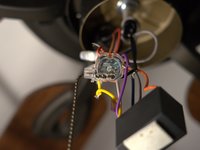
    • Note the wire colors and the terminal they attach to on the old switch.

    • 1 - Red

    • 2 - Purple

    • 3 - Yellow

    • L - Black

  7. Ceiling Fan Pull Chain Switch Replacement: étape 7, image 1 de 1
    • Attach the colored wires to the new switch's respective terminals.

  8. Ceiling Fan Pull Chain Switch Replacement: étape 8, image 1 de 2 Ceiling Fan Pull Chain Switch Replacement: étape 8, image 2 de 2
    • Put back the switch in the hole in the fan housing from the inside.

    • Tighten up the screws on the outside.

  9. Ceiling Fan Pull Chain Switch Replacement: étape 9, image 1 de 3 Ceiling Fan Pull Chain Switch Replacement: étape 9, image 2 de 3 Ceiling Fan Pull Chain Switch Replacement: étape 9, image 3 de 3
    • Put back the white cover and then tighten up the nut at the bottom of the cover from where the chain is hanging.

  10. Ceiling Fan Pull Chain Switch Replacement: étape 10, image 1 de 2 Ceiling Fan Pull Chain Switch Replacement: étape 10, image 2 de 2
    • Turn the power back on and test the switch to find if it is working or not.

Ligne d'arrivée

3 autres ont terminé cette réparation.

Berkeli Alashov

Membre depuis le 02/25/21

244 Réputation

1 tutoriel rédigé

Équipe

0 commentaires de tutoriel

Ajouter un commentaire

Nombre de vues :

Dernières 24 heures : 5

7 derniers jours : 33

30 derniers jours : 172

Total : 14,029