
Dell Inspiron 14z-5423 Fan Replacement
Introduction
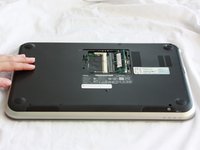
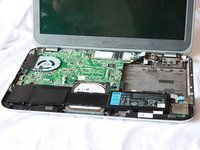
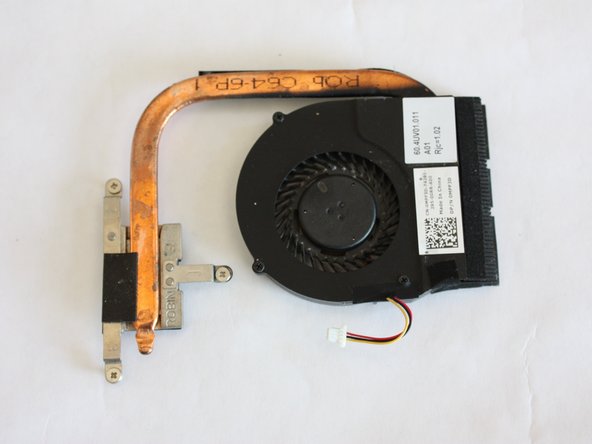
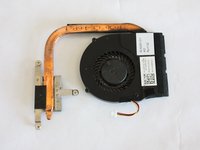
Passez à l'étape 1The fan in this laptop prevents the computer from overheating. It provides good airflow into the computer and out through the vents. Any clogging or damage could cause other problems in your computer.
Ce dont vous avez besoin


-
-
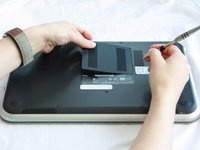
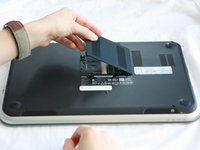
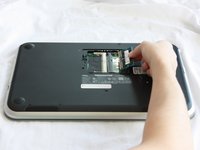
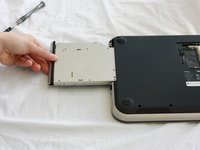
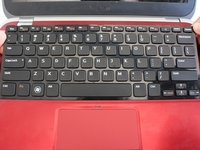
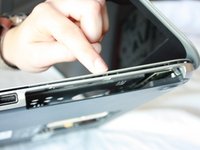
Slide the CD/DVD drive on the side of the laptop out using your fingers.
-
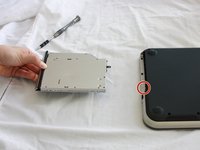
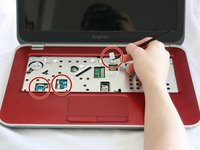
Using a J0 bit screwdriver, unscrew the one 2 mm Phillips screw.
-
-
-
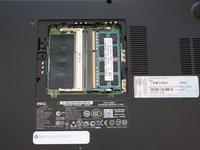
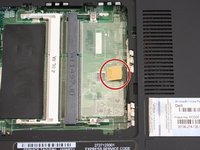
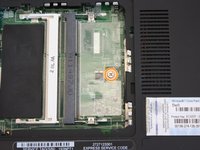
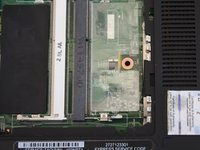
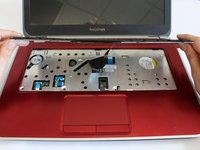
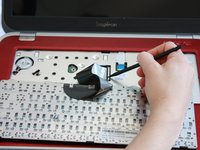
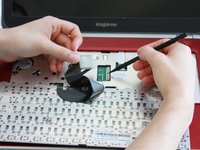
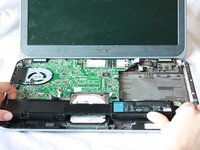
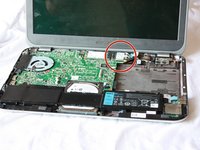
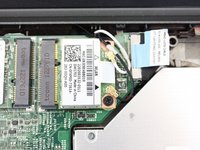
Lift the plastic yellow flap on the system board.
-
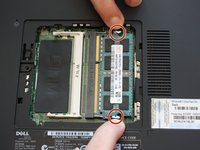
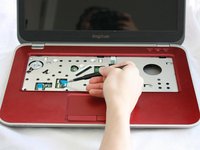
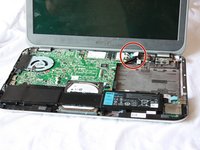
Use the J0 Bit screwdriver to remove the one 6 mm Phillips screw in center of the system board that is connected to the keyboard.
-
-
-
-
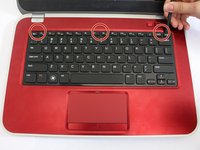
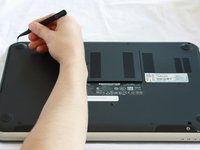
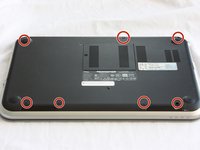
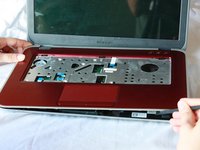
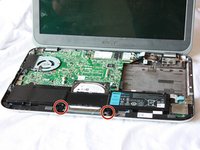
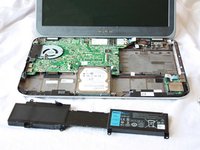
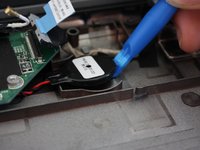
Use a J0 Bit screwdriver to remove the two 6 mm Phillips screws securing the battery located near the bottom of the laptop.
-
-
-
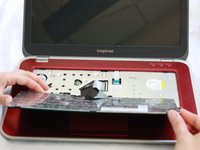
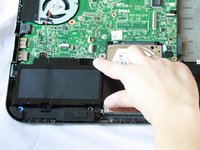
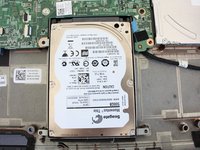
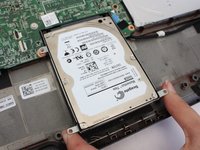
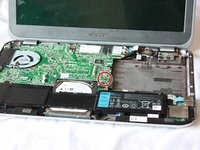
Lift up the bottom of the hard drive which is located at the bottom of the laptop.
-
Gently pull the drive out at an angle using your fingers.
-
-
-
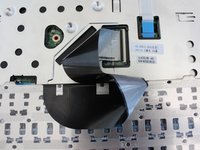
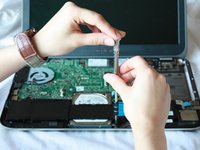
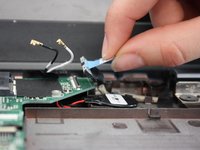
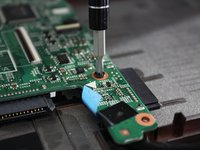
Gently pull the the blue ribbon upwards to disconnect the computer from the motherboard.
-
-
-
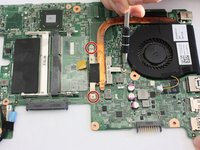
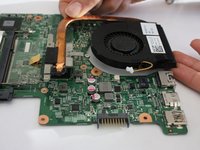
Flip the motherboard over.
-
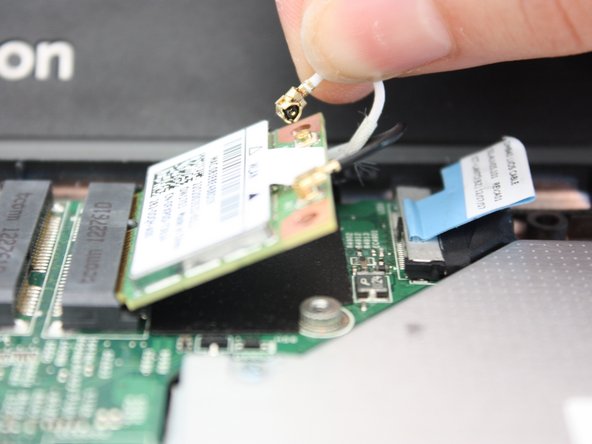
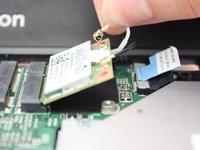
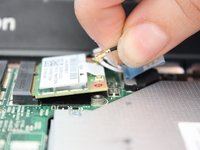
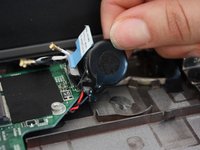
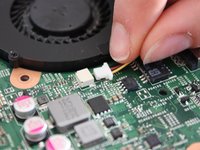
Locate the red and yellow wires attached to the fan and gently detach them from the motherboard.
-


To reassemble your device, follow these instructions in reverse order.
To reassemble your device, follow these instructions in reverse order.
Annulation : je n'ai pas terminé ce tutoriel.
3 autres ont terminé cette réparation.
Équipe

CSU Fullerton, Team 2-2, Bruce Fall 2016 Membre de l'équipe CSU Fullerton, Team 2-2, Bruce Fall 2016
CSUF-BRUCE-F16S2G2
5 membres
11 tutoriels rédigés
2 commentaires
Hurrah, just used these instructions to replace my fan and have a beautifully silent working laptop again - thanks! I skipped steps 20-23, and it would have been useful to have a mention that thermal compound was necessary to make a good connection when replacing the heat sink - but all in all great clear instructions. One happy good-as-new laptop owner!
This guide was bloody marvellous! This was the first time I’ve opened a laptop by myself and it was quite a ride but a fun one the only struggle that I had was the bloody blue ribbon connecting to the motherboard other than that the rest was really easy to follow. Thank you so much for the guide and I hope I can some day be a contributor just as great as you random internet person ^^