Dell Inspiron 1525 LCD Replacement
Introduction
Passez à l'étape 1Use this guide to help you replace the LCD on a Dell Inspiron 1525.
Ce dont vous avez besoin
Pièces
Outils
Afficher plus…
-
-
Remove the two 4.00 mm Phillips #1 screws from the battery tray.
-
-
-
Remove the two 5.75 mm Phillips #1 screws securing the keyboard to the laptop.
-
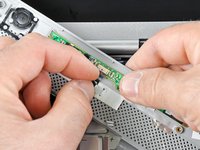
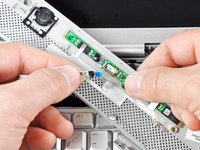
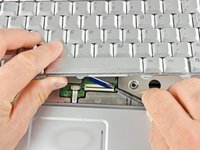
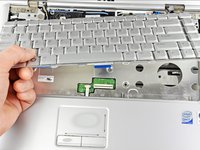
Gently slide the keyboard towards the display until the tabs on its front side are free.
-
-
-
-
Remove/loosen the eight 4.80 mm Phillips #1 screws securing the bottom panel.
-
The screws may only need to be loosened, as they are generally retained by plastic washers.
-
Remove the bottom panel.
-
-
-
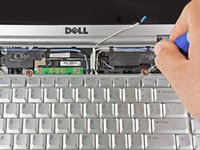
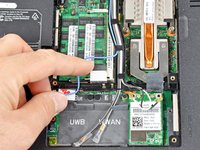
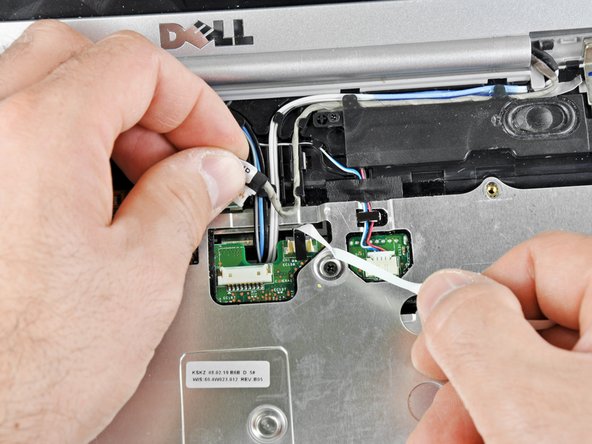
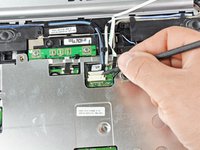
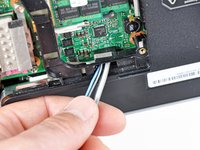
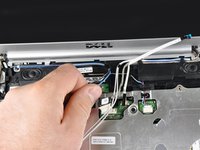
Disconnect the five antennas from their respective cards.
-
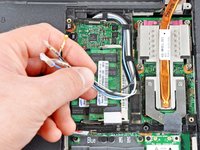
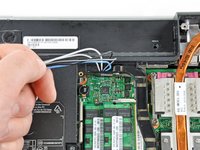
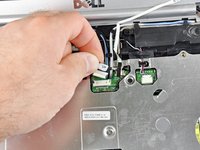
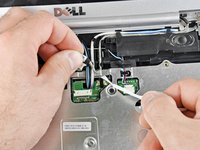
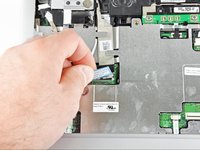
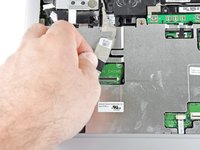
De-route the antennas from their routing retainers.
-
-
-
Use the pointed side of a spudger to peel the six small rubber feet off the display assembly.
-
Remove the six 6.05 mm Phillips #1 screws hidden beneath each of the rubber feet.
-
To reassemble your device, follow these instructions in reverse order.
To reassemble your device, follow these instructions in reverse order.
Annulation : je n'ai pas terminé ce tutoriel.
15 autres ont terminé cette réparation.


