
Dell Latitude E7440 Screen Replacement

Introduction
Passez à l'étape 1Use this manual to replace the screen of your Latitude E7440.
Ce dont vous avez besoin

-
-
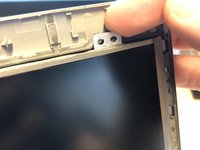
Take a plastic opener and carefully slide it between the screen bezel and the back cover. I started on the left upper corner.
-
-
-
-
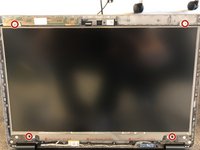
Remove the 4 screws in the corners.
-
Please note that the 2 upper screws are different from the other 2 screws down. The silver (shorter) screws belongs in the top and the black (longer) screws belong down.
-
-
-
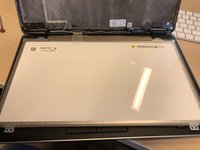
Lift the screen out (do not remove the screen!) with your fingers, it should come off easily.
-
You are able to put the screen on the keyboard, there is enough space between the cable and the screen.
-
-
-
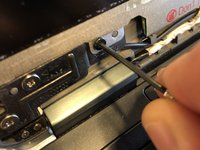
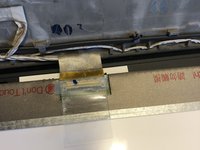
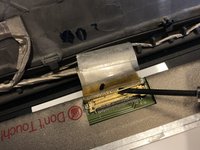
Remove the plastic flap which is securing the connector. Do not entirely remove the flap, but just create enough space to reach the connector.
-
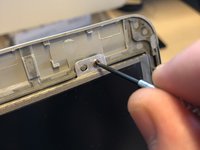
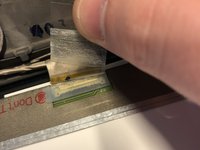
And there is another flap which is directly on the connector, remove it with your plastic opening tool. You can remove this one entirely from the connector. The connector should now be visible.
-
-
-
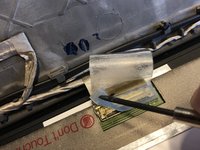
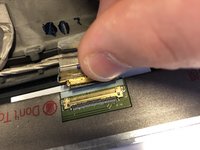
There is a metal clip securing the connector, just pull it upwards carefully with your opening tool.
-
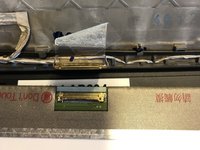
Hold on the metal clip and pull it out right of the socket (pull it towards the back cover). It should come out easily.
-
That's it. You can now remove the screen. Please follow this guide in reverse to connect your new screen.
-


To reassemble your device, follow these instructions in reverse order.
This is my first guide, hopefully it will help you to take out the screen.
To reassemble your device, follow these instructions in reverse order.
This is my first guide, hopefully it will help you to take out the screen.
Annulation : je n'ai pas terminé ce tutoriel.
6 autres ont terminé cette réparation.

Équipe

Protectors Of The Game Systems Membre de l'équipe Protectors Of The Game Systems
Community
6 membres
35 tutoriels rédigés
8 commentaires de tutoriel
Super Erklärt Danke dafür.
Gruß Dieter
My pleasure!
————
Bitte shön!
I’m surprised how easy it is.