Aller au contenu principal

Dell Studio 1555 Keyboard Replacement

Ce dont vous avez besoin

  1. Dell Studio 1555 Keyboard Replacement, Battery: étape 1, image 1 de 1
    • Turn off and unplug the laptop.

    • Failure to properly turn off device before handling the battery could result in electrical shock.

    • Flip the laptop so the underside is facing up with the battery closest to you.

  2. Dell Studio 1555 Keyboard Replacement: étape 2, image 1 de 3 Dell Studio 1555 Keyboard Replacement: étape 2, image 2 de 3 Dell Studio 1555 Keyboard Replacement: étape 2, image 3 de 3
    • Slide the locking switch to the left to release the battery.

  3. Dell Studio 1555 Keyboard Replacement: étape 3, image 1 de 1
    • Gently pull the battery away from the device.

  4. Dell Studio 1555 Keyboard Replacement, Keyboard: étape 4, image 1 de 1
    • Remove the single 3mm screw underneath the battery with a #1 Phillips screw driver, which holds the media control cover.

  5. Dell Studio 1555 Keyboard Replacement: étape 5, image 1 de 2 Dell Studio 1555 Keyboard Replacement: étape 5, image 2 de 2
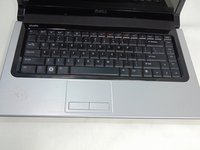
    • Flip the laptop over and flatten it out as much as possible.

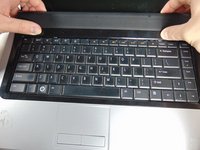
    • Unsnap the media control cover from the laptop starting nearest to the display.

  6. Dell Studio 1555 Keyboard Replacement: étape 6, image 1 de 2 Dell Studio 1555 Keyboard Replacement: étape 6, image 2 de 2
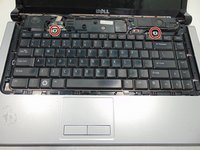
    • Remove the two 3mm screws with a #1 Phillips screwdriver, holding down the keyboard.

  7. Dell Studio 1555 Keyboard Replacement: étape 7, image 1 de 1
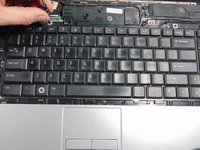
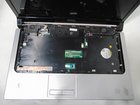
    • Slowly lift the keyboard away from the base.

    • If you pull to hard you risk breaking the keyboard cable connector from the motherboard.

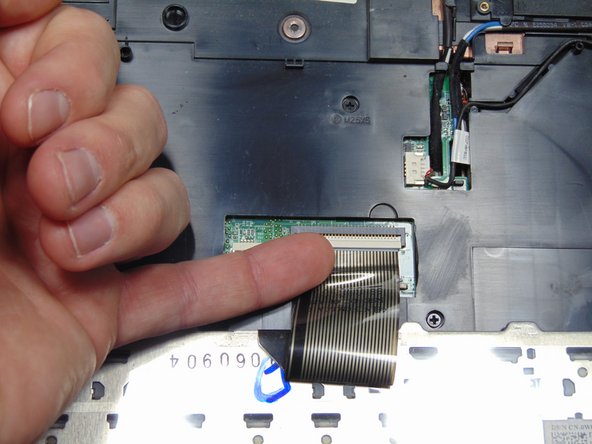
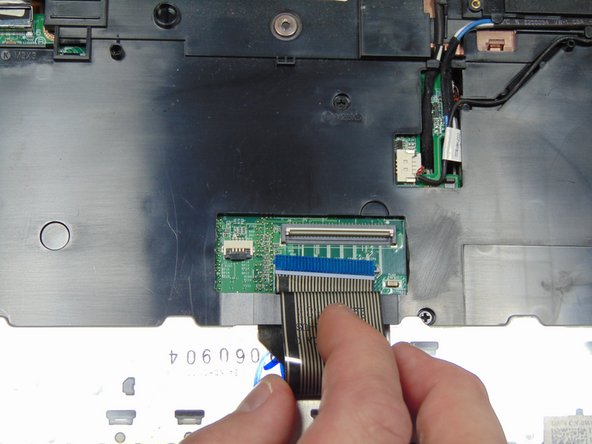
  8. Dell Studio 1555 Keyboard Replacement: étape 8, image 1 de 3 Dell Studio 1555 Keyboard Replacement: étape 8, image 2 de 3 Dell Studio 1555 Keyboard Replacement: étape 8, image 3 de 3
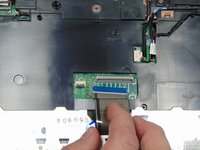
    • Flip up the black tab on the keyboard ZIF connector and unplug the cable.

  9. Dell Studio 1555 Keyboard Replacement: étape 9, image 1 de 1
    • Remove the keyboard

Conclusion

To reassemble your device, follow these instructions in reverse order.

2 autres ont terminé cette réparation.

Hunter Tuck

Membre depuis le 10/10/16

214 Réputation

1 tutoriel rédigé

Équipe

Sam Houston State, Team 12-3, Blackburne Fall 2016 Membre de l'équipe Sam Houston State, Team 12-3, Blackburne Fall 2016

SHSU-BLACKBURNE-F16S12G3

3 membres

6 tutoriels rédigés

0 commentaires

Ajouter un commentaire

Nombre de vues :

Dernières 24 heures : 0

7 derniers jours : 1

30 derniers jours : 8

Total : 892