
Disassembly Guide
Introduction
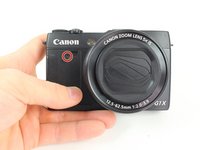
Passez à l'étape 1This guide gives directions on how to completely disassemble the Canon PowerShot G1 X Mark II into its major components.
Ce dont vous avez besoin


-
-
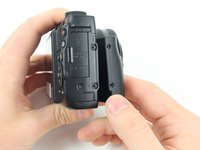
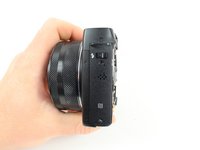
Locate the battery housing cover on the bottom of your camera.
-
Place a finger on the textured portion of the battery housing cover.
-
Slide the cover in the direction that the arrow is pointing.
-
-
-
Remove the two 4mm Hex screws that connect the grip to the camera with a Hex head screwdriver.
-
Remove the two Phillips screws to the left of the hex screws with a Phillips head screwdriver:
-
One 2mm screw
-
One 3mm screw
-
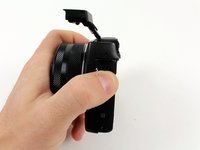
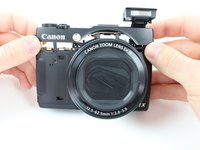
Remove the grip from the front of the camera by pulling it away from the lens and then away from the camera.
-
-
-
Remove the following three Philips screws from the flash release side of the camera with a Philips Head screwdriver:
-
One 2.5mm screw
-
One 4.5mm screw
-
One 1.75mm screw
Disasemblying my camera I can say that some of the screw lenths are not correct, (some of them just a few milimeters, but other a have a big mistake). Just consider that and take note of every screw you took off. You will be very pleased later. =)
-
-
-
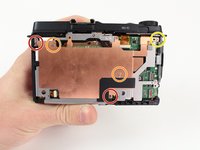
Remove the following four Phillips screws securing the back panel with a Philips Head screwdriver:
-
Two 3 mm screws
-
One 2mm screw
-
One 2.5 mm screw
In step 8, I would say (disemblying my camera) that both screws on the top are 4mm. And the ones on the bottom are 2,5mm.
2mm screw (orange) goes in bottom right
-
-
-
-
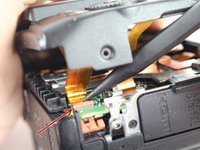
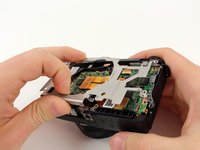
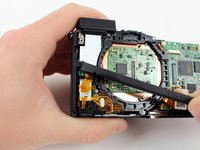
Use the flat end of the plastic spudger to rotate the black plastic locking tab towards the ribbon cable.
-
Insert the pointed end of the plastic spudger into a small hole on the side of the ribbon cable and pull the ribbon cable out of its housing.
-
Use the flat end of the plastic spudger to pry the ribbon cable connector from the motherboard.
-
-
-
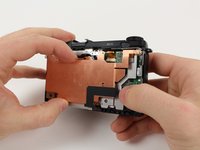
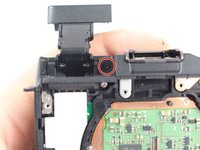
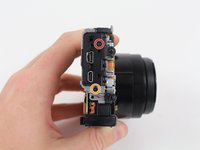
Remove the 2.5mm Phillips screw from the front plate with a Phillips head screwdriver.
-
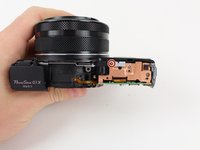
Pull up on the top portion of the camera to separate the top casing from the camera body.
I think there’s still 1 screw between the remote jack and A/V output need to remove to remove before can pull up on the top portion. I have the photo if you add on. Regards, Rez
-
-
-
Remove the 3.5mm Phillips screw from the grey tab on the top of the camera with a Philips Head screwdriver.
-
Rotate the camera so the back panel is facing you.
-
Remove the 1.4mm Phillips screw from the sliver tab near the top of the camera with a Philips Head screwdriver.
-
-
Outil utilisé dans cette étape :Tweezers$4.99
-
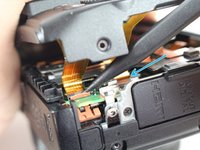
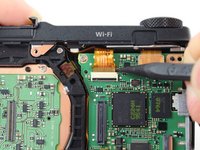
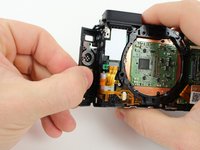
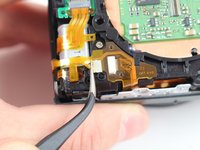
Release the plastic locking tab of the upper ribbon cable with the plastic spudger.
-
Pull the top ribbon cable from its mount with the fine tip metal tweezers.
-
Remove the bottom ribbon cable with the fine tip metal tweezers by pulling it toward the flash switch side of the camera.
-
-
-
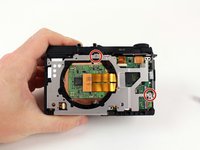
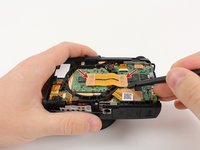
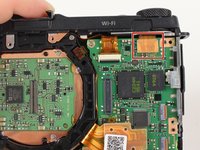
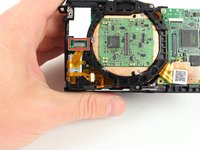
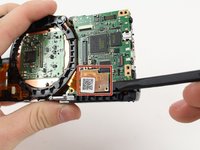
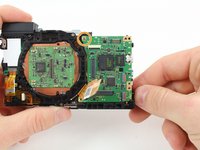
Use the plastic spudger to remove the ribbon cable from the motherboard by placing the spudger under the ribbon cable connector and pulling up.
-
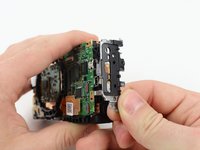
Remove the 2.8mm screw from the motherboard.
-
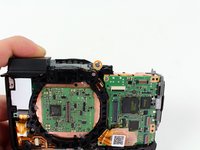
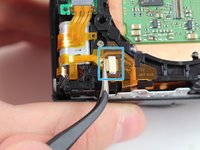
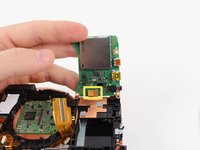
Carefully rotate the motherboard upward.
-
Use the plastic spudger to remove the ribbon cable from the bottom of the motherboard by placing the spudger under the ribbon cable connector and pulling up.
-
-
-
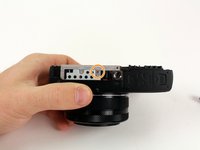
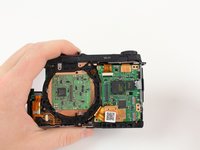
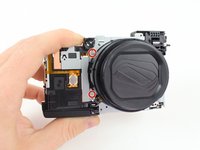
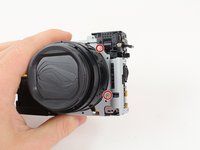
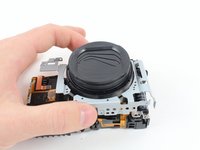
Remove the four 4.25mm Philips screws from the silver frame that surrounds the lens of the camera with a Philips Head screwdriver.
-
Remove the frame by lifting straight up.
-


To reassemble your device, follow these instructions in reverse order.
To reassemble your device, follow these instructions in reverse order.
Annulation : je n'ai pas terminé ce tutoriel.
7 autres ont terminé cette réparation.
Équipe

Cal Poly, Team 70-2, Forte Winter 2016 Membre de l'équipe Cal Poly, Team 70-2, Forte Winter 2016
CPSU-FORTE-W16S70G2
4 membres
4 tutoriels rédigés
5 commentaires
I have an LCD display problem and would like to disassemble it, the guide does not cover anything to do with the LDC assembly, otherwise a very good guide. I’ll attempt it anyway once I feel like a risk.
Fabuloso. La pantalla de mi camara canon gx1 cuando la invertias se apagaba. Lo que he hecho fue comprar un cable ribbon nuevo en aliexpress y substituirlo. Asunto arreglado por 7euros.
En este tutorial, falta como desmontar la pantalla. Para hacerlo debes retirar los tornillos de la pantalla con delicadeza, despegar el cable con delicadeza y montar la pantalla otra vez.
hola miguel angel, cual es ese cable? podrias enlazarlo, mi pantalla da fallos y debe ser ese ribbon. gracias!
Thanks for this great guide ! I need to disassemble and clean the external flash connector in the top portion of the camera because of some dirt and even corrosion - I found no way how to do this, I removed all screws but I was not able to remove the metallic structure. Any idea to take this apart ? thanks in advance...