
EVGA x17 Programmable Buttons Replacement
Introduction
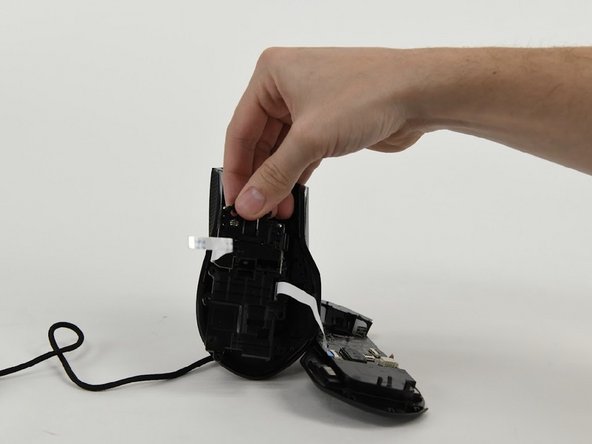
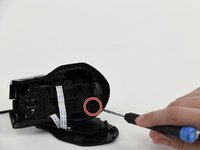
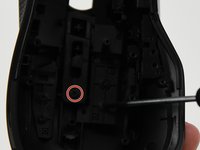
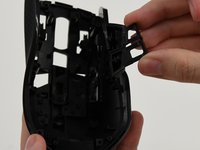
Passez à l'étape 1This guide is meant to help with the replacement of the programmable buttons found on the top of the mouse just below the scroll wheel, the large "sniper" button on the side, and the three smaller buttons side of the mouse just below the "sniper" button.
Before you begin to disassemble the mouse, check the troubleshooting guide related to the programmable buttons. One common issue users experience with the EVGA x17 Gaming Mouse involves updating their drivers and downloading EVGA's RGB Mouse software.


To reassemble your device, follow these instructions in reverse order.
To reassemble your device, follow these instructions in reverse order.
Équipe

University of Colorado Denver, Team 1-4, Campeau Fall 2023 Membre de l'équipe University of Colorado Denver, Team 1-4, Campeau Fall 2023
UCDENVER-CAMPEAU-F23S1G4
7 membres
6 tutoriels rédigés