
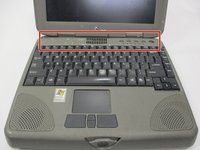
Gateway Solo 1200 Keyboard and Frame Replacement

Introduction
Passez à l'étape 1To replace a faulty keyboard and damaged frame follow this replacement guide.
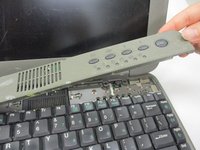
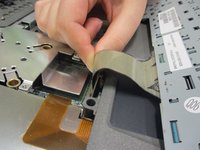
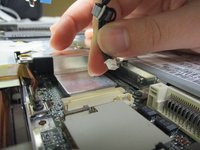
A functioning keyboard is imperative to any laptop. The keyboard frame, by extension, ensures that the keyboard and trackpad remain safe. If your keys are sticking or if you notice a lag on your mouse, this could be due to debris under the keyboard panel and frame.
Ce dont vous avez besoin
Outils

-
-
Locate the battery latch on the bottom of the laptop.
-
Release the latch by pressing it with your thumb and sliding it to the right.
-
Slide the battery out of its compartment.
-
-
-
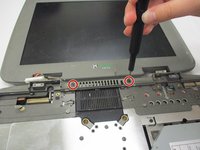
Turn the device so the back is facing you.
-
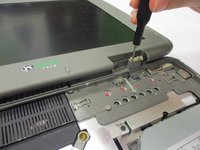
Unscrew the 2 mm screws with a Phillips #0 screwdriver.
-
-


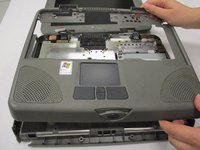
To reassemble your device, follow these instructions in reverse order.
To reassemble your device, follow these instructions in reverse order.

Équipe

University of North Texas, Team S1-G3, Friess Fall 2019 Membre de l'équipe University of North Texas, Team S1-G3, Friess Fall 2019
UNT-FRIESS-F19S1G3
3 membres
38 tutoriels rédigés