
Google Pixel 3a XL Midframe Replacement

5 - 10 minutes
Facile
Conditions préalables uniquement
Ce tutoriel est uniquement destiné à être utilisé comme prérequis d'autres tutoriels. Il ne se suffit pas à lui-même.
Introduction
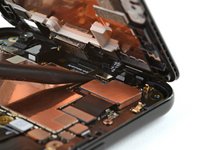
Passez à l'étape 1This guide is a pre-requisite step for other Pixel 3a XL guides. It describes the process of removing the midframe between the screen and the rest of the phone’s internals.
Ce dont vous avez besoin


-
Outil utilisé dans cette étape :Magnetic Project Mat$19.95
-
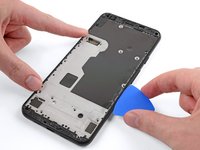
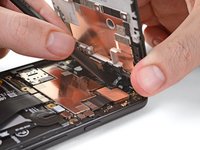
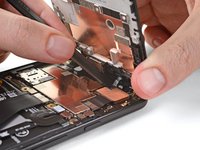
Remove the following 4.3mm screws:
-
14 silver T3 Torx screws
-
2 black T3 Torx screws
-
-


Presque terminé !
To reassemble your device, follow these instructions in reverse order.
Conclusion
To reassemble your device, follow these instructions in reverse order.
