
HP Pavilion 17-g192dx Screen Replacement

Introduction
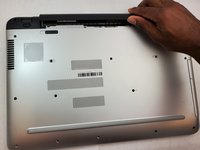
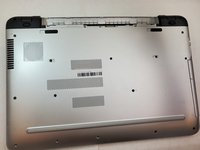
Passez à l'étape 1This Guide covers how to replace the 17.3 in display on the Hp Pavilion. Only replace if it is beyond repair and required.
Ce dont vous avez besoin


-
-
-
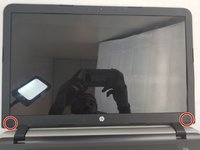
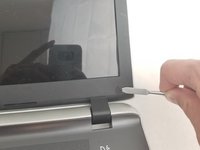
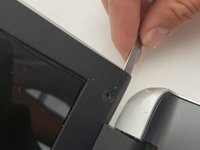
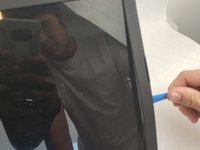
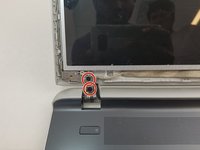
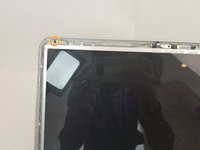
Using the metal spudger, remove the 2 plastic screw covers at the bottom corners of the screen.
-


To reassemble your device, follow these instructions in reverse order.
To reassemble your device, follow these instructions in reverse order.
Annulation : je n'ai pas terminé ce tutoriel.
3 autres ont terminé cette réparation.

Équipe

Embry-Riddle Aeronautical University, Team S2-G121, Watkins Fall 2019 Membre de l'équipe Embry-Riddle Aeronautical University, Team S2-G121, Watkins Fall 2019
ERAU-WATKINS-F19S2G121
3 membres
6 tutoriels rédigés