
HP TouchPad Digitizer Control Board Replacement

Introduction
Passez à l'étape 1Use this guide to replace the digitizer control board.
Ce dont vous avez besoin


-
-
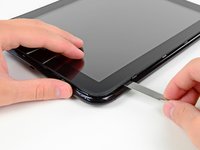
In the following steps, you will use a metal spudger to lift the front panel out from the rear case of your TouchPad.
-
-
-
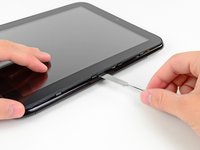
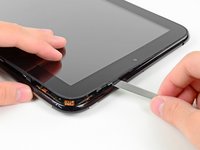
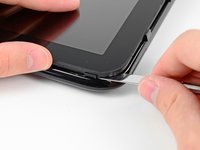
As in the previous step, use a spudger to pry the front panel up from the rear case along its long edge on the volume button side of the TouchPad.
-
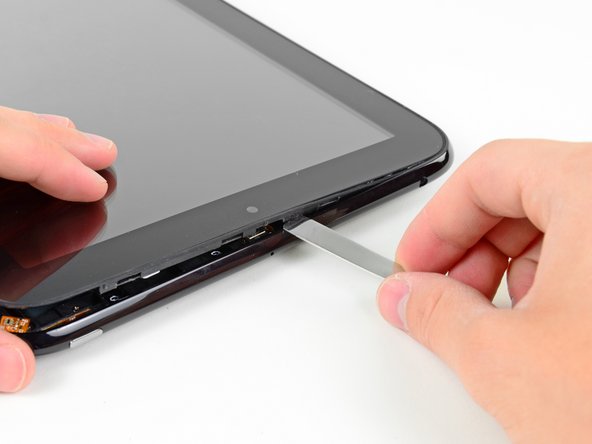
Continue to pry the front panel assembly up along the volume button side of the TouchPad until there is a gap between it and the rear case.
-
-
-
-
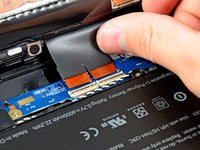
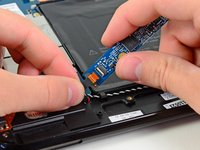
Remove the two 3.0 mm Phillips screws securing the digitizer control board to the rear case.
-
-
-
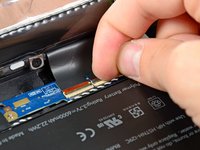
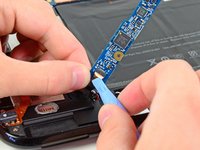
Using the edge of a plastic opening tool or your fingernail, carefully flip up the retaining flap on the digitizer control board ribbon cable ZIF socket.
-
Pull the digitizer control board ribbon cable straight out of its socket on the digitizer control board.
-
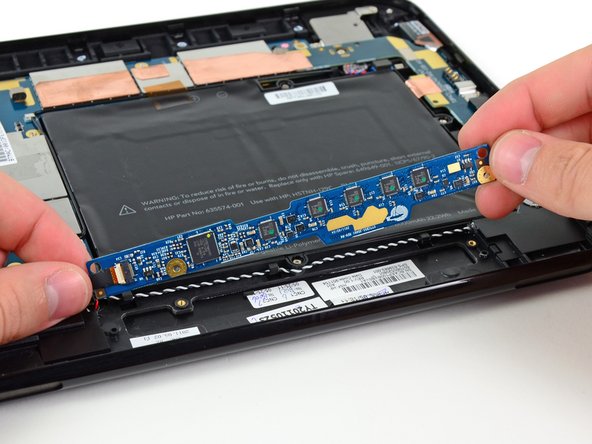
Remove the digitizer control board from the TouchPad.
-


To reassemble your device, follow these instructions in reverse order.
To reassemble your device, follow these instructions in reverse order.
Annulation : je n'ai pas terminé ce tutoriel.
3 autres ont terminé cette réparation.

4 commentaires de tutoriel
when my charger falled on the screen of my hp touchpad its screen did not break but its touchscreen is not working so which part i whant to change