
Huawei MediaPad M3 Display Assembly Replacement
Introduction
Passez à l'étape 1This guide is about how to replace the Display assembly of Huawei MediaPad M3. Removing the display is a prerequisite of removing or displacing many other parts such as the front camera, the motherboard, and the rear camera. It is an 8.40 inch touchscreen with a resolution of 2560*1600 pixels at a pixel density of 359 pixels per inch. The display itself is thin and fragile; therefore all steps should be followed carefully.
Ce dont vous avez besoin


-
-
Use a heat gun to heat the display. It may take up to 30 seconds.
-
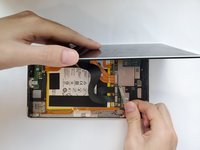
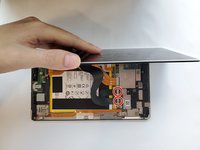
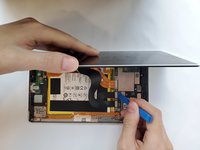
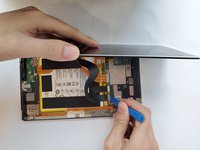
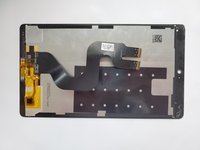
Slide in the opening picks to the four corners of the tablet and peel off the display carefully.
-
-


To reassemble your device, follow these instructions in reverse order.
To reassemble your device, follow these instructions in reverse order.
Annulation : je n'ai pas terminé ce tutoriel.
2 autres ont terminé cette réparation.
Équipe

Duke University Pratt School of Engineering, Team S5-G2, Matos-Garner Fall 2019 Membre de l'équipe Duke University Pratt School of Engineering, Team S5-G2, Matos-Garner Fall 2019
DUKEPSE-MATOS-GARNER-F19S5G2
5 membres
4 tutoriels rédigés