
IBM ThinkPad T43 Screen Replacement

Introduction
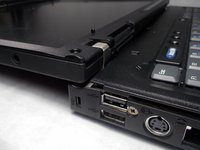
Passez à l'étape 1This guide shows how to take out and replace the screen in this device.
Ce dont vous avez besoin


-
-
-
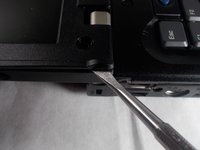
To replace the screen follow the next set of steps
-
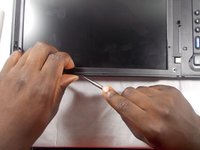
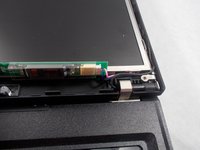
Using your fingers or tweezers, pull out the light by placing them on the sides and lifting up
-
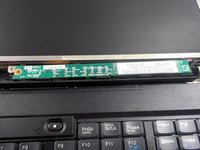
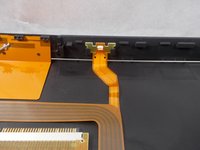
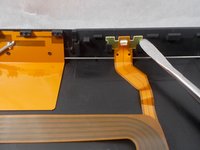
Insert the wide plug on the ribbon cable into the new screen and place back into the laptop.
-
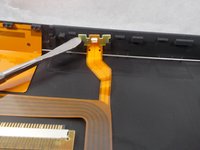
Now if you follow these steps in reverse order, you will be able to finish replacing the screen
-


To reassemble your device, follow these instructions in reverse order.
To reassemble your device, follow these instructions in reverse order.

Équipe

UMass Dartmouth, Team S6-G4, Bernier Spring 2018 Membre de l'équipe UMass Dartmouth, Team S6-G4, Bernier Spring 2018
UMASSD-BERNIER-S18S6G4
4 membres
10 tutoriels rédigés