Aller au contenu principal
JBL Charge Button Membrane Replacement

JBL Charge Button Membrane Replacement

Jake Bertholf

Jake Bertholf et 6 autres contributeurs

Dernière mise à jour le December 8, 2017

8 minutes
Modérée
Outils incorrects

This guide is intended to help fix buttons that are not functioning correctly.

Ce dont vous avez besoin

Outils

Afficher plus…

iFixit touche une commission lorsque vous achetez par l'intermédiaire de ces liens.
  1. JBL Charge Button Membrane Replacement, Disassembling JBL Charge Casing: étape 1, image 1 de 3 JBL Charge Button Membrane Replacement, Disassembling JBL Charge Casing: étape 1, image 2 de 3 JBL Charge Button Membrane Replacement, Disassembling JBL Charge Casing: étape 1, image 3 de 3
    • Make sure the device is powered off before you begin to disassemble the speaker.

    • Remove the trim from the speaker using a jimmy or metal spudger.

  2. JBL Charge Button Membrane Replacement: étape 2, image 1 de 2 JBL Charge Button Membrane Replacement: étape 2, image 2 de 2
    • Use the PH1 screwdriver to remove all five of the 6 mm screws from the battery cover.

    • Remove the battery cover and set the cover aside.

  3. JBL Charge Button Membrane Replacement: étape 3, image 1 de 2 JBL Charge Button Membrane Replacement: étape 3, image 2 de 2
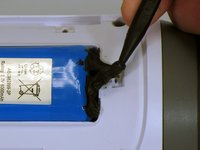
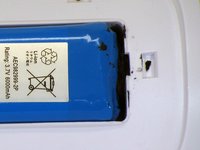
    • Use a spudger to carefully remove the liquid electrical tape that holds the battery inside the battery compartment.

    • Be careful not to puncture the battery, or damage the battery wire underneath the liquid electrical tape.

  4. JBL Charge Button Membrane Replacement: étape 4, image 1 de 2 JBL Charge Button Membrane Replacement: étape 4, image 2 de 2
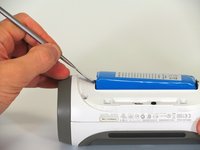
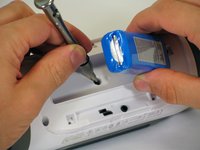
    • Use a spudger to lift the battery out of the device.

    • Lift the end of the battery that does not have the wire connection and remove the 16 mm PH2 screw underneath the battery.

    • Notice the wire that is connecting the battery to the device. Attempting to remove the battery completely could cause damage to the wire. Do not use a metal spudger to remove the battery, this could cause damage.

  5. JBL Charge Button Membrane Replacement: étape 5, image 1 de 2 JBL Charge Button Membrane Replacement: étape 5, image 2 de 2
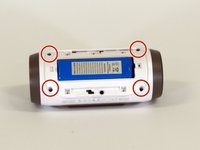
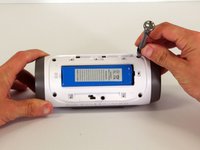
    • Remove the four 16 mm screws from the white plastic casing using the PH2 screwdriver.

  6. JBL Charge Button Membrane Replacement: étape 6, image 1 de 2 JBL Charge Button Membrane Replacement: étape 6, image 2 de 2
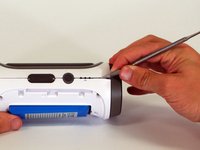
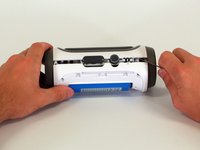
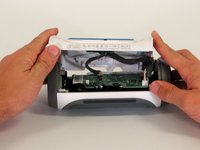
    • Starting in a corner of the device where the casing and the side meet, use a pointed metal spudger to pry the back casing off the speaker and the glue holding the seam together.

    • Slide the metal spudger along the seam to separate the back casing from the rest of the speaker.

  7. JBL Charge Button Membrane Replacement: étape 7, image 1 de 2 JBL Charge Button Membrane Replacement: étape 7, image 2 de 2
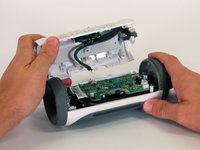
    • Once the back casing is open, disconnect the three white connectors from the motherboard.

    • Remove the upper casing.

  8. JBL Charge Button Membrane Replacement, Motherboard: étape 8, image 1 de 1
    • Remove the 9 mm Phillips screw in the corner of the motherboard.

  9. JBL Charge Button Membrane Replacement: étape 9, image 1 de 2 JBL Charge Button Membrane Replacement: étape 9, image 2 de 2
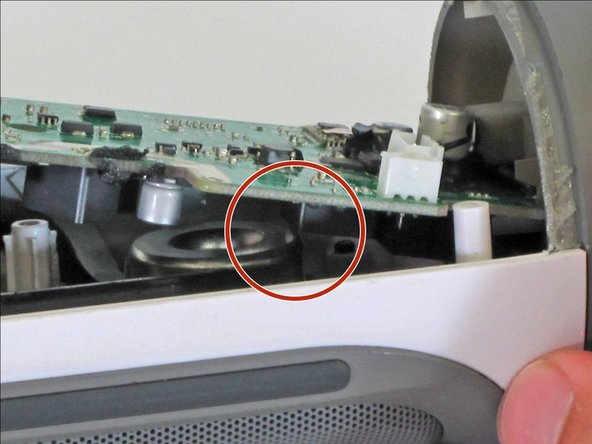
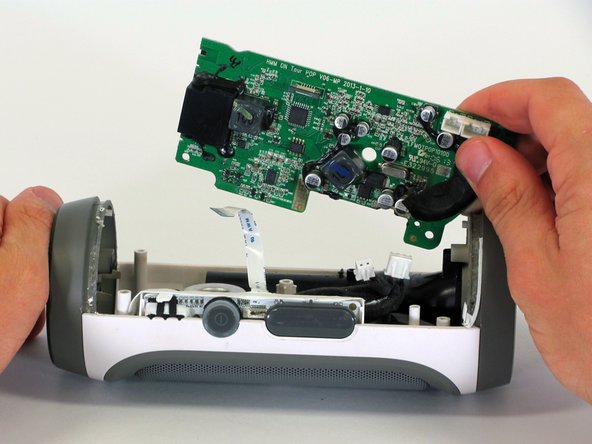
    • Remove the motherboard from the casing by lifting the corner of the board out of the device.

    • If the motherboard won't budge, be sure that the square component on the bottom of the motherboard clears the edge of the speaker.

    • During reassembly, make sure the motherboard is fully installed and not sticking up past its original position, as this could damage the motherboard.

  10. JBL Charge Button Membrane Replacement: étape 10, image 1 de 1
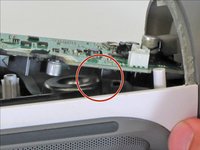
    • Disconnect the two white connectors from the bottom of the motherboard.

  11. JBL Charge Button Membrane Replacement: étape 11, image 1 de 2 JBL Charge Button Membrane Replacement: étape 11, image 2 de 2
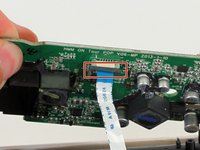
    • Pull down on the black clip holding the ribbon cable in place.

    • Pull the ribbon cable from the connector using the blue tab.

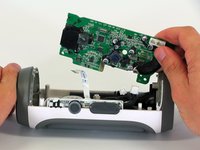
    • Remove the motherboard from the device.

  12. JBL Charge Button Membrane Replacement, Button Membrane: étape 12, image 1 de 1
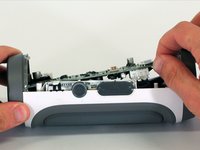
    • Locate the buttons on top of the device. Peel the white piece of tape located along the side of this button membrane.

  13. JBL Charge Button Membrane Replacement: étape 13, image 1 de 1
    • Gently pull out the button membrane. You should not expect much resistance.

Conclusion

To reassemble your device, follow these instructions in reverse order.

4 autres ont terminé cette réparation.

Jake Bertholf

Membre depuis le 04/01/15

366 Réputation

2 tutoriels rédigés

Équipe

Cal Poly, Team 12-1, Lancaster Spring 2015 Membre de l'équipe Cal Poly, Team 12-1, Lancaster Spring 2015

CPSU-LANCASTER-S15S12G1

5 membres

11 tutoriels rédigés

2 commentaires de tutoriel

conseguiste el boton de repuesto?

Mario A Vargas S - Réponse

Por favor, disculpe mis errores:

"No puedo encontrar un nuevo reemplazo. Compra uno roto. Utilice el botón de la que se rompe."

Joe Durand -

Ajouter un commentaire

Nombre de vues :

Dernières 24 heures : 0

7 derniers jours : 4

30 derniers jours : 44

Total : 9,794