
Lenovo ThinkPad X280 Power Jack Replacement

Introduction
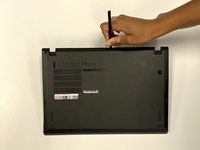
Passez à l'étape 1This, guide will show you how to replace the power jack on the Lenovo Think Pad X280. This guide requires a screwdriver for 3.4mm screws and 5.4mm screws. You'll also need to disconnect various wires.


-
-
-
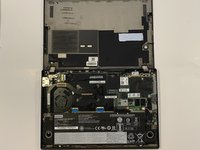
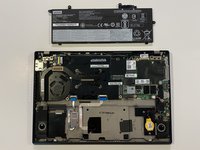
Using the Phillips #1 screwdriver, remove the four 5 mm screws that are holding the battery down.
-
Remove the battery.
-
-
-
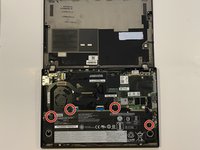
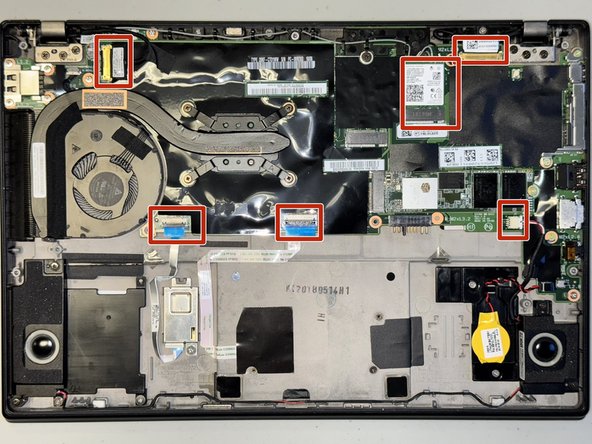
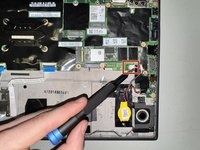
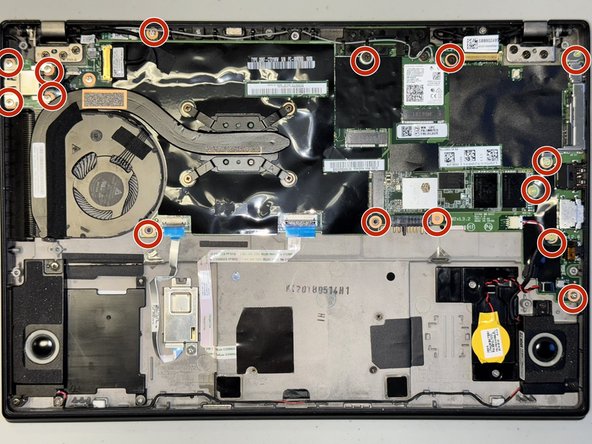
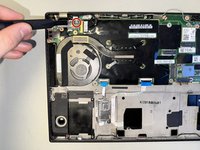
Disconnect all six ribbon cables connected to the motherboard by gently with a screwdriver or your fingers.
-
-
-
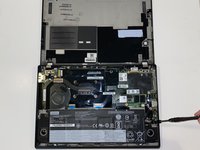
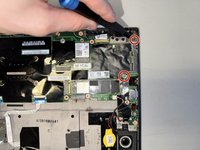
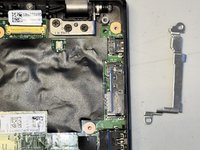
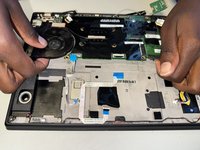
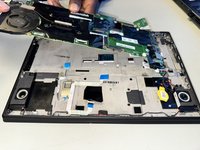
Lift out the mother board to access the power jack to replace it with a new one.
-
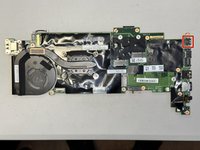
The power jack will have to be desoldered and then the replacement resoldered. Check out this handy guide to help guide you.
-


To reassemble your device, follow the above steps in reverse order.
Take your e-waste to an R2 or e-Stewards certified recycler.
Repair didn’t go as planned? Try some basic troubleshooting or ask our Answers community for help.
To reassemble your device, follow the above steps in reverse order.
Take your e-waste to an R2 or e-Stewards certified recycler.
Repair didn’t go as planned? Try some basic troubleshooting or ask our Answers community for help.
Annulation : je n'ai pas terminé ce tutoriel.
Une autre personne a terminé cette réparation.

Équipe

University of North Texas, Team 3-7, Coppersmith Fall 2024 Membre de l'équipe University of North Texas, Team 3-7, Coppersmith Fall 2024
UNT-COPPERSMITH-F24S3G7
4 membres
4 tutoriels rédigés