
Logitech K345 Membrane Replacement

Introduction
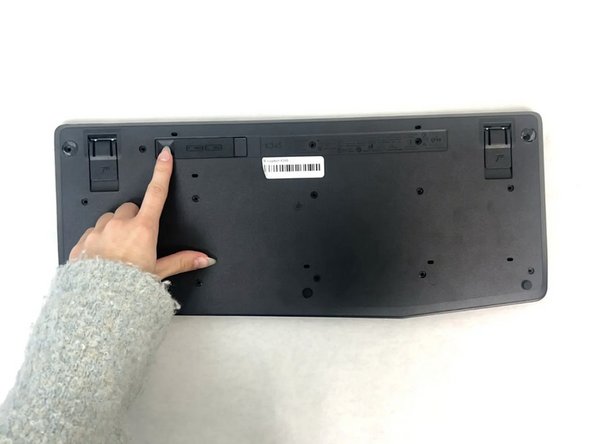
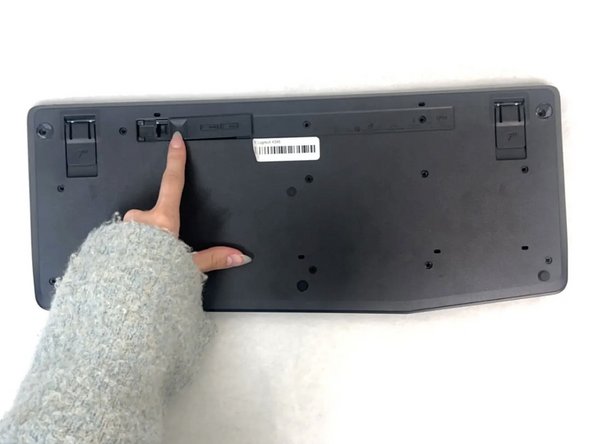
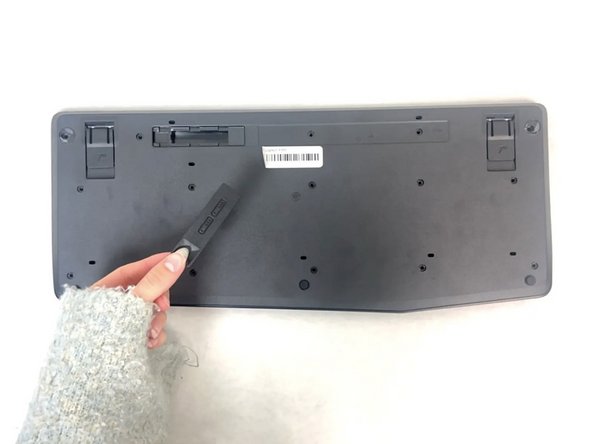
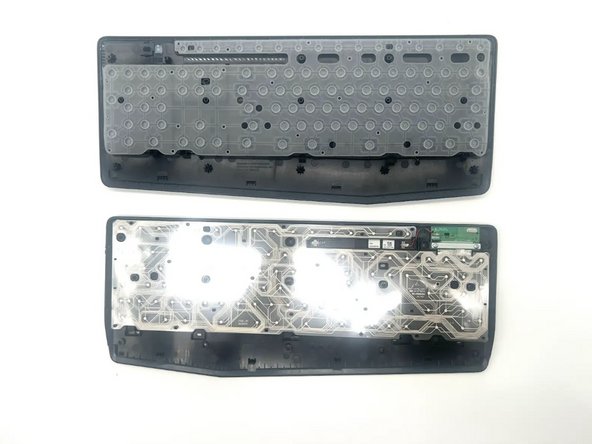
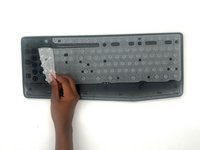
Passez à l'étape 1Are your Logitech MK345 keyboard keys not registering when pressed? If so, here is the repair guide for replacing your keyboard membrane. A keyboard membrane completes the circuit when a key is pressed, thus registering it, and providing feedback. It also protects the underlying circuitry from dust, debris, and spills, extending the life of the keyboard. If you haven't already looked at our troubleshooting guide for this issue, it's linked here. Make sure you turn off your keyboard and remove the batteries before beginning the repairs, so there is no energy going through the keyboard and thus no risk of electrocution.
Ce dont vous avez besoin


-
-
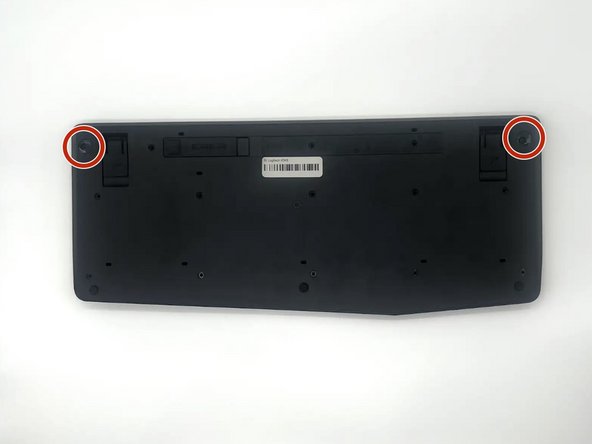
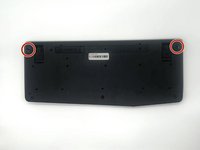
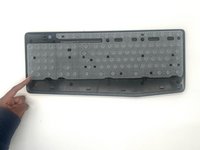
Remove the thirteen 5.3 mm screws from the back of the keyboard using a Phillips #0 screwdriver.
-


To reassemble your device, follow these instructions in reverse order.
To reassemble your device, follow these instructions in reverse order.
Annulation : je n'ai pas terminé ce tutoriel.
Une autre personne a terminé cette réparation.

Équipe

University of North Texas, Team 4-1, Harold Fall 2024 Membre de l'équipe University of North Texas, Team 4-1, Harold Fall 2024
UNT-HAROLD-F24S4G1
3 membres
5 tutoriels rédigés