Aller au contenu principal
MSI GE62 Apache Pro 004 Screen Replacement

MSI GE62 Apache Pro 004 Screen Replacement

Samer Soukieh

Samer Soukieh et un autre contributeur

Dernière mise à jour le June 6, 2018

30 minutes
Modérée
Étudiant en action
Meilleure introduction

Ce dont vous avez besoin

Outils

Afficher plus…

  1. MSI GE62 Apache Pro 004 Screen Replacement, Battery: étape 1, image 1 de 1
    • Start with the bottom of the laptop facing up.

  2. MSI GE62 Apache Pro 004 Screen Replacement: étape 2, image 1 de 2 MSI GE62 Apache Pro 004 Screen Replacement: étape 2, image 2 de 2
    • Remove the 15 screws from the bottom of the laptop with a PH1 screwdriver.

    • Remove the bottom plate by pulling away from laptop

    • Keep track of all the screws and which slot they came from, as they slightly differ. We recommend this system: lay out on a piece of paper and pretending the paper is the device. Place the screws on the paper approximately where they would go

  3. MSI GE62 Apache Pro 004 Screen Replacement: étape 3, image 1 de 3 MSI GE62 Apache Pro 004 Screen Replacement: étape 3, image 2 de 3 MSI GE62 Apache Pro 004 Screen Replacement: étape 3, image 3 de 3
    • Remove the screw holding down the battery with a PH1 screwdriver.

    • Pull out the battery.

  4. MSI GE62 Apache Pro 004 Screen Replacement, Screen: étape 4, image 1 de 2 MSI GE62 Apache Pro 004 Screen Replacement, Screen: étape 4, image 2 de 2
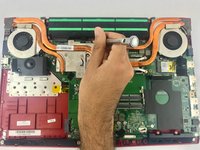
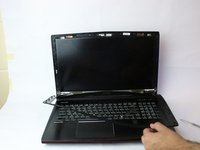
    • Open the laptop up as if you were going to use it.

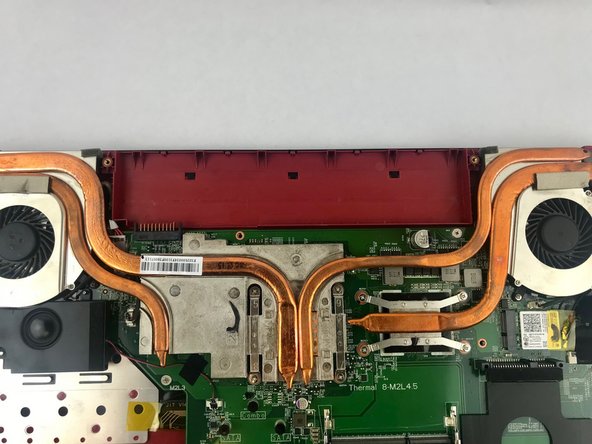
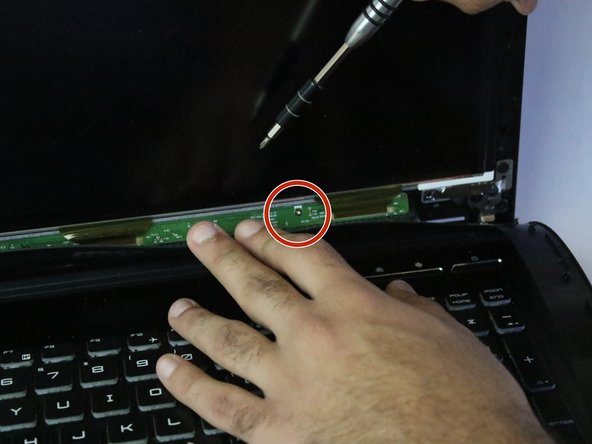
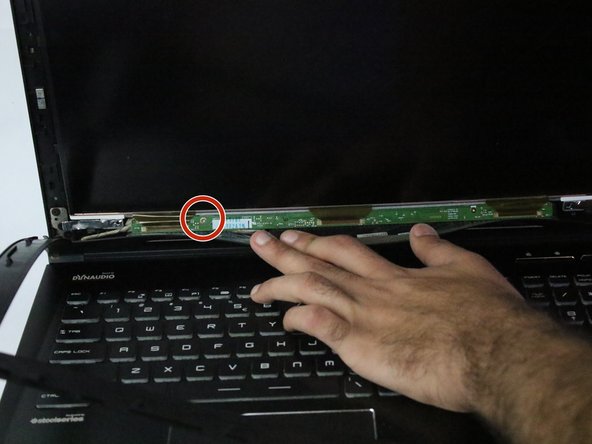
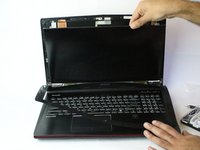
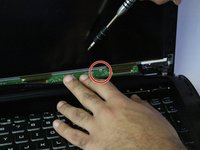
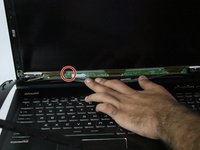
    • Wedge a spudger in between the screen bezel and work it around to separate it.

  5. MSI GE62 Apache Pro 004 Screen Replacement: étape 5, image 1 de 1
    • Remove the screws holding in the screen at the corners with a PH1 screwdriver.

    • Be very careful as the screen may tilt forward so make sure your hand is right is on the screen when the screw comes off.

  6. MSI GE62 Apache Pro 004 Screen Replacement: étape 6, image 1 de 3 MSI GE62 Apache Pro 004 Screen Replacement: étape 6, image 2 de 3 MSI GE62 Apache Pro 004 Screen Replacement: étape 6, image 3 de 3
    • Remove the bezel from the screen.

    • Remove the two screws located at the bottom of the screen using the PH1 screwdriver.

Conclusion

To reassemble your device, follow these instructions in reverse order.

Samer Soukieh

Membre depuis le 02/19/18

209 Réputation

1 tutoriel rédigé

Équipe

USF Tampa, Team S15-G5, Boczar Spring 2018 Membre de l'équipe USF Tampa, Team S15-G5, Boczar Spring 2018

USFT-BOCZAR-S18S15G5

4 membres

5 tutoriels rédigés

0 commentaires de tutoriel

Ajouter un commentaire

Nombre de vues :

Dernières 24 heures : 2

7 derniers jours : 2

30 derniers jours : 10

Total : 2,211