MacBook Unibody Model A1342 Heat Sink Replacement

Introduction
Passez à l'étape 1The heat sink helps keep the processor cool and happy.


-
-
Remove the eight 4 mm Phillips screws securing the lower case to the MacBook.
-
-
-
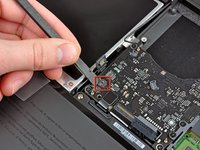
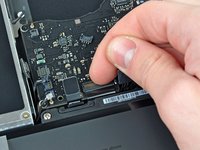
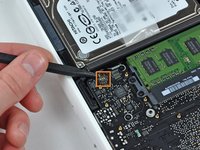
Use the flat end of a spudger to lift the battery connector up out of its socket on the logic board.
-
-
-
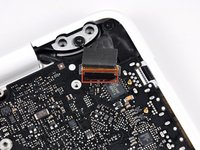
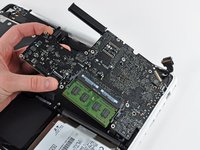
Remove the following screws from the optical drive side of the rear vent:
-
Two 10 mm T8 Torx
-
Two 5.2 mm Phillips
-
-
-
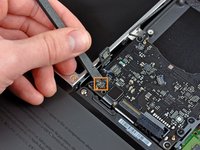
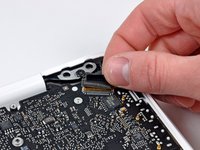
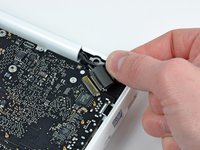
Use the flat end of a spudger to pry the AirPort/Bluetooth ribbon cable up off the logic board.
-
-
-
-
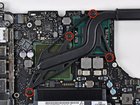
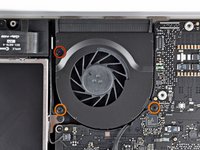
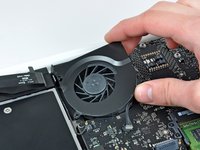
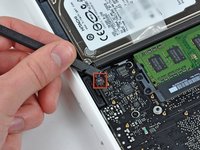
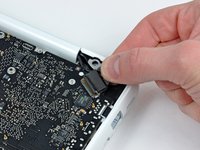
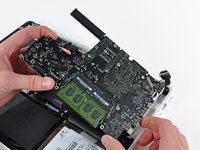
Remove the four 8.3 mm shouldered Phillips screws securing the heat sink to the logic board.
-


To reassemble your device, follow these instructions in reverse order.
To reassemble your device, follow these instructions in reverse order.
Annulation : je n'ai pas terminé ce tutoriel.
42 autres ont terminé cette réparation.

7 commentaires
I really need to replace the thermal paste but, man, this is A LOT of screws!!!
yeah same bro. im going to upgrade the ram, replace the drive with another hard drive, and re paste it.
Thanks for the guide guys, much appreciated. When I order the new screen I’ll update this comment if there was anything interesting about my heatsink repasting.
Hi this Lynn I'm going to order a fan and a heatsink for a1342 laptop hope some one
Can do a video taking heatsink off and off
And putting it back together again
Thank you and be Blessed