
Maze Speed SSB-508 Screen Replacement
Introduction
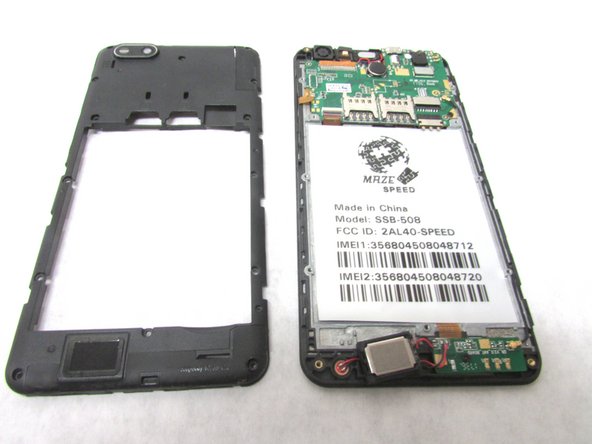
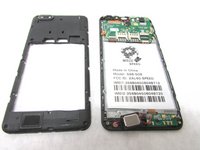
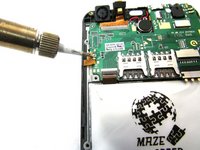
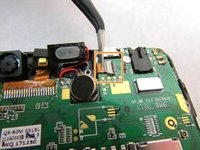
Passez à l'étape 1This guide will show the process of replacing the glass screen of a Maze Speed phone. You will need a plastic opening tool, tweezers, iOpener, Phillips #00 Screwdriver, and soldering equipment. Soldering experience is beneficial in order to avoid damaging the phone’s other components. If the glass screen is cracked or shattered, you need to take extra precaution not to cut yourself.
Ce dont vous avez besoin


-
-
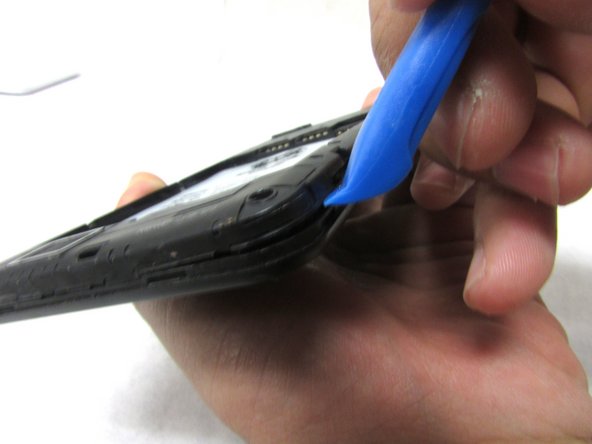
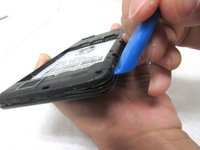
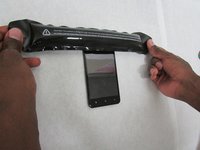
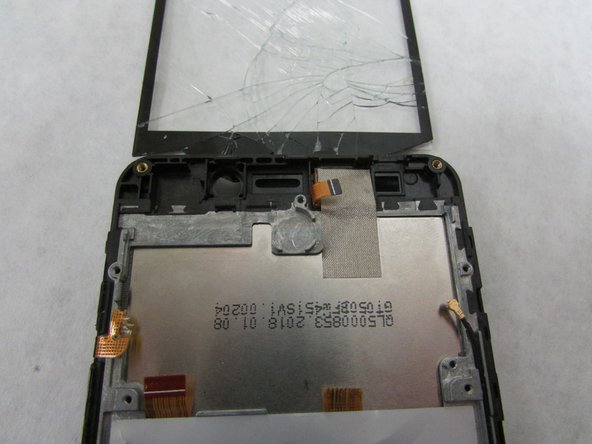
Remove the back cover by inserting the plastic opening tool at the bottom left corner of the device.
-
-
-
-
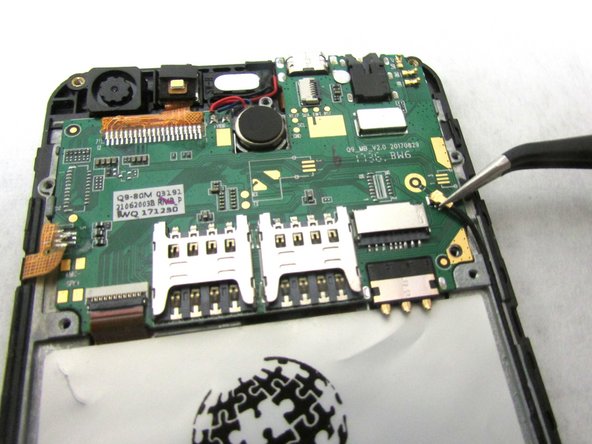
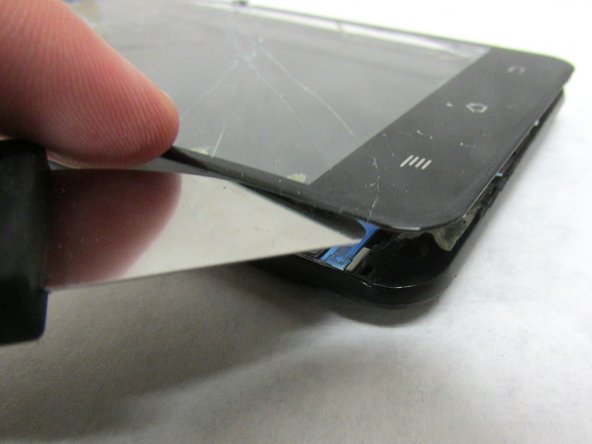
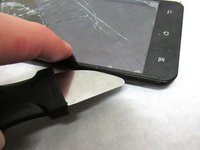
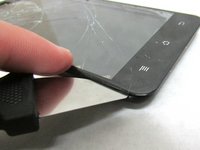
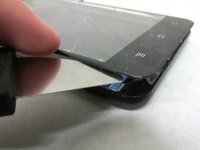
Apply the heated iOpener to all sides of the screen (left, right, top, and bottom) for 90 seconds (or more if necessary) to soften the adhesive.
-


To reassemble your device, follow these instructions carefully in reverse order.
To reassemble your device, follow these instructions carefully in reverse order.
Équipe

Embry-Riddle Aeronautical University, Team S3-G3, Watkins Summer 2019 Membre de l'équipe Embry-Riddle Aeronautical University, Team S3-G3, Watkins Summer 2019
ERAU-WATKINS-SU19S3G3
4 membres
5 tutoriels rédigés