
Nest x Yale Lock Deadbolt Button Replacement
Introduction
Passez à l'étape 1If your Nest x Yale Lock is related to any issues on the unresponsive section of our troubleshooting page, you may need to replace the motherboard. Use this guide to replace the motherboard properly.
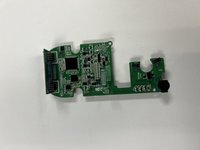
The motherboard is located inside and responsible for the lights, locking the lock, connecting the keypad, and helping the whole lock function.
Before beginning the process, be sure the device is off and not connected to the keypad.
Ce dont vous avez besoin
Outils

-
-
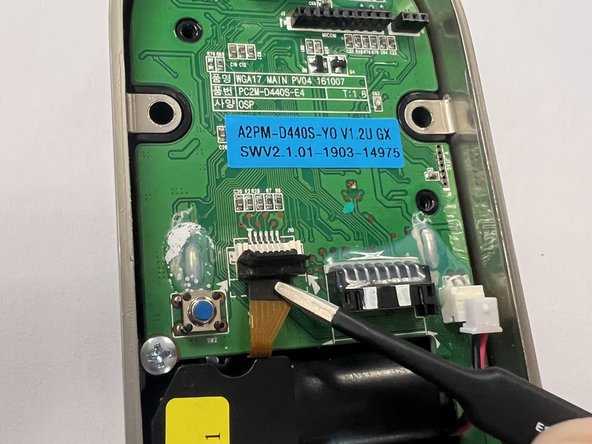
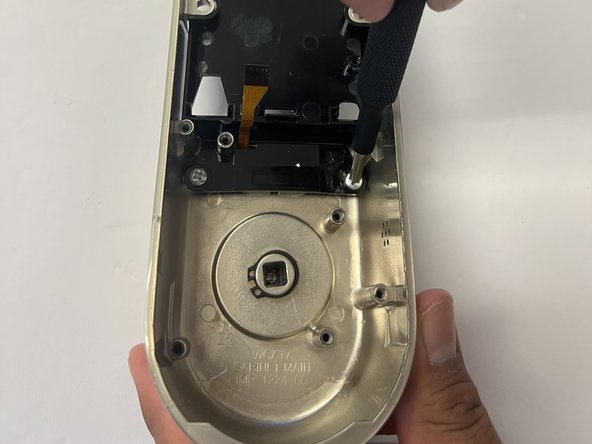
Before proceeding, make sure the batteries are removed to avoid being electrocuted and damage to the lock
-
-
-
-
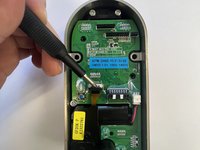
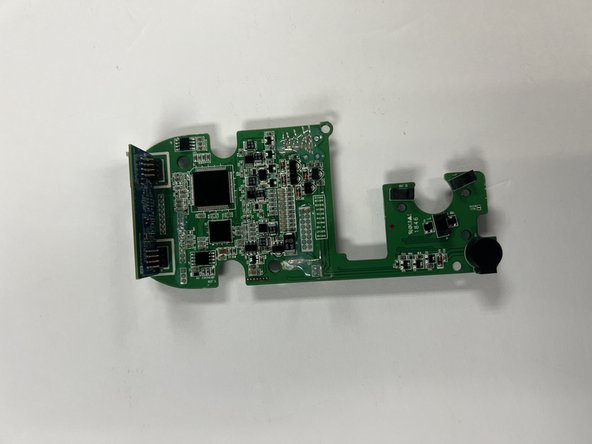
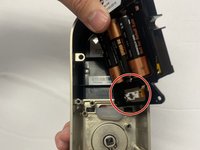
After, fully removing the motherboard.
-
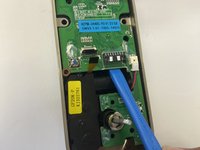
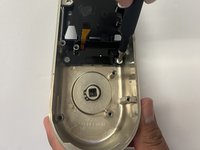
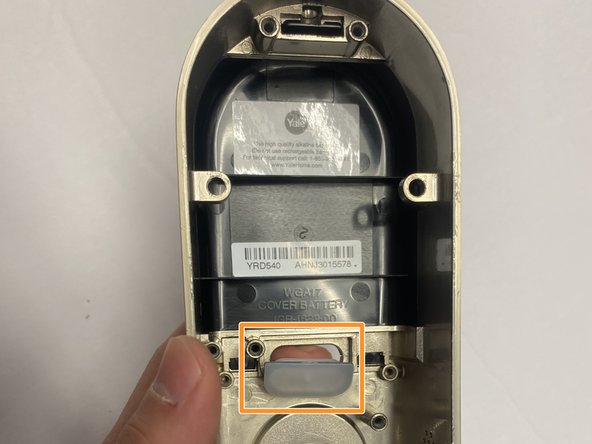
Lastly, take out the lock as shown in the second picture.
-


To reassemble your device, follow these instructions in reverse order.
To reassemble your device, follow these instructions in reverse order.
Équipe

CSU Los Angeles, Team 5-3, Adachi Fall 2022 Membre de l'équipe CSU Los Angeles, Team 5-3, Adachi Fall 2022
CSULA-ADACHI-F22S5G3
5 membres
5 tutoriels rédigés