PowerBook G4 Aluminum 15" 1.67 GHz Logic Board Replacement
Introduction
Passez à l'étape 1Into brain surgery? This guide will show you how to remove your logic board.
Ce dont vous avez besoin
Pièces
Outils
Afficher plus…
-
-
Use a coin to turn the battery locking screw 90 degrees clockwise.
-
Lift the battery out of the computer.
-
-
-
Remove the following 10 screws:
-
Two 3 mm Phillips in the battery compartment, on either side of the battery contacts.
-
Four 3 mm Phillips around the memory compartment.
-
Four 16 mm Phillips along the hinge.
-
-
-
Rotate the computer 90 degrees clockwise so the ports face you.
-
Remove the three 3 mm Phillips screws along the edge of the lower case.
-
When replacing these screws, you must install them in the correct order. Begin by installing the screw closest to the display hinge, then work your way toward the front of the computer. Also, be careful not to put the screws in the two holes on either side of the video out port.
-
-
-
-
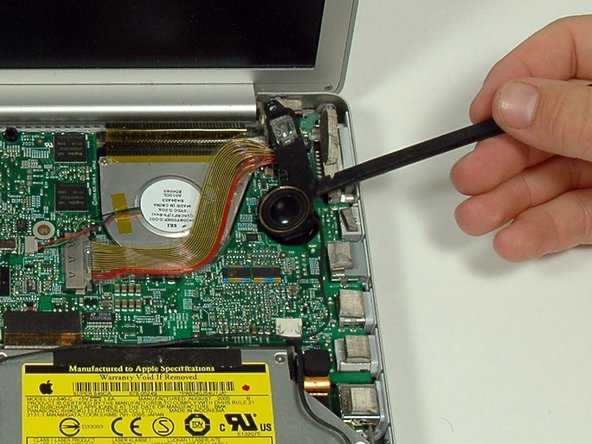
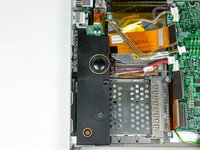
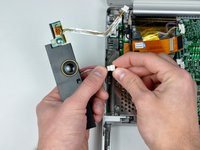
Remove the 12 mm Phillips screw holding the right speaker assembly to the lower case.
-
-
-
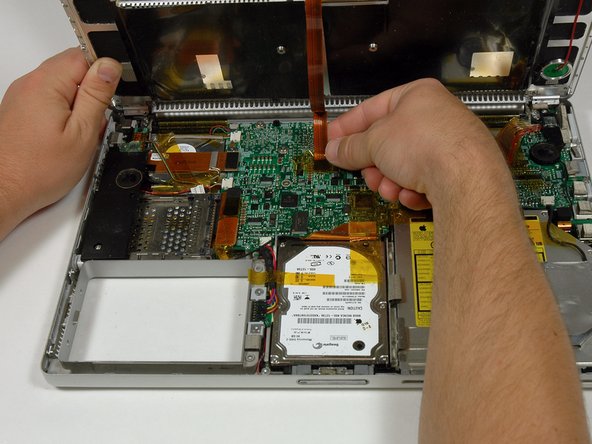
Disconnect the 11 remaining cable connectors, removing tape as necessary.
-
-
-
Very gently lift up the left side of the logic board.
-
Lift the left edge of the board up to approximately a 30 degree angle (if you don't have your protractor handy, just lift until the DVI port clears the right hinge).
-
Once the logic board clears the ports, slide it out to the left.
-
To reassemble your device, follow these instructions in reverse order.
To reassemble your device, follow these instructions in reverse order.
Annulation : je n'ai pas terminé ce tutoriel.
15 autres ont terminé cette réparation.


