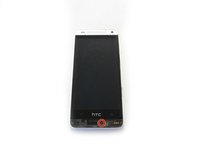
Remplacement de la batterie du HTC One Mini
Introduction
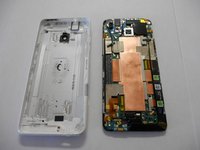
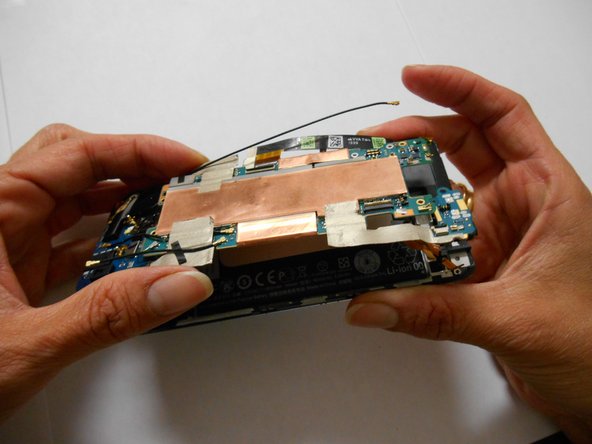
Passez à l'étape 1Suivez les instructions de ce guide de réparation pour réussir à retirer la coque arrière de votre HTC One Mini, localiser la batterie du téléphone et la retirer afin qu'une nouvelle puisse la remplacer.
Ce dont vous avez besoin
-
-
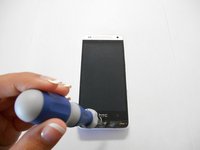
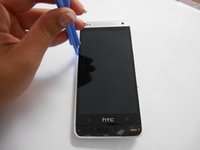
Utilisez un iOpener ou un sèche-cheveux pour chauffer la grille inférieure du haut-parleur afin de ramollir l'adhésif en dessous.
-
-
-
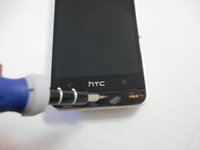
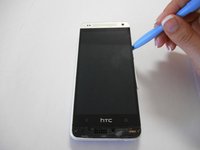
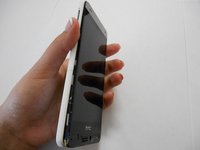
Faites glisser un fin outil de levier sous le couvercle du haut-parleur inférieur et faites-le glisser pour séparer l'adhésif en dessous.
-
Retirez le couvercle inférieur du haut-parleur.
-
-
-
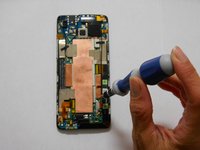
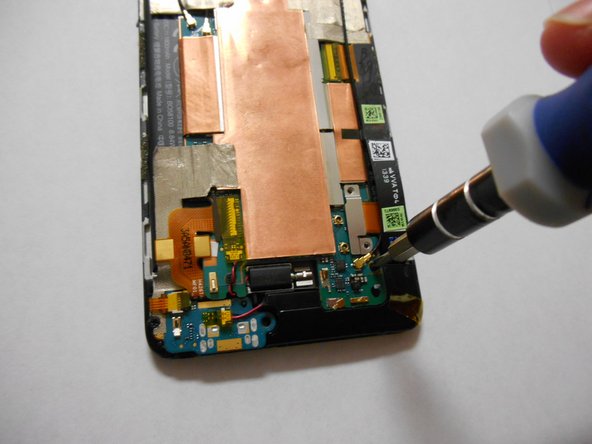
Retirez la vis sous le couvercle du haut-parleur à l'aide d'un tournevis Torx T6.
-
-
-
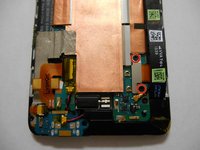
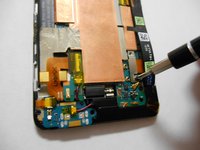
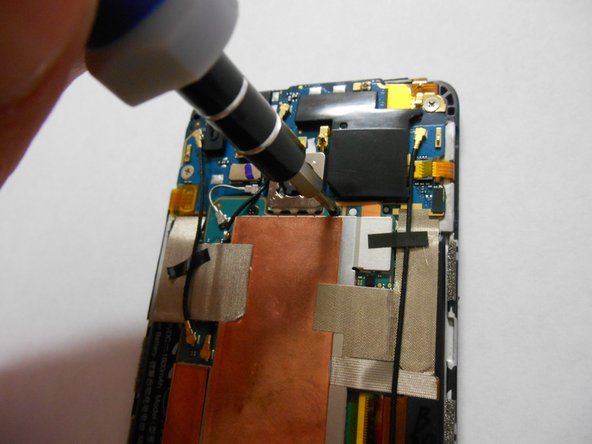
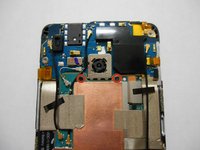
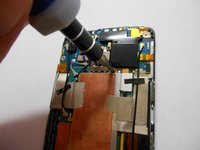
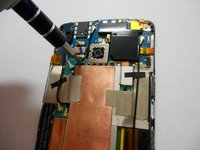
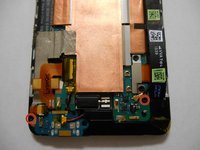
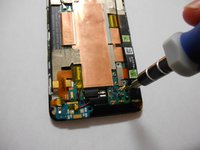
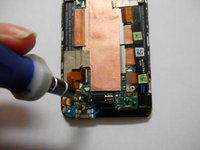
Retirez les deux vis cruciformes fixant le connecteur de la batterie.
-
-
-
-
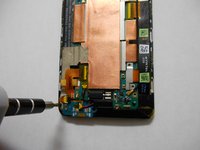
Retirez deux vis cruciformes.
-
-
-
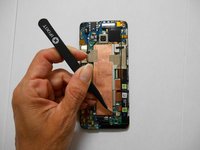
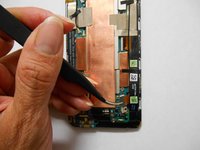
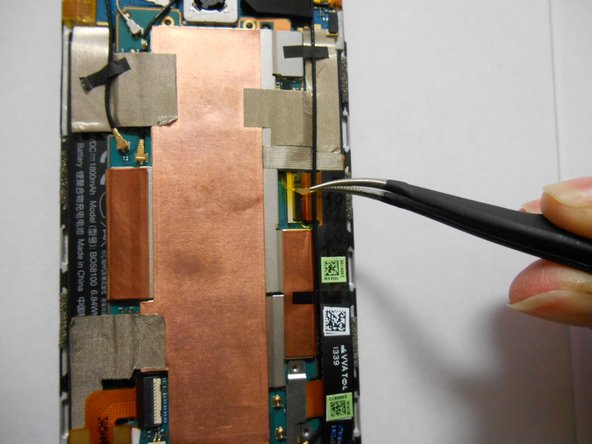
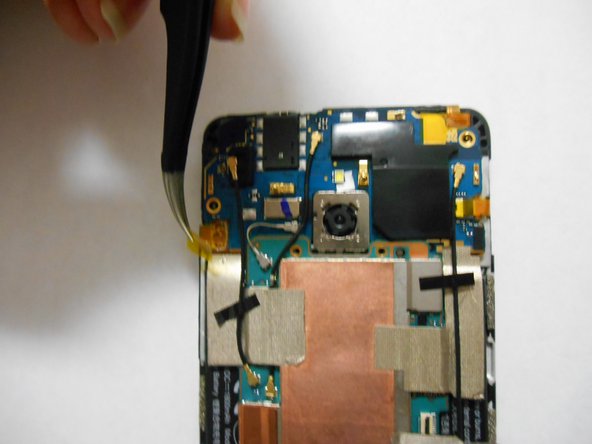
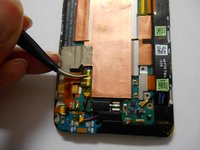
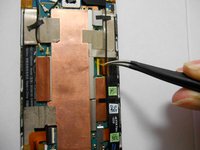
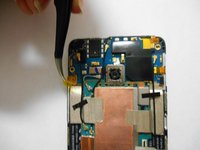
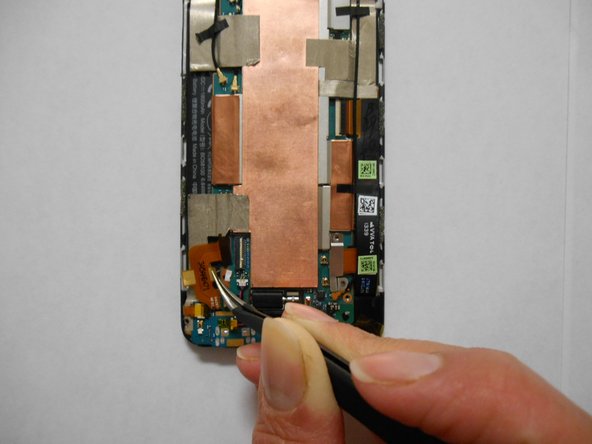
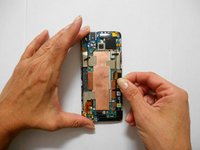
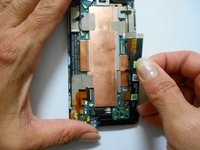
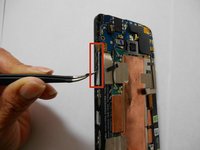
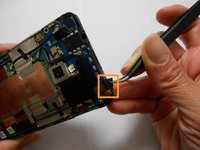
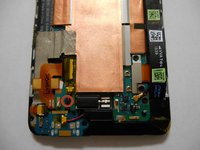
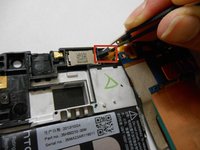
Utilisez une pince à épiler pour retirer le ruban jaune recouvrant les connecteurs du câble flexible (cinq au total).
-
-
-
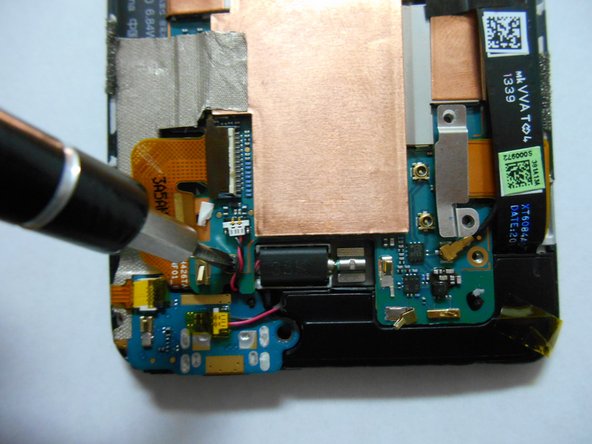
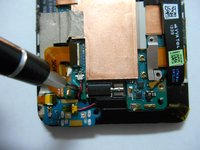
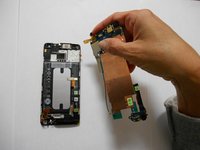
A l'aide de la spatule, forcez pour détacher et retirer le haut-parleur.
-
Pour remonter votre appareil, suivez ces instructions dans l'ordre inverse.
Pour remonter votre appareil, suivez ces instructions dans l'ordre inverse.
Annulation : je n'ai pas terminé ce tutoriel.
11 autres ont terminé cette réparation.
Merci à ces traducteurs :
100%
[deleted] nous aide à réparer le monde ! Vous voulez contribuer ?
Commencez à traduire ›
6 commentaires
Please tell me,can i use battery from htc one mini 2 in htc one mini? I just want increase the battery capacity from 1800 to 2100.thanks for the answer
I completed the steps as described and have an issue with my display now. I tried to start the device before pressing it in the back cover to check whether it works or not. It seems to work, but the display don't. Which cable is that of the display and / or what could have gone wrong? Thx!
I changed the battery, but now, the sound doesn't works. The microphone and the diffuser do not work. What can I do ?
Did this battery exchange few days ago and there is some missing information here.
Between step 15 and step 16 the author also disconnected 4 more plugs in the bottom left of the phone (lying on the screen):
- The big one which is over the screwdriver in the picture of step 15. This can be pulled out sideways.
- The one which cable goes over the screw which is removed in step 15 (white plug with the red/black wires coming out going to the “vibration generator”). I carefully wiggled it out with a tweezer on the plug itself, but you may also go beneath the cables and gently pull it upwards.
- A similar one is a little bit further to the bottom. Use the same technique here.
- Another plug is at the left side. This one can be pulled out sideways.
All 4 of these plugs can be seen in the picutres above (e.g. pic from step 15). They were detached between 15 and 16 without a notice. Only then can you remove the motherboard as shown in step 16.
Hope this info helps anyone.


