
Remplacement du commutateur Romer G du clavier Logitech G PRO

Introduction
Passez à l'étape 1Après une longue utilisation d'un clavier, il arrivera un moment où certaines touches cesseront de fonctionner. Cela peut être difficile, surtout si la clé qui a cessé de fonctionner est une clé nécessaire, comme une lettre. Ce guide vous montre comment remplacer un commutateur Romer G cassé dans un clavier Logitech G Pro afin que vous puissiez continuer à utiliser votre clavier sans avoir à remplacer l'ensemble de l'unité. Une fois cette réparation terminée, vous pourrez réparer votre clavier à l'avenir si d'autres touches cessent de fonctionner.
Ce dont vous avez besoin
Pièces
Outils


Afficher plus…
-
-
Utilisez vos doigts pour retirer les touches des touches qui ne fonctionnent plus.
-
-
-
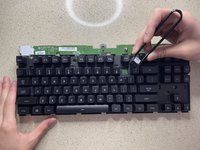
Retournez le clavier de sorte que vous regardiez les touches.
-
Pour localiser le joint de soudure sur la carte, comptez le nombre de rangées vers le bas et de clés depuis le côté droit ou gauche jusqu'à la clé/l'interrupteur cassé.
-
Retournez le clavier pour voir à nouveau les joints de soudure.
-
En utilisant le nombre de rangées et de touches de gauche à droite, comptez les joints de soudure qui trouveront le joint de soudure que vous devez retirer.
-
-
Outil utilisé dans cette étape :Desoldering Pump$3.99
-
Chauffez votre fer à souder jusqu'à 350 degrés Celsius.
-
Les deux broches que vous devez dessouder seront en diagonale l'une de l'autre.
-
À ce stade, vous souhaitez dessouder les deux broches tenant l'interrupteur. Au fur et à mesure que la soudure est fondue, vous souhaitez utiliser votre pompe à dessouder pour retirer la soudure qui a été fondue.
-
-
-
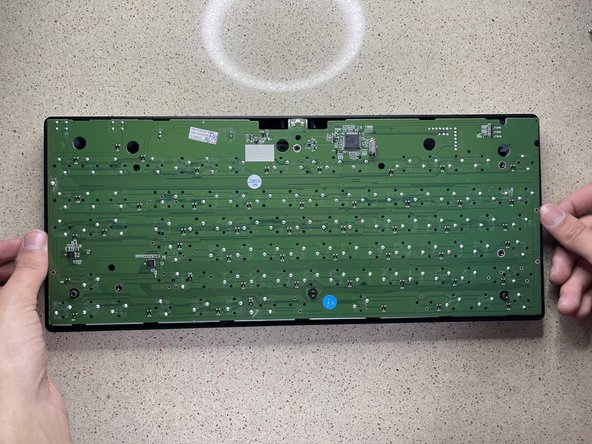
Prenez le clavier et retournez-le pour voir le côté avec tous les joints de soudure.
-
Après avoir localisé le nouvel interrupteur à l'arrière de la carte, appuyez le fer à souder contre la broche et poussez lentement la soudure à l'emplacement du fer pour créer votre joint de soudure. Faites cela pour les deux broches.
-
-
-
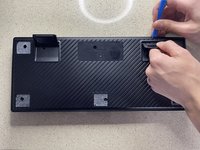
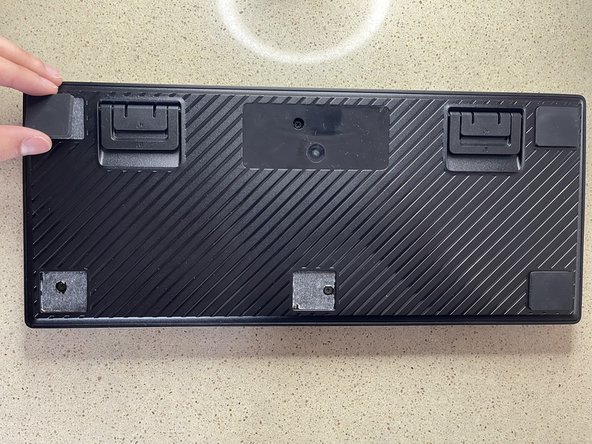
Prenez le boîtier arrière et placez-le sur le dos et appuyez fermement le long des bords jusqu'à ce qu'il s'enclenche.
-
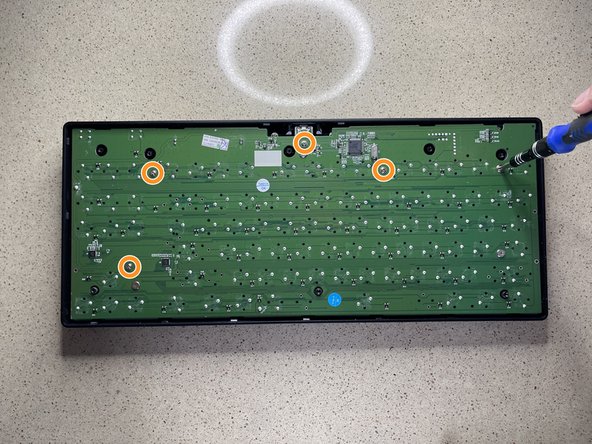
Remplacez les cinq vis de 12,7 mm par un tournevis cruciforme n°1.
-
Remplacez les trois vis de 7,6 mm par un tournevis cruciforme n ° 1 pour rattacher le boîtier inférieur au dessus.
-


Félicitations, vous avez maintenant appris à démonter et à remonter un clavier Logitech G Pro ainsi qu'à remplacer les commutateurs Romer G dans ce clavier.
Félicitations, vous avez maintenant appris à démonter et à remonter un clavier Logitech G Pro ainsi qu'à remplacer les commutateurs Romer G dans ce clavier.
Annulation : je n'ai pas terminé ce tutoriel.
9 autres ont terminé cette réparation.
Merci à ces traducteurs :
100%

Ces traducteurs nous aident réparer le monde ! Vous voulez contribuer ?
Commencez à traduire ›

Équipe

UMass Dartmouth, Team S1-G18, Sinclaire Spring 2021 Membre de l'équipe UMass Dartmouth, Team S1-G18, Sinclaire Spring 2021
UMASSD-SINCLAIRE-S21S1G18
1 membre
5 tutoriels rédigés
12 commentaires
I dropped a full glass of milk on it. Took 2 hours to completely disassemble, clean, and reassemble it. It looks just like when I had it. Thanks !
A few additional points:
* If you also need to remove the lower cover from the board, the operation has a few tricky bits:
** The full-size version of the keyboard has two plastic hooks holding the cover to the board and there is no obvious way to release them. This means that even after you remove all the screws, the cover will not release. Be careful and confirm that it is just catching in the areas between the three sets of keys. They will probably break and I couldn't figure out a way to avoid it but it isn't critical and won't affect the reassembled keyboard. Just be aware of this and be aware of this.
** The power switch and the windows-key-disable switch are extremely delicate and easy to break. The switch itself is tiny and has a miniscule sliding arm sticking out that fits into the much-larger case switch cover.
to be continued because of dumb character limit. (I'm just trying to help here!)
continued...
* If you look carefully at the pictures of the solder points, you'll notice that there are two different orientations. If you, like me, want to cannibalise an unused key (such as one of the G1-6 keys or the three near-useless Print Screen, Scroll Lock, and Pause buttons, care a careful look at the broken key to see which orientation you need.
* The keycaps themselves are not that well-designed and become loose after repeated removal, no matter how careful you are. This means that if you like to vacuum your keyboard or shake out the lint, you may be in for a bit of annoyance.
* The shift and enter keys do not have adequate lateral support and you may find that, over time, they become misaligned with their adjacent keys. I think the takeaway message is to avoid Romer keys; they are just not as well-built or designed as Cherry.
Romer G's are absolutely terrible. I'm not talking about feel or function here, they feel great as long as they're working, but they break EXTREMELY easily in a way that is almost unrepairable - the little plastic "feet" that keep a keycap attached to the switch break off and get stuck in the switch, so now you have to replace both the switch and the keycap, good luck with that. After I cleaned my keyboard for the first time (removing all the keycaps from the switches), I found out I had broken like 5-10 of them, including the spacebar, and some were broken from before. The broken keys started double-clicking all the time, which is especially annoying with the spacebar, so now ky board is pretty much unusable. There's 100$ down the drain. Learn to make switches, Logitech!
Hey Nikoi, you might not read this for a while but I hope this helps. This keyboard chatter blocker program stops the double tapping entirely! https://github.com/mcmonkeyprojects/Keyb...
Joe Goh -