Aller au contenu principal

Smartab STJR700 Home Button Replacement

Ce dont vous avez besoin

  1. Smartab STJR700 Home Button Replacement, Home Button: étape 1, image 1 de 2 Smartab STJR700 Home Button Replacement, Home Button: étape 1, image 2 de 2
    • Power off device. Place it face down. Unscrew the four perimeter screws using a PH000.

  2. Smartab STJR700 Home Button Replacement: étape 2, image 1 de 1
    • Using a plastic opening tool or metal spudger, begin to gently pry the rear case down and away from the display. Slowly wiggle the tool up and down to pry open the tablet. Once the rear case is fully removed, place it to the side.

  3. Smartab STJR700 Home Button Replacement: étape 3, image 1 de 3 Smartab STJR700 Home Button Replacement: étape 3, image 2 de 3 Smartab STJR700 Home Button Replacement: étape 3, image 3 de 3
    Outil utilisé dans cette étape :
    Tweezers
    $4.99
    J'achète
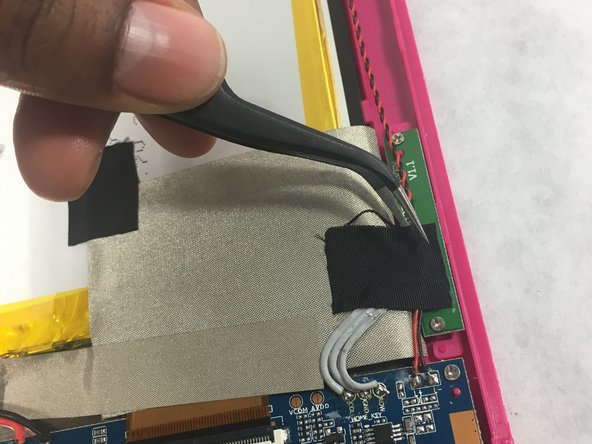
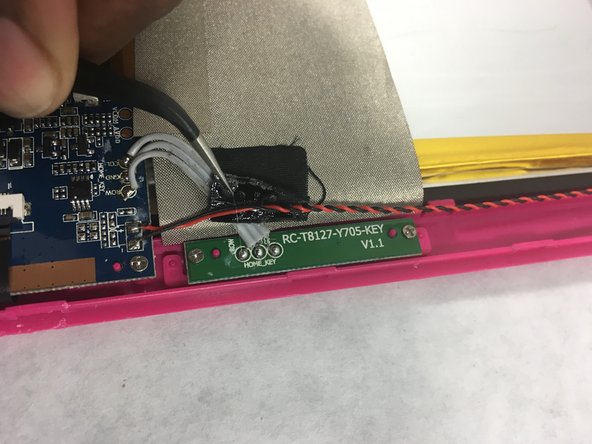
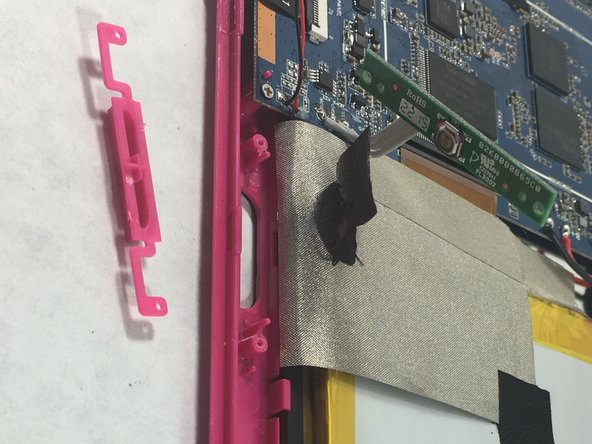
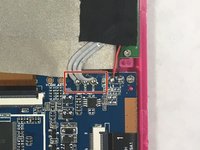
    • Using tweezers, carefully remove the tape that is holding the black and red intertwined cables to the motherboard. Place tape to the side as it will be needed for reassembly.

  4. Smartab STJR700 Home Button Replacement: étape 4, image 1 de 1
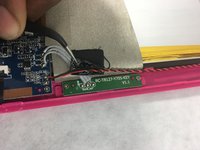
    • Remove the two Phillips #000 screws holding the home button board to the front panel.

  5. Smartab STJR700 Home Button Replacement: étape 5, image 1 de 2 Smartab STJR700 Home Button Replacement: étape 5, image 2 de 2
    • Using tweezers, slowly and carefully remove the end of the cable that connects the home button to the main motherboard.

Conclusion

To ensure a successful replacement make sure to follow all steps carefully .

Moriah Wiggins

Membre depuis le 03/08/17

201 Réputation

2 tutoriels rédigés

Équipe

UMass Dartmouth, Team S3-G4, Botvin Spring 2017 Membre de l'équipe UMass Dartmouth, Team S3-G4, Botvin Spring 2017

UMASSD-BOTVIN-S17S3G4

4 membres

5 tutoriels rédigés

0 commentaires

Ajouter un commentaire

Nombre de vues :

Dernières 24 heures : 0

7 derniers jours : 0

30 derniers jours : 6

Total : 321