
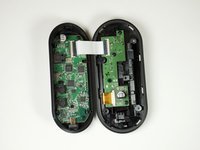
SteelSeries Arctis Pro Plus GameDAC Secondary Button Replacement
Introduction
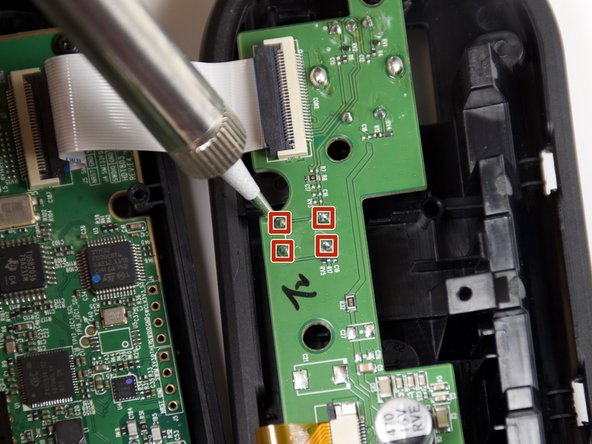
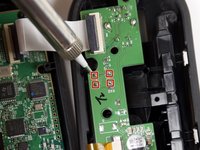
Passez à l'étape 1If you need to replace your GameDAC secondary control button, there are a couple of wire connections one needs to be careful for when opening the GameDAC. Follow this guide to safely access and replace the button from the circuit board.
Ce dont vous avez besoin


-
-
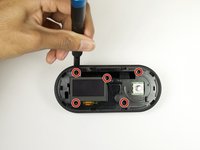
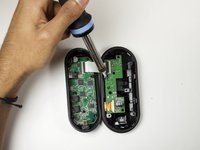
Remove the plastic cover using the iFixit opening tool to pry the cover open.
-
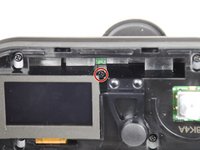
Insert opening picks to keep the cover open as you work your way around the GameDAC.
-
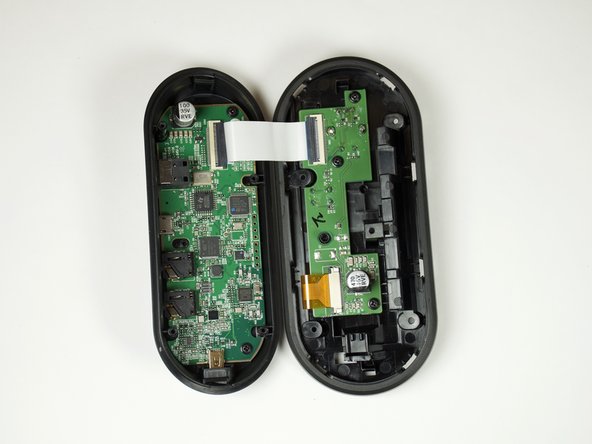
Pop the cover off.
-
-


To reassemble your device, follow these instructions in reverse order.
To reassemble your device, follow these instructions in reverse order.
Annulation : je n'ai pas terminé ce tutoriel.
3 autres ont terminé cette réparation.
Équipe

Cal Poly, Team S18-G1, White Winter 2019 Membre de l'équipe Cal Poly, Team S18-G1, White Winter 2019
CPSU-WHITE-W19S18G1
4 membres
21 tutoriels rédigés