Aller au contenu principal
TOSHIBA Satellite E45W-C4200X Screen Replacement

TOSHIBA Satellite E45W-C4200X Screen Replacement

masato tsuchida

masato tsuchida et 2 autres contributeurs

Dernière mise à jour le January 8, 2023

30 minutes
Modérée

This guide will walk you through the necessary steps for replacing the screen in your Toshiba Satelite E45W-C4200X.

Before using this guide, make sure to review the troubleshooting page to ensure the screen needs to be replaced.

Make sure to power off your laptop completely and disconnect from any external power source prior to beginning the process.

Ce dont vous avez besoin

Pièces

Outils

Afficher plus…

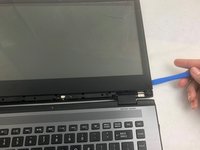
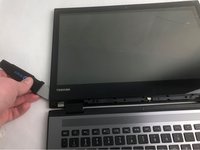
  1. TOSHIBA Satellite E45W-C4200X Screen Replacement, Screen: étape 1, image 1 de 2 TOSHIBA Satellite E45W-C4200X Screen Replacement, Screen: étape 1, image 2 de 2
    • Using a plastic opening tool, remove the plastic bar underneath the screen.

    • Use caution when removing the plastic bar to prevent cracking.

  2. TOSHIBA Satellite E45W-C4200X Screen Replacement: étape 2, image 1 de 1
    • Use the Phillips #1 screwdriver and remove the four screws at the bottom of the screen.

    • Be sure to store the screws in a safe place to prevent losing them.

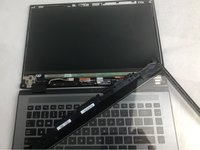
  3. TOSHIBA Satellite E45W-C4200X Screen Replacement: étape 3, image 1 de 3 TOSHIBA Satellite E45W-C4200X Screen Replacement: étape 3, image 2 de 3 TOSHIBA Satellite E45W-C4200X Screen Replacement: étape 3, image 3 de 3
    • Use the blue plastic opening tool to start separating the plastic cover from the screen.

    • Once started, use the Jimmy to run along the edges to complete the separation.

    • Be sure to go very slow to avoid cracking the glass further and possibly cutting yourself.

    • The camera is still connecting the protective cover to the laptop; we recommend setting it on top of the keyboard.

  4. TOSHIBA Satellite E45W-C4200X Screen Replacement: étape 4, image 1 de 1
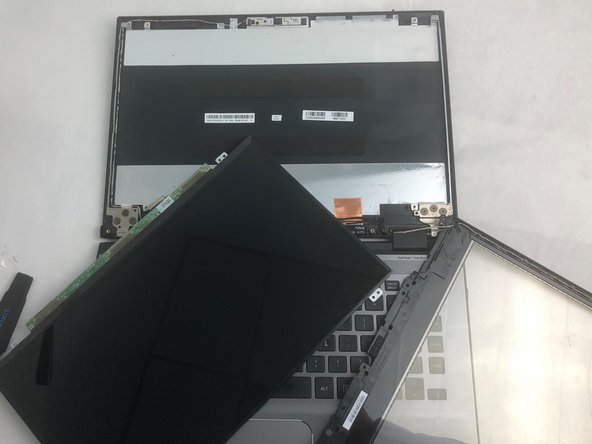
    • Remove the remaining screws that hold the screen in place using the Phillips #1 screwdriver.

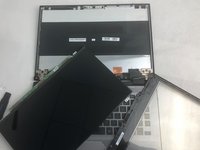
    • Carefully lift out the screen and fold on its face.

    • The screen is still attached, do not pull away from the laptop.

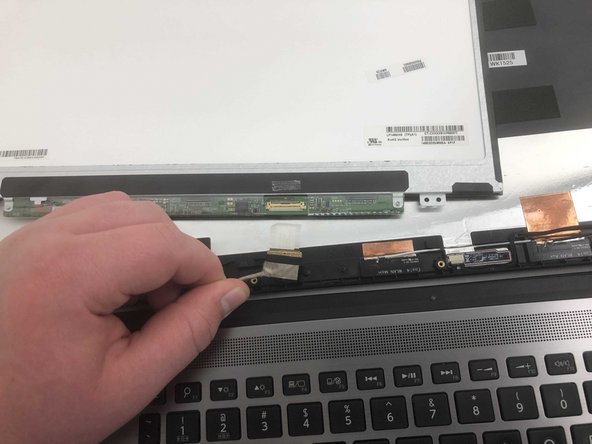
  5. TOSHIBA Satellite E45W-C4200X Screen Replacement: étape 5, image 1 de 3 TOSHIBA Satellite E45W-C4200X Screen Replacement: étape 5, image 2 de 3 TOSHIBA Satellite E45W-C4200X Screen Replacement: étape 5, image 3 de 3
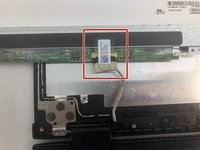
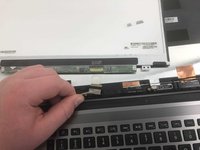
    • Disconnect the screen from the small circuit board.

    • Gently disconnect with even pressure on both sides to prevent damage.

    • The old screen has now been completely removed.

Conclusion

To reassemble your device, follow these instructions in reverse order.

2 autres ont terminé cette réparation.

0 commentaires

Ajouter un commentaire

Nombre de vues :

Dernières 24 heures : 3

7 derniers jours : 6

30 derniers jours : 29

Total : 2,126