Aller au contenu principal
ThinkPad T420 Keyboard reinstallation Replacement

ThinkPad T420 Keyboard reinstallation Replacement

Nick

Nick

Dernière mise à jour le November 27, 2024

Aucune estimation
Modérée
En cours
Conditions préalables uniquement
Ce tutoriel est uniquement destiné à être utilisé comme prérequis d'autres tutoriels. Il ne se suffit pas à lui-même.
  1. ThinkPad T420 Keyboard reinstallation Replacement, Keyboard reinstallation: étape 1, image 1 de 3 ThinkPad T420 Keyboard reinstallation Replacement, Keyboard reinstallation: étape 1, image 2 de 3 ThinkPad T420 Keyboard reinstallation Replacement, Keyboard reinstallation: étape 1, image 3 de 3
    • If you are upgrading the RAM this will be done last. Once both modules are installed, perform this step without reinstalling the screw, then reinstall the screw once the module is accepted and working.

    • Reconnect the keyboard to the motherboard. Once connected, slide the top (volume controls) in first.

    • Once the top of the keyboard is pushed in, slide the keyboard down to re-engage the lower clips until they are not visible.

    • Replace the silver screw and RAM door.

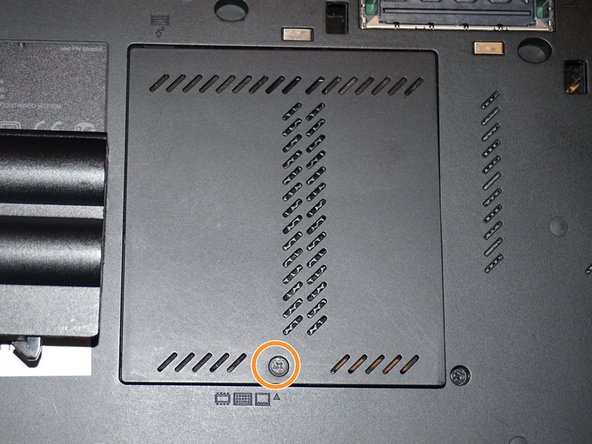
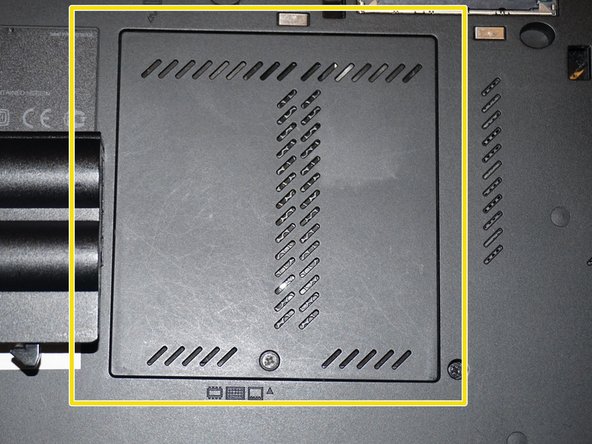
  2. ThinkPad T420 Keyboard reinstallation Replacement, Reinstall the keyboard screw: étape 2, image 1 de 3 ThinkPad T420 Keyboard reinstallation Replacement, Reinstall the keyboard screw: étape 2, image 2 de 3 ThinkPad T420 Keyboard reinstallation Replacement, Reinstall the keyboard screw: étape 2, image 3 de 3
    • Reinstall the keyboard screw.

    • Reinstall the RAM door.

    • When the cover is properly reinstalled, it will be flush with the laptop.

Conclusion

To reassemble your device, follow these instructions in reverse order.

Nick

Membre depuis le 11/10/09

93 686 Réputation

59 tutoriels rédigés

Équipe

Master Techs Membre de l'équipe Master Techs

Community

326 membres

1 670 tutoriels rédigés

0Commentaires sur le guide

Ajouter un commentaire

Nombre de vues :

Dernières 24 heures : 0

7 derniers jours : 2

30 derniers jours : 30

Total : 75