
Toshiba Satellite L305D-S5950 Motherboard Replacement
Introduction
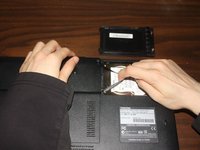
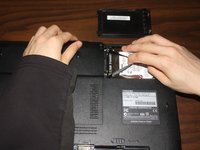
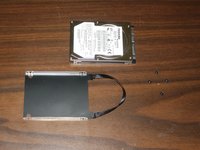
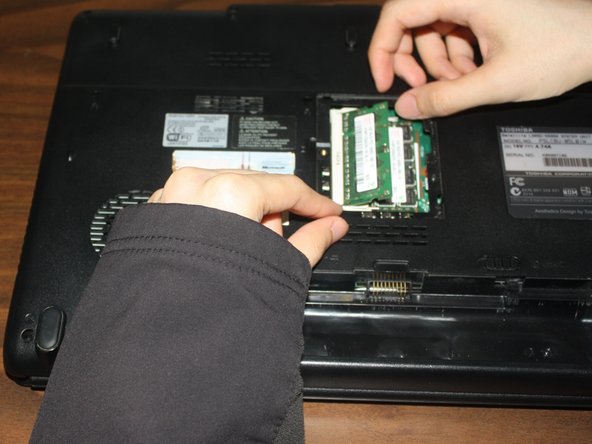
Passez à l'étape 1In order to replace the motherboard the hard drive, RAM, keyboard and motherboard cover need to be removed.
Ce dont vous avez besoin


-
-
-
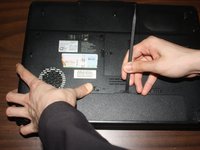
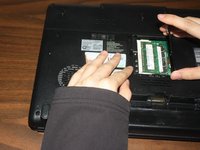
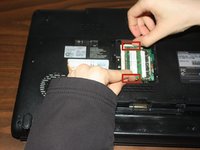
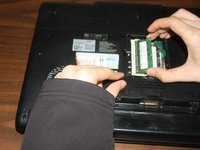
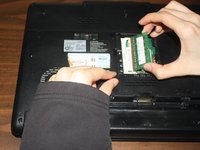
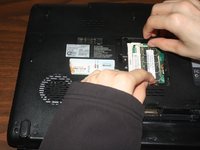
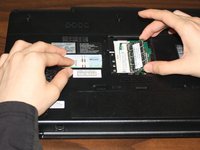
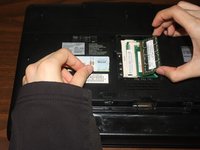
Unscrew the RAM cover and rotate the cover up to remove it. The screw should not be fully removed from the cover itself.
-
-
-
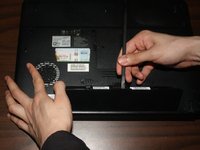
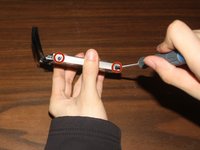
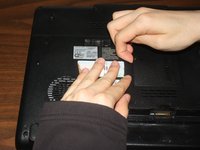
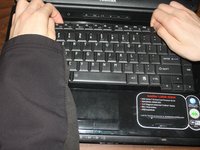
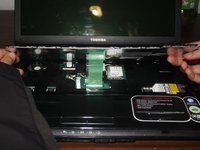
Locate the plastic strip at the top of the keyboard.
-
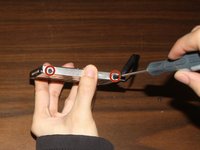
Use a pry tool to remove the plastic strip.
-
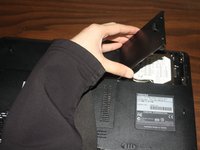
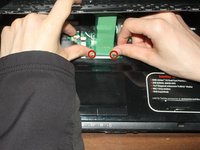
Using your hands pull out the rest of the plastic strip.
-
-
-
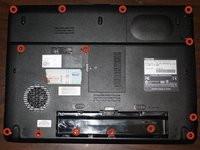
Remove all 6.75mm screws from the bottom of the laptop. The 3 screws under the battery are 3.75mm.
-
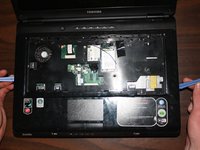
Remove all 5.25mm screws from the top of the laptop.
-
-
-
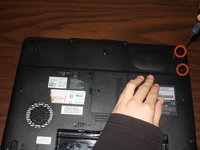
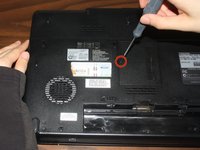
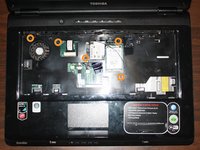
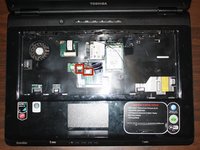
Unscrew all the screws indicated by the red circles (The bottom two screws are 10.75mm and the top screw is 5mm).
-
Unplug all the wires indicated by the orange squares.
-


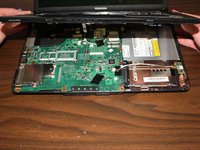


To reassemble your device, follow these instructions in reverse order.
To reassemble your device, follow these instructions in reverse order.
Annulation : je n'ai pas terminé ce tutoriel.
7 autres ont terminé cette réparation.
Équipe

Clemson, Team 1-2, Benson Spring 2014 Membre de l'équipe Clemson, Team 1-2, Benson Spring 2014
CLEM-BENSON-S14S1G2
3 membres
10 tutoriels rédigés