
Trio AXS 3G Screen Replacement
Aucune estimation
Modérée
Introduction
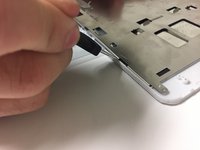
Passez à l'étape 1This guide will show you how to replace your tablet's screen.
Ce dont vous avez besoin


-
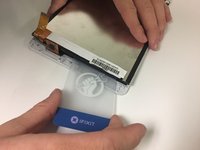
Outil utilisé dans cette étape :Plastic Cards$2.99
-
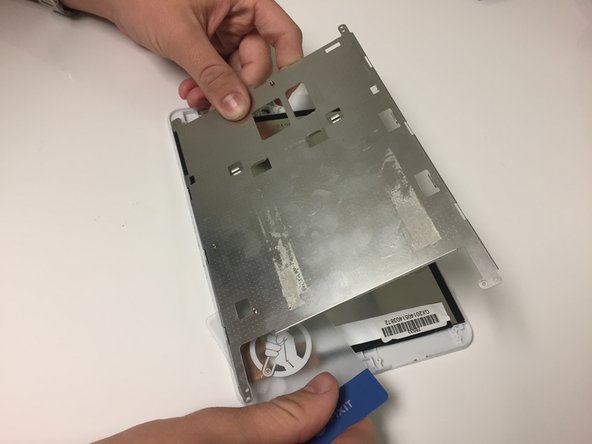
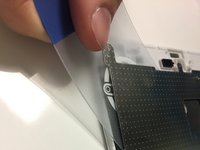
Use the plastic card to pry the battery away from the device.
-
-


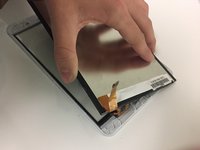

Presque terminé !
To reassemble your device, follow these instructions in reverse order.
Conclusion
To reassemble your device, follow these instructions in reverse order.
Équipe

University of North Texas, Team S7-G6, Thomas Fall 2017 Membre de l'équipe University of North Texas, Team S7-G6, Thomas Fall 2017
UNT-THOMAS-F17S7G6
3 membres
12 tutoriels rédigés