Aller au contenu principal
WRS315SDHW Refrigerator Thermistor Replacement

WRS315SDHW Refrigerator Thermistor Replacement

nicO

nicO et 2 autres contributeurs

Dernière mise à jour le June 1, 2023

15 - 30 minutes
Modérée

Use this guide to replace the refrigerator thermistor or temperature sensor in your Whirlpool WRS315SDHW Refrigerator.

The refrigerator thermistor measures the air temperature in your refrigerator and signals temperature regulatory processes. If your refrigerator doesn't cool properly, your refrigerator thermistor might be broken.

To replace the freezer thermistor, follow this guide instead.

Note: Some photos show the doors removed for clarity purposes. Removing them is not required and will not change the procedure.

  1. WRS315SDHW Refrigerator Thermistor Replacement, Safety precautions: étape 1, image 1 de 1
    • Before you begin your repair, perform the following:

    • Turn off your main water supply

    • Unplug your device

  2. WRS315SDHW Refrigerator Thermistor Replacement, Open the doors: étape 2, image 1 de 3 WRS315SDHW Refrigerator Thermistor Replacement, Open the doors: étape 2, image 2 de 3 WRS315SDHW Refrigerator Thermistor Replacement, Open the doors: étape 2, image 3 de 3
    • Depending on your repair, open one or both doors.

  3. WRS315SDHW Refrigerator Thermistor Replacement, Unfasten the temperature control board assembly: étape 3, image 1 de 2 WRS315SDHW Refrigerator Thermistor Replacement, Unfasten the temperature control board assembly: étape 3, image 2 de 2
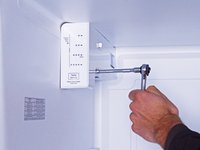
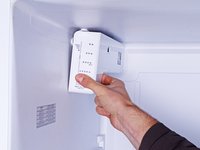
    • Use a 1/4 inch socket wrench, or a flathead screwdriver, to remove the 22.3 mm-long screw securing the temperature control board assembly (shown with the assembly removed).

  4. WRS315SDHW Refrigerator Thermistor Replacement, Reposition the assembly: étape 4, image 1 de 3 WRS315SDHW Refrigerator Thermistor Replacement, Reposition the assembly: étape 4, image 2 de 3 WRS315SDHW Refrigerator Thermistor Replacement, Reposition the assembly: étape 4, image 3 de 3
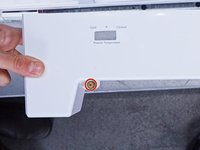
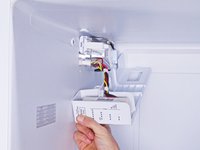
    • Pull the temperature control board assembly off its slot in the chassis.

    • Let the assembly hang to access its connectors.

  5. WRS315SDHW Refrigerator Thermistor Replacement, Disconnect the temperature control board: étape 5, image 1 de 3 WRS315SDHW Refrigerator Thermistor Replacement, Disconnect the temperature control board: étape 5, image 2 de 3 WRS315SDHW Refrigerator Thermistor Replacement, Disconnect the temperature control board: étape 5, image 3 de 3
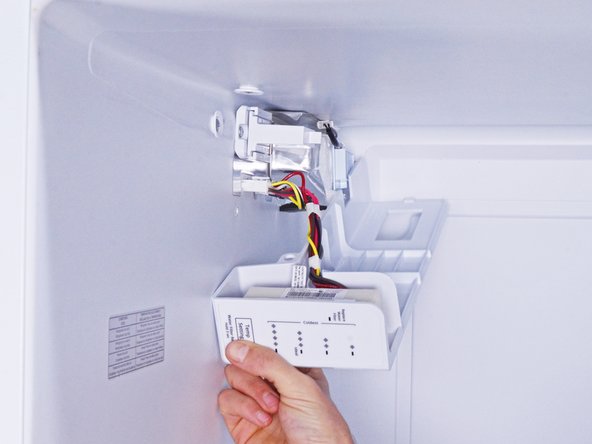
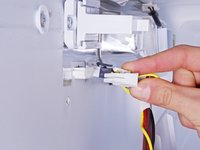
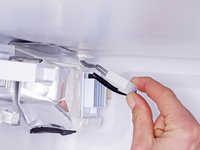
    • Disconnect the two harness connectors attached to the temperature control board assembly.

  6. WRS315SDHW Refrigerator Thermistor Replacement, Remove the assembly: étape 6, image 1 de 1
    • Remove the temperature control board assembly.

  7. WRS315SDHW Refrigerator Thermistor Replacement, Disconnect the thermistor: étape 7, image 1 de 3 WRS315SDHW Refrigerator Thermistor Replacement, Disconnect the thermistor: étape 7, image 2 de 3 WRS315SDHW Refrigerator Thermistor Replacement, Disconnect the thermistor: étape 7, image 3 de 3
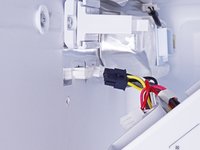
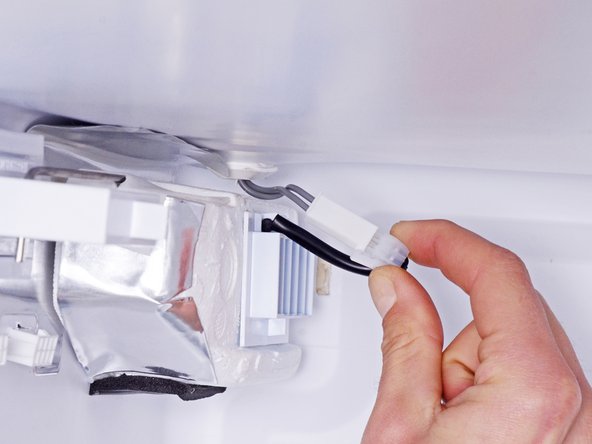
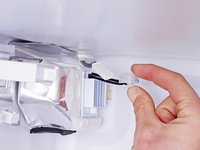
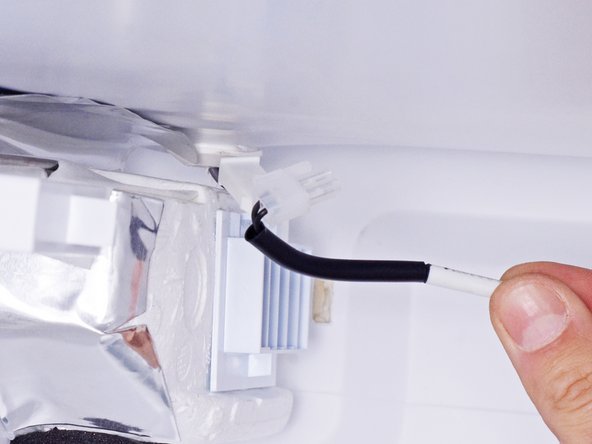
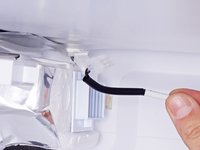
    • Pinch and pull the connector attached to the thermistor to disconnect it.

  8. WRS315SDHW Refrigerator Thermistor Replacement, Remove the thermistor: étape 8, image 1 de 2 WRS315SDHW Refrigerator Thermistor Replacement, Remove the thermistor: étape 8, image 2 de 2
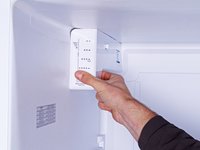
    • Use a flathead screwdriver, or a similar tool, to pry up the thermistor from its slot in the chassis.

    • Remove the thermistor.

Conclusion

To reassemble your device, follow these instructions in reverse order.

Take your e-waste to an R2 or e-Stewards certified recycler.

Repair didn’t go as planned? Ask our Answers community for help.

Une autre personne a terminé cette réparation.

nicO

Membre depuis le 04/14/15

15 927 Réputation

89 tutoriels rédigés

0 commentaires de tutoriel

Ajouter un commentaire

Nombre de vues :

Dernières 24 heures : 1

7 derniers jours : 3

30 derniers jours : 13

Total : 336