Aller au contenu principal
Whirlpool Refrigerator Icemaker Assembly Replacement

Whirlpool Refrigerator Icemaker Assembly Replacement

nicO

nicO et 3 autres contributeurs

Dernière mise à jour le October 9, 2023

10 - 20 minutes
Modérée
Tutoriel vedette

Use this guide to replace the icemaker assembly in your Whirlpool Refrigerator.

The icemaker assembly is a combination of parts that creates ice. If your refrigerator isn't producing ice, or is producing too much ice, then your icemaker might be broken.

This guide will work for most Whirlpool refrigerators. This guide is written with a model WRS315SDHW refrigerator. If you have a different model, you may encounter some minor disassembly differences, but the overall repair process will be the same.

Note: Some photos show the doors removed for clarity purposes. Removing them is not required and will not change the procedure.

  1. Whirlpool Refrigerator Icemaker Assembly Replacement, Safety precautions: étape 1, image 1 de 1
    • Before you begin your repair, perform the following:

    • Turn off your main water supply

    • Unplug your device

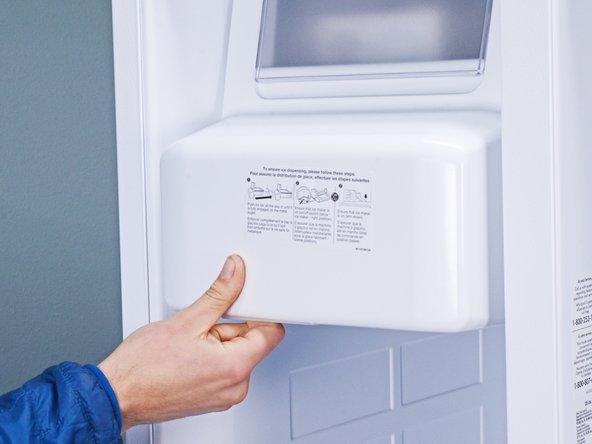
  2. Whirlpool Refrigerator Icemaker Assembly Replacement, Open the doors: étape 2, image 1 de 3 Whirlpool Refrigerator Icemaker Assembly Replacement, Open the doors: étape 2, image 2 de 3 Whirlpool Refrigerator Icemaker Assembly Replacement, Open the doors: étape 2, image 3 de 3
    • Depending on your repair, open one or both doors.

  3. Whirlpool Refrigerator Icemaker Assembly Replacement, Remove the icemaker tray: étape 3, image 1 de 2 Whirlpool Refrigerator Icemaker Assembly Replacement, Remove the icemaker tray: étape 3, image 2 de 2
    • Pull the icemaker tray completely out of its slot in the chassis.

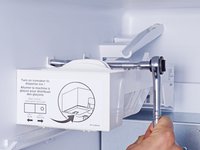
  4. Whirlpool Refrigerator Icemaker Assembly Replacement, Unfasten the icemaker assembly: étape 4, image 1 de 2 Whirlpool Refrigerator Icemaker Assembly Replacement, Unfasten the icemaker assembly: étape 4, image 2 de 2
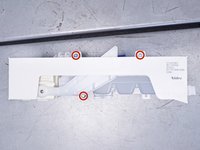
    • Remove the screw(s) securing the icemaker assembly.

    • The second photo shows the potential screw locations in a removed icemaker assembly.

  5. Whirlpool Refrigerator Icemaker Assembly Replacement, Reposition the icemaker assembly: étape 5, image 1 de 3 Whirlpool Refrigerator Icemaker Assembly Replacement, Reposition the icemaker assembly: étape 5, image 2 de 3 Whirlpool Refrigerator Icemaker Assembly Replacement, Reposition the icemaker assembly: étape 5, image 3 de 3
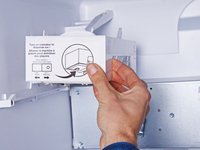
    • Pull the icemaker assembly off its slot in the chassis.

    • Let the assembly hang to access its connectors.

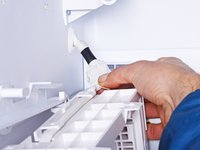
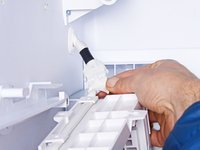
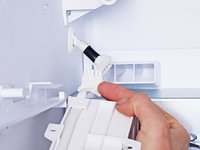
  6. Whirlpool Refrigerator Icemaker Assembly Replacement, Disconnect the icemaker assembly: étape 6, image 1 de 3 Whirlpool Refrigerator Icemaker Assembly Replacement, Disconnect the icemaker assembly: étape 6, image 2 de 3 Whirlpool Refrigerator Icemaker Assembly Replacement, Disconnect the icemaker assembly: étape 6, image 3 de 3
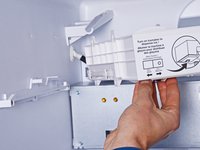
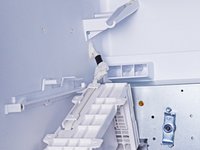
    • Disconnect any connectors attached to the icemaker assembly.

  7. Whirlpool Refrigerator Icemaker Assembly Replacement, Remove the icemaker assembly: étape 7, image 1 de 1
    • Remove the icemaker assembly.

Conclusion

To reassemble your device, follow these instructions in reverse order.

Take your e-waste to an R2 or e-Stewards certified recycler.

Repair didn’t go as planned? Ask our Answers community for help.

Une autre personne a terminé cette réparation.

nicO

Membre depuis le 04/14/15

15 927 Réputation

89 tutoriels rédigés

Équipe

Global Fixers Membre de l'équipe Global Fixers

Community

46 membres

707 tutoriels rédigés

0 commentaires de tutoriel

Ajouter un commentaire

Nombre de vues :

Dernières 24 heures : 2

7 derniers jours : 54

30 derniers jours : 228

Total : 5,491