Aller au contenu principal

Xbox Series S SSD Card Replacement

Ce dont vous avez besoin

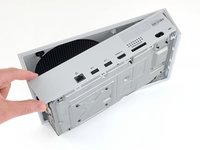
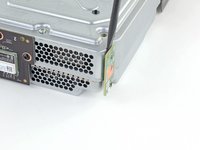
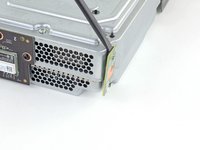
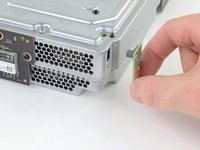
  1. Xbox Series S SSD Card Replacement, Peel off the sticker coverings: étape 1, image 1 de 3 Xbox Series S SSD Card Replacement, Peel off the sticker coverings: étape 1, image 2 de 3 Xbox Series S SSD Card Replacement, Peel off the sticker coverings: étape 1, image 3 de 3
    • Before you start this guide, turn off the Xbox and unplug any cables from it.

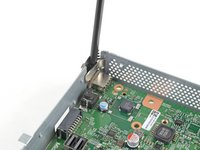
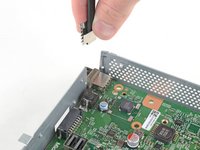
    • Use tweezers to peel off the two white screw covers located on the bottom corners of the back panel.

  2. Xbox Series S SSD Card Replacement, Remove the back panel screws: étape 2, image 1 de 1
    Outil utilisé dans cette étape :
    Magnetic Project Mat
    $19.95
    J'achète
    • Use a T8 Torx driver to remove the two 10 mm-long screws securing the back panel to the bottom panel.

    • Throughout this repair, keep track of each screw and make sure it goes back exactly where it came from.

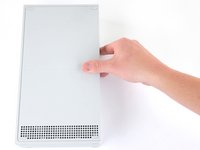
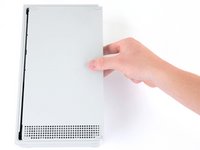
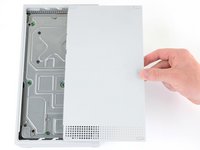
  3. Xbox Series S SSD Card Replacement, Remove the bottom panel: étape 3, image 1 de 3 Xbox Series S SSD Card Replacement, Remove the bottom panel: étape 3, image 2 de 3 Xbox Series S SSD Card Replacement, Remove the bottom panel: étape 3, image 3 de 3
    • Slide the bottom panel horizontally toward the back of the console until it comes to a stop.

    • This slides the clips out of the slots on the plastic case.

    • Lift straight up and remove the bottom panel from the plastic case.

  4. Xbox Series S SSD Card Replacement, Remove the plastic case screws: étape 4, image 1 de 1
    • Use a T10 Torx driver to remove the seven 51 mm-long screws securing the chassis to the plastic case.

  5. Xbox Series S SSD Card Replacement, Remove the plastic case: étape 5, image 1 de 3 Xbox Series S SSD Card Replacement, Remove the plastic case: étape 5, image 2 de 3 Xbox Series S SSD Card Replacement, Remove the plastic case: étape 5, image 3 de 3
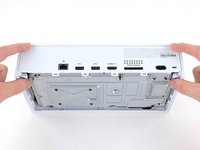
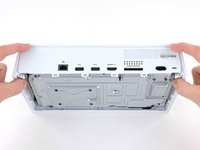
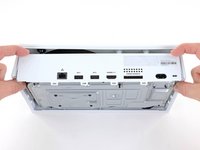
    • With the bottom of the Xbox facing you, pull the two bottom-rear corners of the plastic case away from each other.

    • As you pull the corners apart, slide the back panel towards the bottom of the device. This releases the back panel from the plastic case.

    • The back panel should now settle on top of the clips on the back of the plastic case.

    • The back panel is permanently attached to the aluminum chassis.

    • Do not attempt to fully remove the chassis from the plastic case with this technique. You may risk breaking your case.

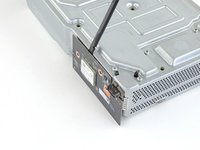
  6. Xbox Series S SSD Card Replacement: étape 6, image 1 de 3 Xbox Series S SSD Card Replacement: étape 6, image 2 de 3 Xbox Series S SSD Card Replacement: étape 6, image 3 de 3
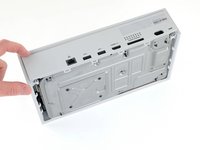
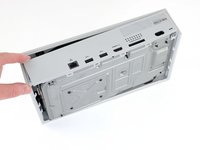
    • Pull the bottom-left corner away from the chassis while swinging the chassis away from the plastic case.

    • You may need to lift the chassis to free it from the clips on the bottom-front of the plastic case during this process.

    • Remove the plastic case from the chassis.

  7. Xbox Series S SSD Card Replacement, Remove the power button board: étape 7, image 1 de 1
    • Use a T8 Torx driver to remove the 9.5 mm-long screw securing the power button board to the chassis.

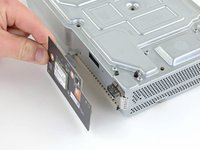
  8. Xbox Series S SSD Card Replacement: étape 8, image 1 de 3 Xbox Series S SSD Card Replacement: étape 8, image 2 de 3 Xbox Series S SSD Card Replacement: étape 8, image 3 de 3
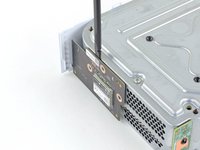
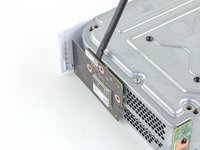
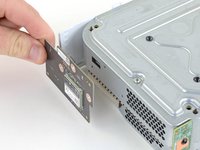
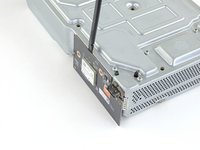
    • Use a spudger to pry and loosen the power button board.

    • Do not pry from the bottom of the power button board as it may bend the connector.

    • Pull the power button board straight out to disconnect it from the chassis.

  9. Xbox Series S SSD Card Replacement, Remove the Wi-Fi board: étape 9, image 1 de 1
    • Use a T8 Torx driver to remove the three 9.5 mm-long screws securing the Wi-Fi board to the short edge of the chassis.

  10. Xbox Series S SSD Card Replacement: étape 10, image 1 de 3 Xbox Series S SSD Card Replacement: étape 10, image 2 de 3 Xbox Series S SSD Card Replacement: étape 10, image 3 de 3
    • Use a spudger to pry and loosen the Wi-Fi board.

    • Do not pry from the bottom or sides of the Wi-Fi board as it may bend the connector.

    • Pull the Wi-Fi board straight out to disconnect it from the chassis.

  11. Xbox Series S SSD Card Replacement, Remove the Bluetooth board: étape 11, image 1 de 1
    • Use a T8 Torx driver to remove the three 9.5 mm-long screws securing the Bluetooth board to the long edge of the chassis.

  12. Xbox Series S SSD Card Replacement: étape 12, image 1 de 3 Xbox Series S SSD Card Replacement: étape 12, image 2 de 3 Xbox Series S SSD Card Replacement: étape 12, image 3 de 3
    • Use a spudger to pry and loosen the Bluetooth board.

    • Do not pry from the bottom or sides of the Bluetooth board as it may bend the connector.

    • Pull the Bluetooth board straight out to disconnect it from the chassis.

  13. Xbox Series S SSD Card Replacement, Remove the power supply screws: étape 13, image 1 de 1
    • Use a T10 Torx driver to remove the seven 11.3 mm-long screws securing the power supply to the chassis.

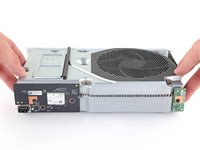
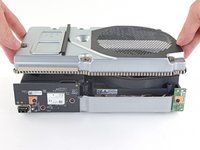
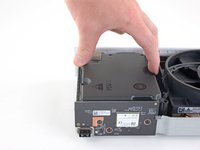
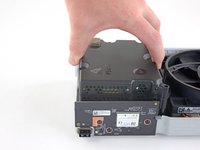
  14. Xbox Series S SSD Card Replacement, Remove the upper chassis: étape 14, image 1 de 2 Xbox Series S SSD Card Replacement, Remove the upper chassis: étape 14, image 2 de 2
    • Flip the device over.

    • Lift the upper chassis straight up to remove it.

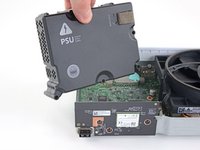
  15. Xbox Series S SSD Card Replacement, Remove the power supply: étape 15, image 1 de 3 Xbox Series S SSD Card Replacement, Remove the power supply: étape 15, image 2 de 3 Xbox Series S SSD Card Replacement, Remove the power supply: étape 15, image 3 de 3
    • Lift the power supply straight up to disconnect it from the motherboard.

    • Remove the power supply.

  16. Xbox Series S SSD Card Replacement, Remove the fan screws: étape 16, image 1 de 1
    • Use a T10 Torx driver to remove the two 11.3 mm-long screws securing the fan to the chassis.

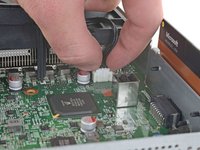
  17. Xbox Series S SSD Card Replacement, Disconnect the fan: étape 17, image 1 de 2 Xbox Series S SSD Card Replacement, Disconnect the fan: étape 17, image 2 de 2
    • Flip the device over.

    • Take care when flipping the chassis over because the fan is now loose.

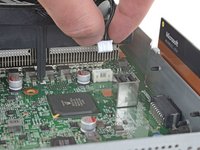
    • Use your fingers to pull and disconnect the fan connector from its motherboard socket.

    • Take care not to pull on the wires when disconnecting the fan to prevent breaking the connector.

    • This connector may be difficult to remove. A good method to remove it is to shimmy the connector up and out of its socket with a spudger.

    • You may be able to remove this connector without removing the power supply with a pair of needle-nose pliers.

  18. Xbox Series S SSD Card Replacement, Remove the fan: étape 18, image 1 de 2 Xbox Series S SSD Card Replacement, Remove the fan: étape 18, image 2 de 2
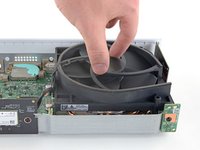
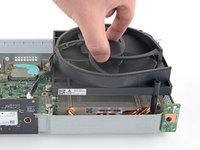
    • Lift the fan straight up to remove it from the motherboard.

  19. Attention : les étapes 19 à 21 sont issues d'un tutoriel marqué comme en cours.

    Xbox Series S SSD Card Replacement, Remove the motherboard screws: étape 19, image 1 de 1
    • Use a T8 Torx driver to remove the four 9.4 mm-long screws securing the motherboard to the chassis.

  20. Xbox Series S SSD Card Replacement, Remove the locking clip: étape 20, image 1 de 3 Xbox Series S SSD Card Replacement, Remove the locking clip: étape 20, image 2 de 3 Xbox Series S SSD Card Replacement, Remove the locking clip: étape 20, image 3 de 3
    • Flip the device over.

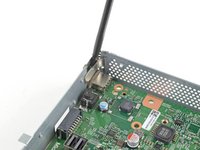
    • Insert a spudger into the locking clip located on the front-left corner of the chassis.

    • This will open up the clip to make it easier to remove.

    • Lift straight up to remove the clip.

  21. Xbox Series S SSD Card Replacement, Remove the motherboard: étape 21, image 1 de 3 Xbox Series S SSD Card Replacement, Remove the motherboard: étape 21, image 2 de 3 Xbox Series S SSD Card Replacement, Remove the motherboard: étape 21, image 3 de 3
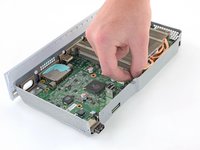
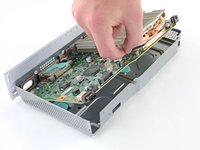
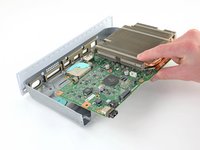
    • Grasp the heat sink with your fingers and lift up the front of the motherboard up above the edge of the chassis.

    • Pull the motherboard towards the front of the chassis to remove it.

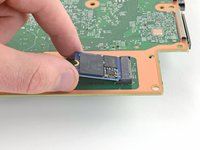
  22. Xbox Series S SSD Card Replacement, Remove the SSD card: étape 22, image 1 de 1
    • Use a T8 Torx driver to remove the 5.1 mm-long screw securing the SSD card to the motherboard.

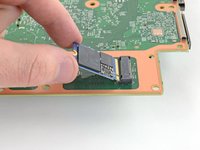
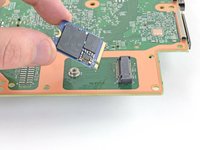
  23. Xbox Series S SSD Card Replacement: étape 23, image 1 de 3 Xbox Series S SSD Card Replacement: étape 23, image 2 de 3 Xbox Series S SSD Card Replacement: étape 23, image 3 de 3
    • Pull the SSD card straight out and remove it from the motherboard.

Conclusion

To reassemble your device, follow these instructions in reverse order.

Take your e-waste to an R2 or e-Stewards certified recycler.

Repair didn’t go as planned? Try some basic troubleshooting, or ask our Answers community for help.

15 autres ont terminé cette réparation.

Robert Boyd

Membre depuis le 02/01/21

26 500 Réputation

94 tutoriels rédigés

9 commentaires

hello,i wanna ask on the new ssd how we install the firmware?

kostas660x@hotmail.com - Réponse

Well it certainly looks like a 2230 M-Key M.2 NVMe SSD. Will it work in a PC? Will non-OEM SSDs work in the Xbox? $100 for 512GB is highway robbery.

James Spinella - Réponse

That's why I'm trying to retrofit my 1tb from old xbox one s into my Series S

Southern Viking007 -

Can I take my 1tb hard drive from one s all digital and use it for my Series S?

Southern Viking007 - Réponse

Ajouter un commentaire

Nombre de vues :

Dernières 24 heures : 33

7 derniers jours : 255

30 derniers jours : 1,122

Total : 39,492